The Ultimate Red Velvet Cheesecake Cake Recipe
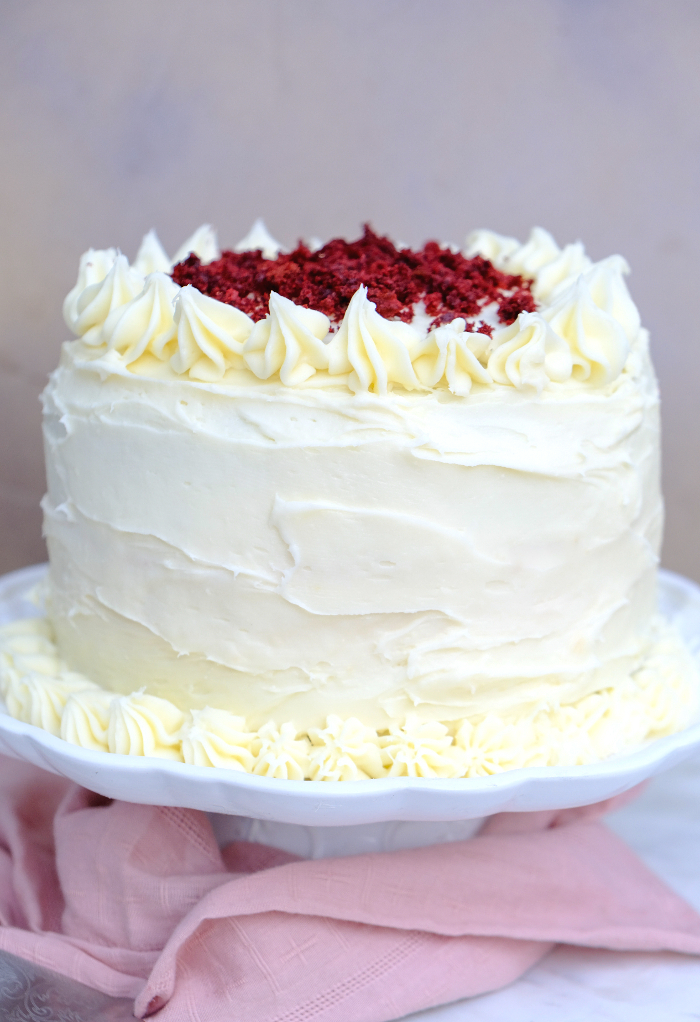
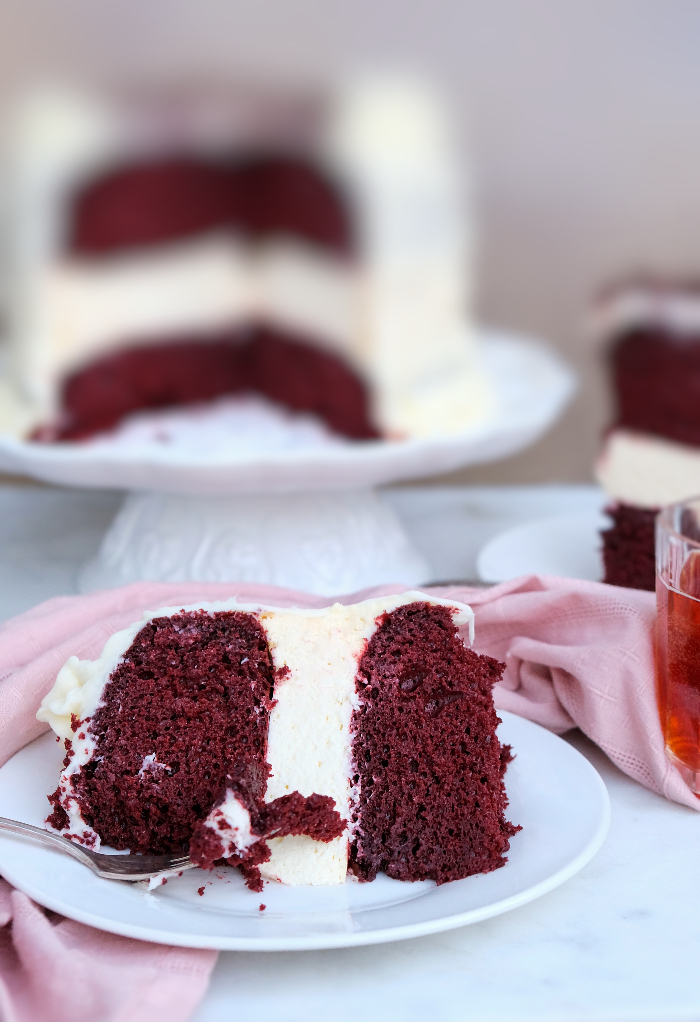
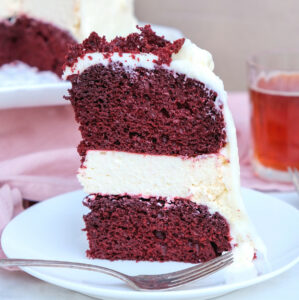
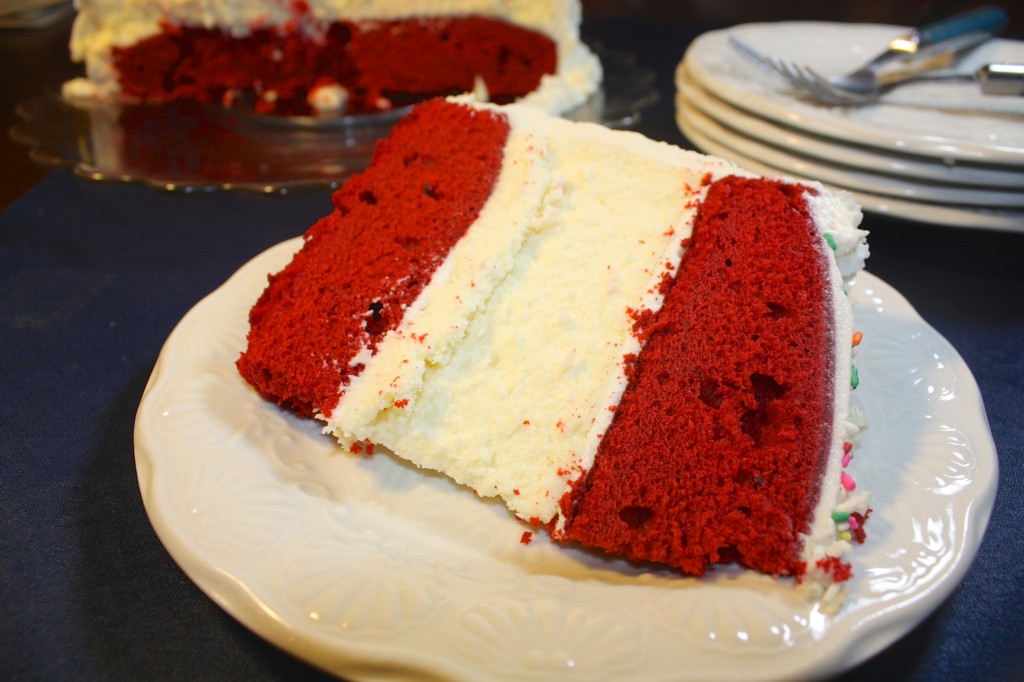
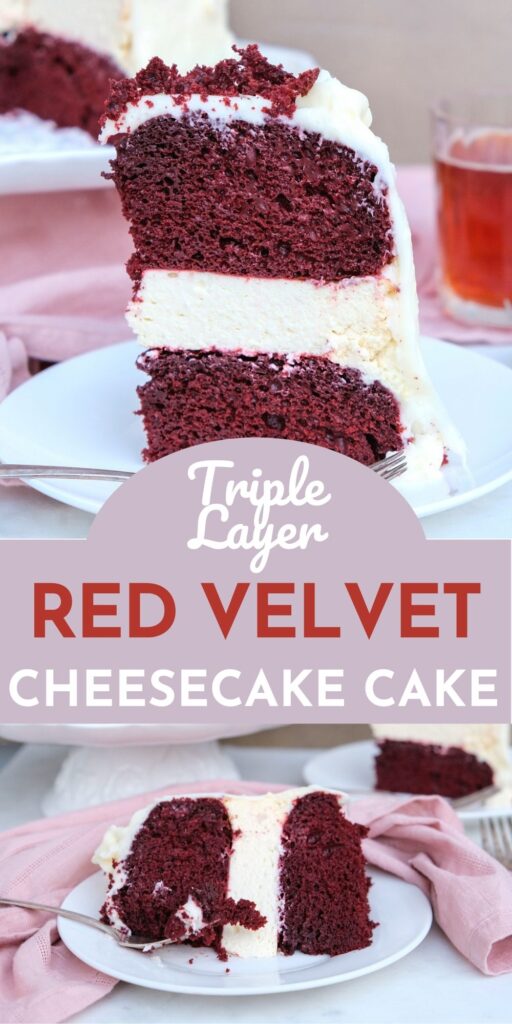
This Red Velvet Cheesecake Cake Recipe is tender made from scratch triple layered cake. Creamy homemade cheesecake nestled between two layers of red velvet cake, then topped with a cream cheese icing flavored with a hint of coconut! Every bite is heavenly and will have you anticipating the next opportunity to make this delicious cake!
Red velvet cheesecake cake is the perfect valentine’s day treat, birthday cake or dessert for a special celebratory occasion like the holiday season.
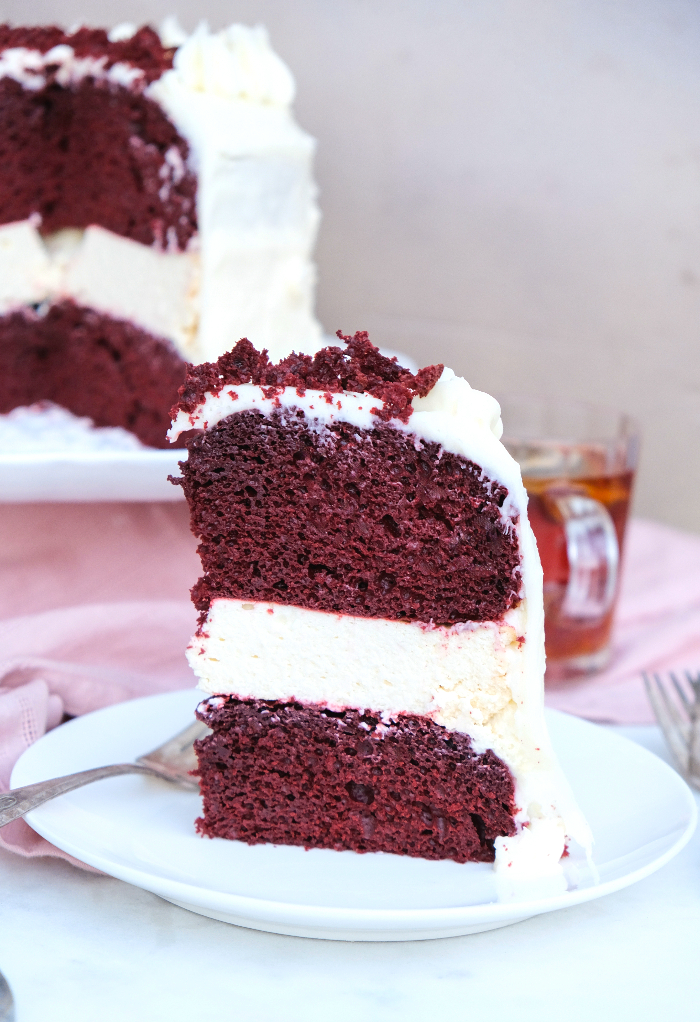
Copycat Cheesecake Factory Red Velvet Cheesecake
The first time I ate this tasty cake was at The Cheesecake Factory. Have you been to that restaurant? They are known for their wide variety of cheesecakes, hence the name The Cheesecake Factory.
The red velvet cheesecake is one of a handful of cakes that is paired with cheesecake and cake. Talk about creative and scrumptious! I couldn’t wait to recreate it myself, and now this cake is one of my favorite desserts to make for special occasions.
Why you’ll love this Red Velvet Cake Recipe
- Two flavorful cakes in one! Can’t decide between red velvet cake or cheesecake? Enjoy both!
- Not too sweet. Although this cake combination is rich, it’s not too sweet. Every bite is a pop of flavor.
- This can be made in advance. Bake the cake layers and the vanilla cream cheese frosting in advance. This makes assembling the cake a breeze and fun to add the final touches!
Equipment needed for Copycat Cheesecake Factory Red Velvet Cheesecake
- electric mixer or stand mixer
- 8″ or 9″ round baking pans or springform pans
- Baking sheet with a rim
- Cooling wire racks
- 2 large mixing bowls
- Parchment paper
- Cake plate or stand
Ingredients needed for Red Velvet Cheesecake Cake
Before you get started on this cake, be sure to read all the tips below as well as in the recipe card. There are so many details added to ensure this is the perfect cake for your special occasion.
Dry ingredients
- Cake flour – This is a finely milled flour giving the cake a light texture. You can use all-purpose flour, but the crumb won’t be as airy.
- Leavening agent – Baking soda to lifts the flour giving a light and tender crumb.
- Unsweetened cocoa powder – This is the star of this red velvet cake. Although the cake is a deep burgundy color, the cake is chocolate. No substitutions can be made for the cocoa.
- Granulated sugar – I have substituted the sugar with a sugar-free alternative like allulose or Truvia baking blend, a low carb sweetener with great results. Lowers the carb count a bit.
- Buttermilk – You need the acid from the milk to create the red coloring along with the white vinegar. This also adds moisture to the cake.
- Oil or butter – I’ve used both and I tend to reach for the oil.
- Vanilla extract – Have you made your own? This is stocked and much more economical when homemade.
- Eggs – binds the ingredients together. I always use large eggs.
- White vinegar – The acid in vinegar adds an additional lifting boost to the cake and burgundy color.
- Red food coloring – This ingredient is optional, but for a red velvet cake you may want help for the pop of color to shine through. However, red food dye is not the best for us, so use sparing or consider trying one of the 5 red food coloring options from The Kitchn.
Cheesecake Filling
- Sour cream at room temperature
- Cream cheese at room temperature – This ensures the cheesecake filling is smooth.
- Granulated sugar – You can use a sugar-free alternative sweetener in the cheesecake layer as well.
- Eggs
- Vanilla extract
Cream Cheese Icing
- Cream cheese
- Butter – unsalted
- Confectioner’s sugar
- Vanilla extract
- Coconut cream (optional)
How to make Red Velvet Cheesecake Cake
Ready to dive into baking? First well bake the cheesecake, the red velvet cake, and then the frosting.
Step 1 Bake Cheesecake
There are a couple of important tips you will want to be aware of when baking the cheesecake, First, make sure the ingredients are at room temperature. This will give you a creamy cheesecake. Second, since there is not a crust, add parchment paper to the bottom of the baking pan. This will help remove the layer form the pan. Third, spoon batter into the prepared cake pan (be sure to use the same size as the red velvet cake layers), and adjust to your height preference. Sometimes I will divide the batter into two 8″ springform pans and use one layer for the cake and the other for another dessert topped with mango puree for another time. Also, note the water bath in the recipe card instructions. This helps the cake from cracking.
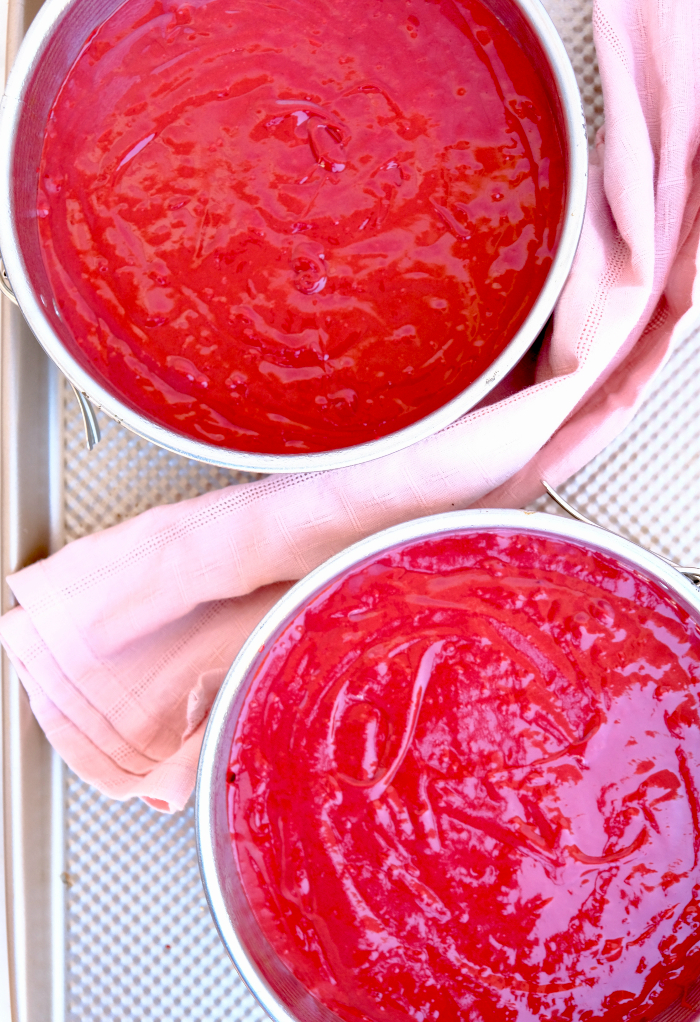
Step 2 Bake Red Velvet Cake Layers
When you make the red velvet recipe make sure to use parchment paper on the bottom of the cake pans. You will need two pans that are the same size. I like to use 8″ or 9″ pans. For easy release from the pan, use a springform pan, but sill use parchment paper.
To ensure the cakes are the same height, divide batter with a measuring cup. I get roughly about 2 1/2 – 3 cups of batter per layer. Bake separately in the oven from the cheesecake.
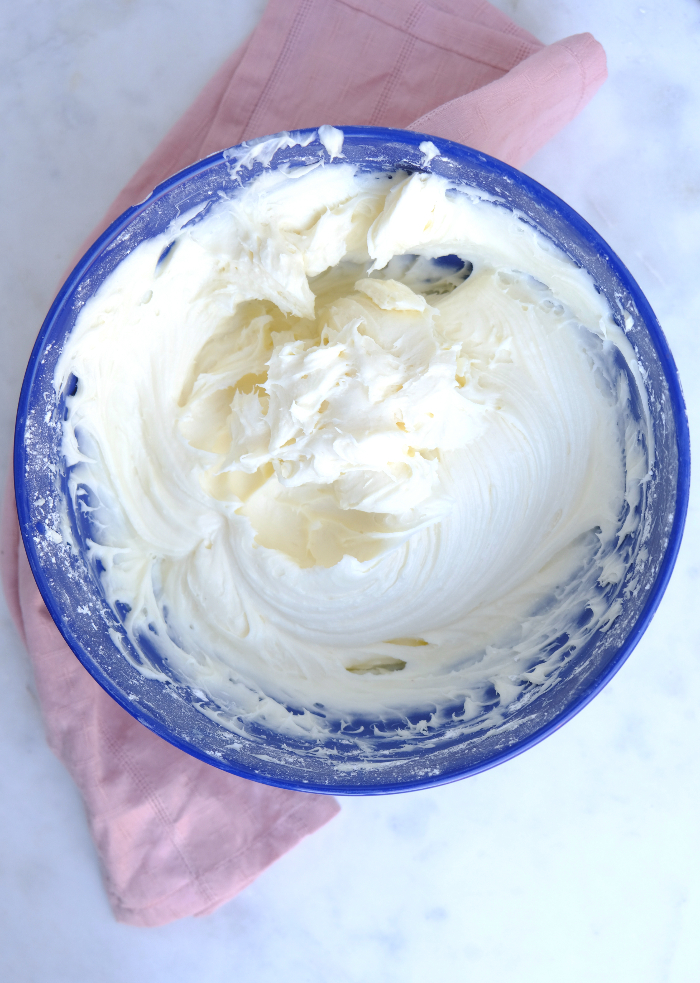
Step 3 Mix Cream Cheese Frosting
Beat cream cheese and butter with a hand mixer. Scrape the sides of the bowl with a rubber spatula as the ingredients begin to come together in a creamy consistency. Sift the sugar over the cream cheese mixture and then add the vanilla. Cover and refrigerate until ready to use.
Note that although I give specific quantity of sweetener in the recipe card, adjust to your preference. The more sugar you add, the stiffer the frosting will be. Add a little whipping cream or milk if needed.
Step 4 Assemble Cake
When assembling the cake make sure you have a sturdy flat base. Consider the space you have in the refrigerator or how you will transport the cake if you are not serving it right away.
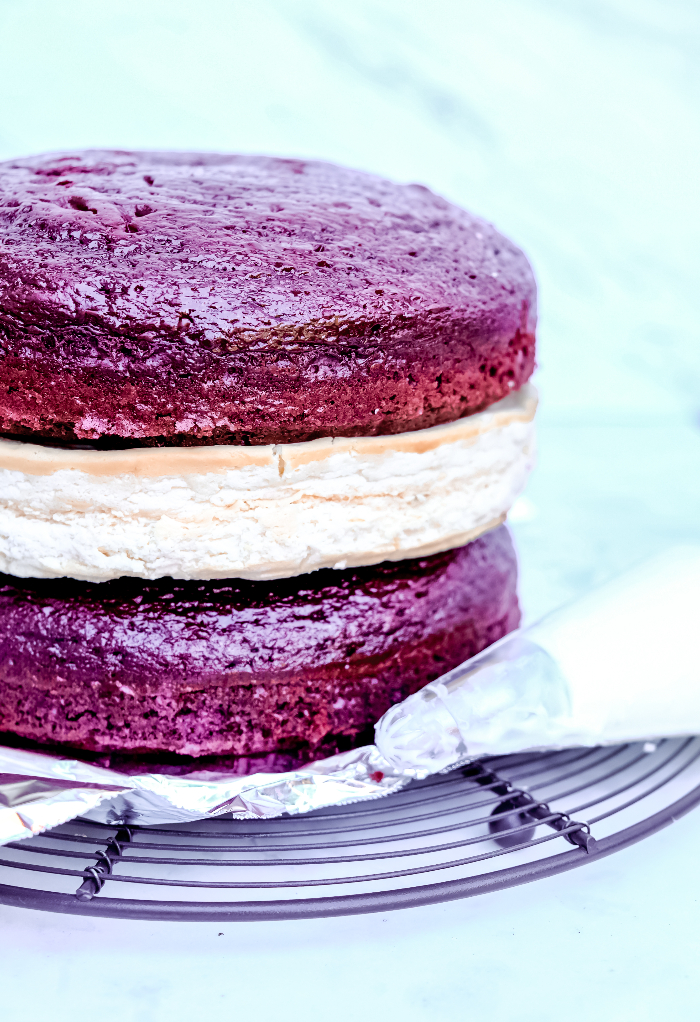
Place the red velvet cake layer on the platter, then gently top with the cheesecake layer. It isn’t necessary to frost between the layers. Finally, add the top cake layer.
Step 5 Decorate the Cake
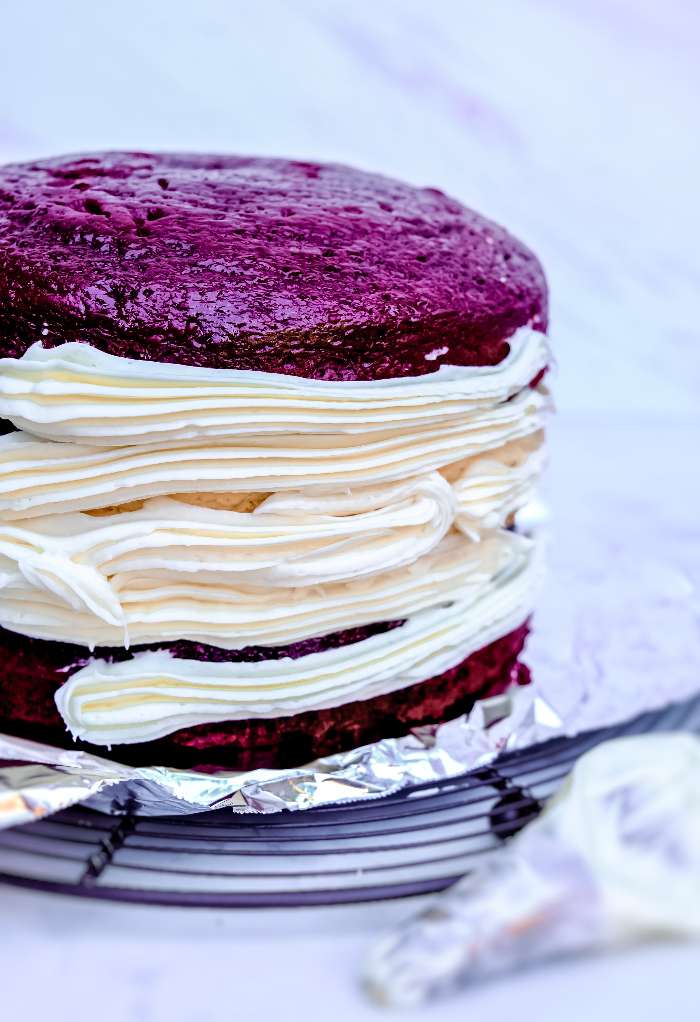
First add a thin layer of the frosting over the cake and place in the refrigerator for a minimum of 30 minutes. With a piping bag add frosting to the sides of the cake between the layers to make spreading the icing easier. Add a second layer to ensure a uniform coverage.
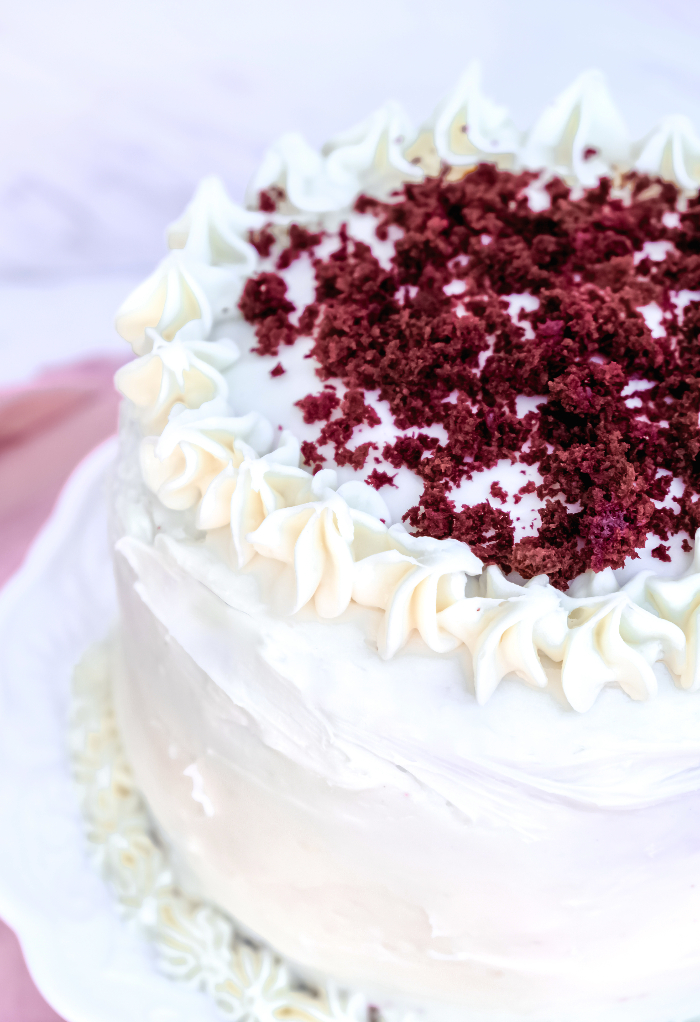
Once you have the cake frosted, add your creative touches. I use a 1M open star decorating tip from Wilton to add decor around the edge of the cake. My favorite way to add decor is to add red velvet cake crumbs to the top or sides of the cake.
To ensure I have crumbs I will bake a separate cupcake (with the same cake batter) and break it apart into small crumbs. Keep the cake plain with the frosting or add a sprinkle of mini chocolate chips, chocolate curls, sprinkles, chopped nuts or leave it naked with a sprinkle of confectioner’s sugar.
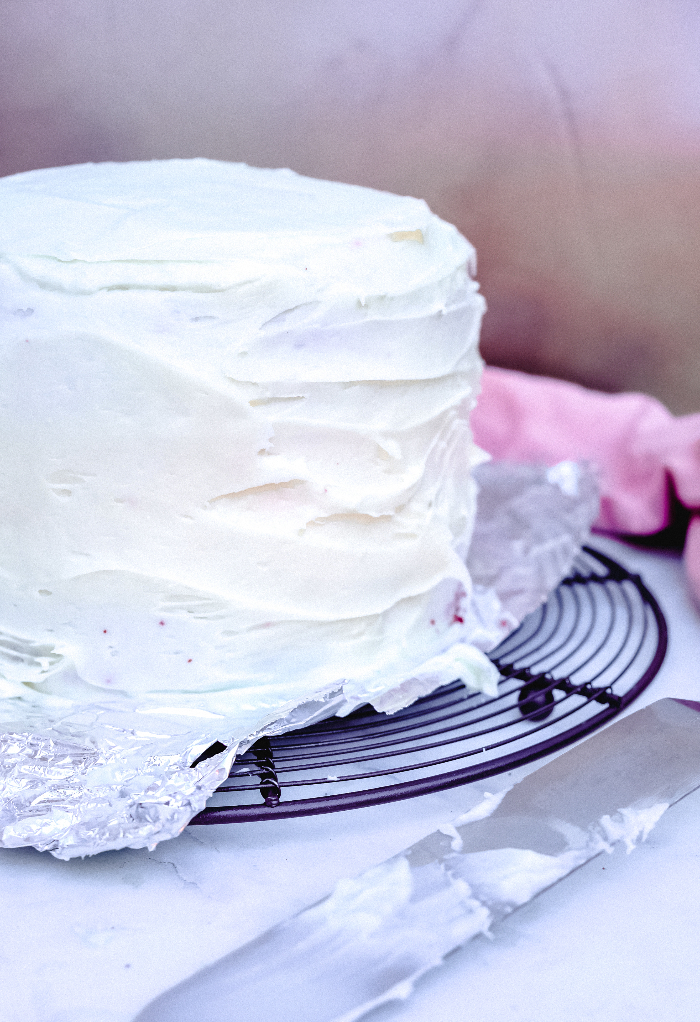
Add a hint of coconut to the frosting
I was really pleased with the way this cake turned out! The cheesecake was creamy and luscious, complementing the red velvet perfectly.
At the last minute I added a little coconut cream (Coco de Lopez) to the frosting. It added a very subtle addition of flavor, so if you happen to have coconut cream, then give it a try. Otherwise, it is fine to leave it out of the frosting.
FAQ’s
Red velvet cake is a chocolate cake flavored with cocoa powder. The deep maroon color of the cake is from the chemical reaction from the buttermilk and vinegar in the ingredients. The red dye enhances the color of the cake.
Yes. You can leave out the red dye. This cake will taste just as delicious without the red coloring, but then you won’t have the same visual impact that this cake is known for. Taste wise, minimal difference. You will need a whole bottle, which usually comes in 1 ounce size or 3 tablespoons if you have a large bottle of liquid food coloring.
Yes. You can make red velvet cupcakes with red velvet cake batter. You will get about 24 cupcakes if you bake the batter in cupcake liners instead of cake pans. In addition, you can also add the cream cheese mixture to the center of the cupcakes. However, you will have extra cheesecake batter, so you can bake a small cake or additional mini cheesecakes out of it. To bake red velvet cheesecakes, add two tablespoons of batter to the bottom of the cupcake papers. Add 1 tablespoon of the cheesecake filling, and top with an additional layer of cake batter. Bake at 350°F degrees for 15-20 minutes.
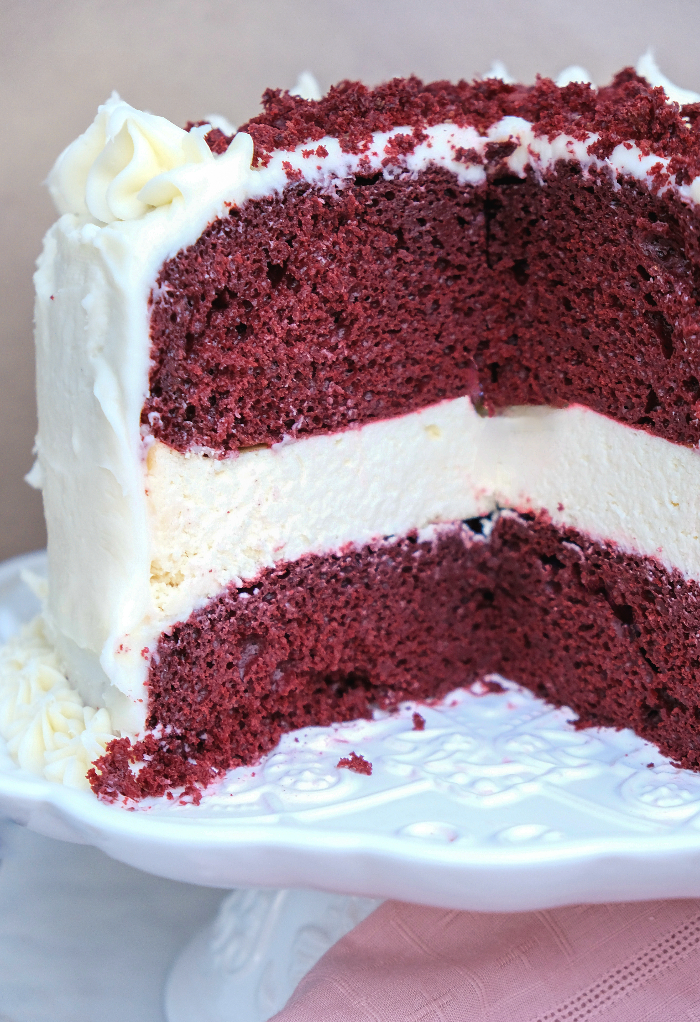
Not a difficult cake to bake. Enjoy the process!
There is something magical about red velvet cake, don’t you think? Adding cheesecake takes it to a whole other fabulous level! A celebratory special cake indeed!
This isn’t a hard cake to make, it just takes time. Plan to make this a couple of days prior to the celebration.
I baked both cakes one evening, and then put it together the next day after the cheesecake had time to get nice and firm.
Let me know the occasion you baked this red velvet cheesecake cake recipe! I would love to hear how it turned out for you.
Red Velvet Cheesecake Recipe
Ingredients
Cheesecake
- 32 ounces cream cheese room temperature
- 1 cup granulated sugar
- 4 large eggs room temperature
- 3/4 cup sour cream room temperature
- 1 tablespoon vanilla extract
Red Velvet Cake
- 2 1/2 cups cake flour
- 1 teaspoon baking soda
- 1 teaspoon salt
- 1/4 cup plus 2 tablespoons unsweetened cocoa powder
- 1 cup butter unsalted and at room temperature
- 1 1/2 cups granulated sugar
- 2 large eggs
- 1 cup buttermilk
- 4 tablespoons red food coloring
- 2 teaspoons vanilla extract
- 1 tablespoon distilled white vinegar
Frosting
- 1 cup butter unsalted and at room temperature
- 8 ounces cream cheese at room temperature
- 3 1/2 cups powdered sugar sifted
- 2 teaspoons vanilla extract
- 2 tablespoons cream of coconut optional
Instructions
- Preheat oven to 350 degrees.
- Cheesecake
- Spray 9″ springform pan with non-stick spray with flour. Wrap the bottom of the pan with foil to prevent water from seeping into the pan while cooking in water bath. Boil water in preparation of water bath.
- Beat together cream cheese and sugar until fluffy, scraping down the side of bowl as needed. Add in the eggs one at a time and beat until fully incorporated. Beat in the sour cream and vanilla.
- Pour the cream cheese batter into the prepared springform pan. Place the pan into a larger pan with a high lip and add hot water until it reaches halfway up the springform pan.
- Bake for about 45-55 minutes. The edges should be set, but the middle will look like it needs to be cooked longer. Turn off the oven and let it continue to cook in the warm oven for 1 hour.
- Remove from water bath and place pan on a cooling rack allowing the cheesecake to get to room temperature. Put the cheesecake in the refrigerator until chilled (best to leave overnight).
- Red Velvet Cake
- Grease two 9 inch cake pans and line the bottoms with parchment paper. Spray with non-stick cooking spray with flour.
- In a medium bowl, sift together flour, sugar, baking soda, salt and cocoa together. Set aside.
- On medium speed, cream the butter and sugar together until light and fluffy. Add the eggs one at a time and mix until incorporated. Add buttermilk, food coloring, vanilla, and vinegar. Mix until well combined.
- Add dry ingredients and mix until smooth.
- Pour batter evenly into prepared cake pans. Bake for 25 minutes, or until a toothpick inserted into the center comes out clean. Let cool for 5-10 minutes and remove from pans and place on a cooling rack.
- Frosting
- Whip the cream cheese, butter and vanilla together. Add powdered sugar and continue to mix until light and fluffy (about 5 minutes). Add Cream of Coconut (optional) and mix until blended into frosting.
- Assemble Cake
- Level the red velvet cakes cutting any domed mounds with a serrated knife. Place one layer of red velvet cake on your serving plate and spread a thin layer of frosting on the top of the cake. Carefully remove the cheesecake from the springform pan and place the cake on top of the first layer of red velvet cake. Add a thin layer of frosting to the top of the cheesecake, then add the second layer of red velvet cake. . Cover the cake with frosting and decorate with sprinkles, shaved white chocolate if desired. Refrigerate until ready to serve.
Notes
Nutrition
Disclaimer
Please note that the nutritional information provided are guidelines and may vary based on the brand of products used. For your specific nutritional goals use My Fitness Pal or Verywell Fit recipe calculators. All content within this site is not intended as medical diagnosis or treatment and should not be considered a substitute for professional medical expertise.
This cake was adapted from Brown Eyed Baker, and Food.com
This recipe was first shared October, 2013. It has been updated with new photos and additional details October, 2021.
PIN TO YOUR RECIPE BOARDS


Looks gorgeous and delicious!
This is going on my “must bake” list this holiday season! That is one gorgeous celebration cake! Perfect for the holidays! Such easy to follow steps too! Thanks!
Happy birthday to your boy! This cake has the best of both world’s the delicious moistness of chocolate and the creaminess of the cheesecake. This is a great idea! My brother in laws favourite cake is this and it would be nice to switch it up and try your fun version.
Thank you, Bam! It really is a wonderful cake!!
A very pretty cake. Happy Birthday to your son.
Thank you, Norma!