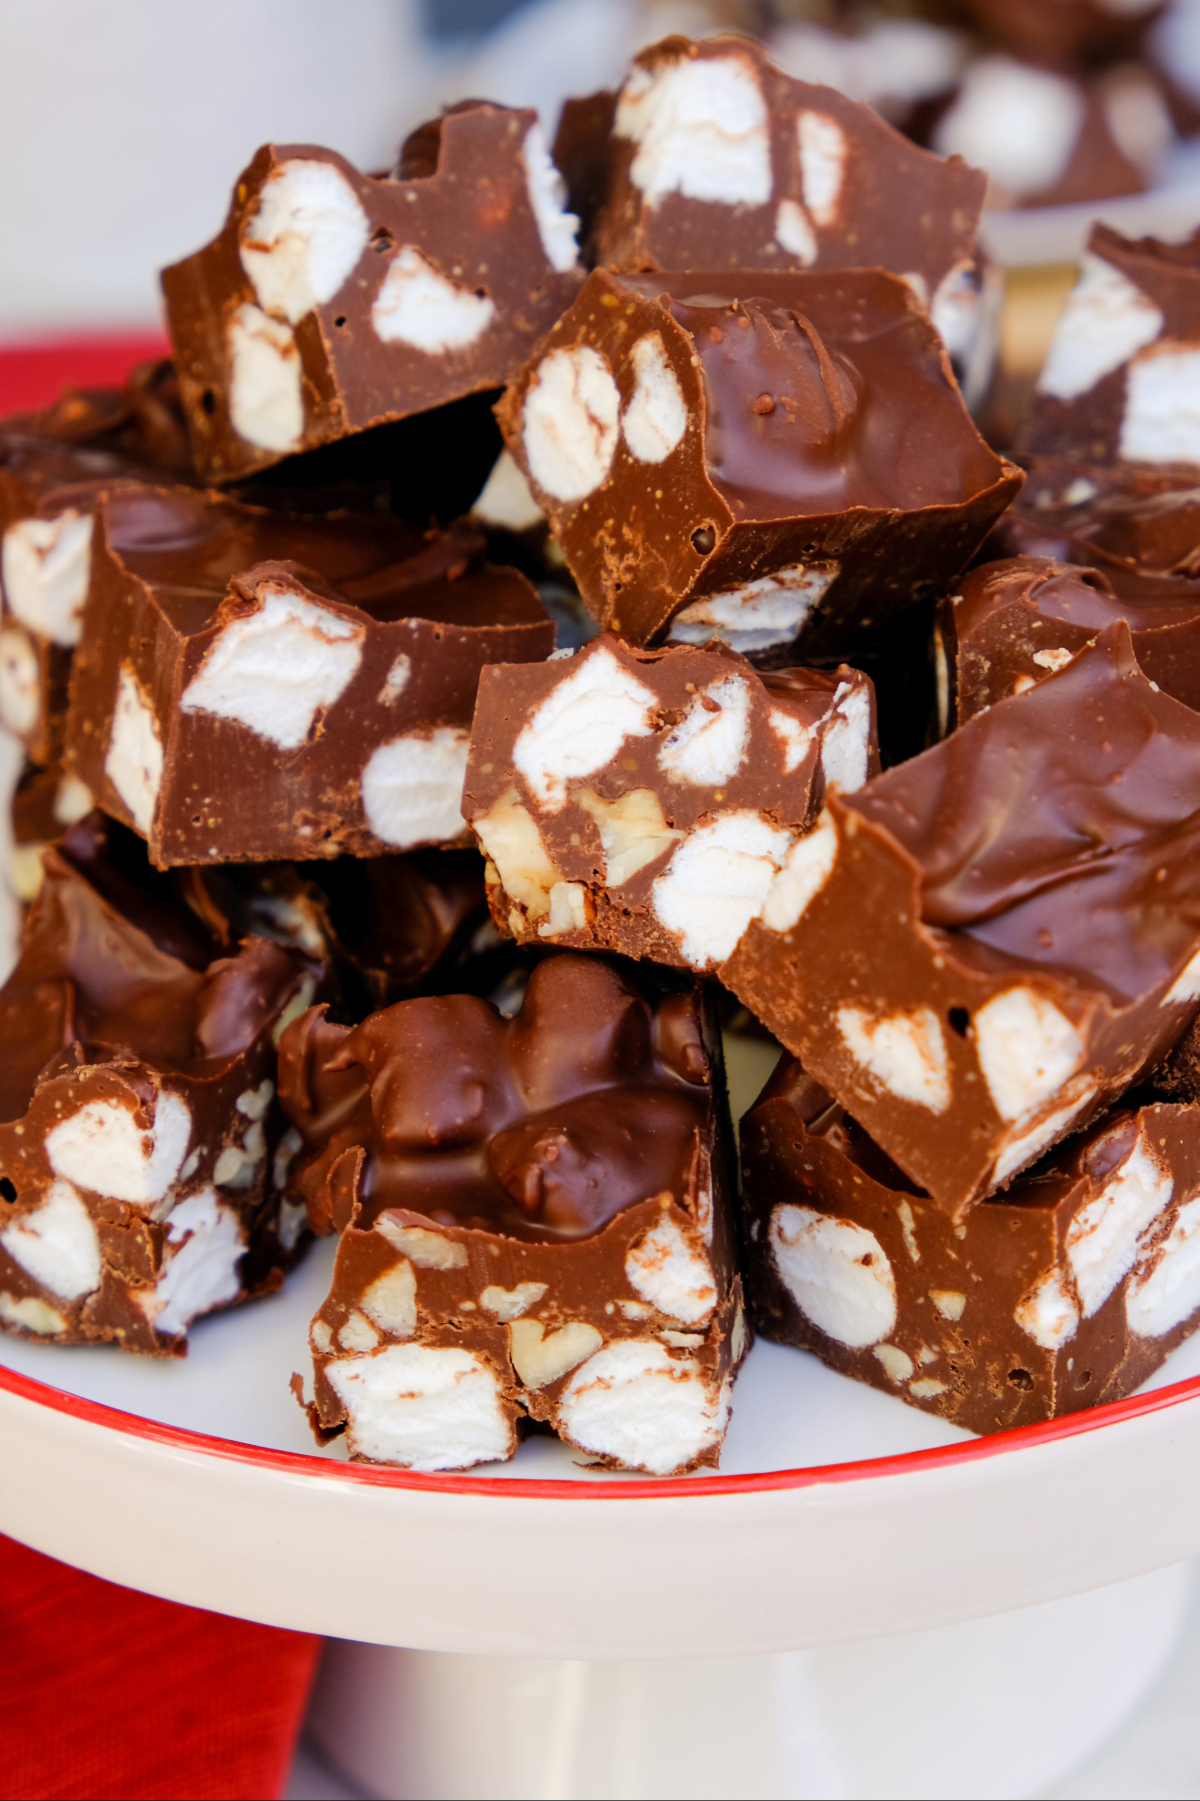
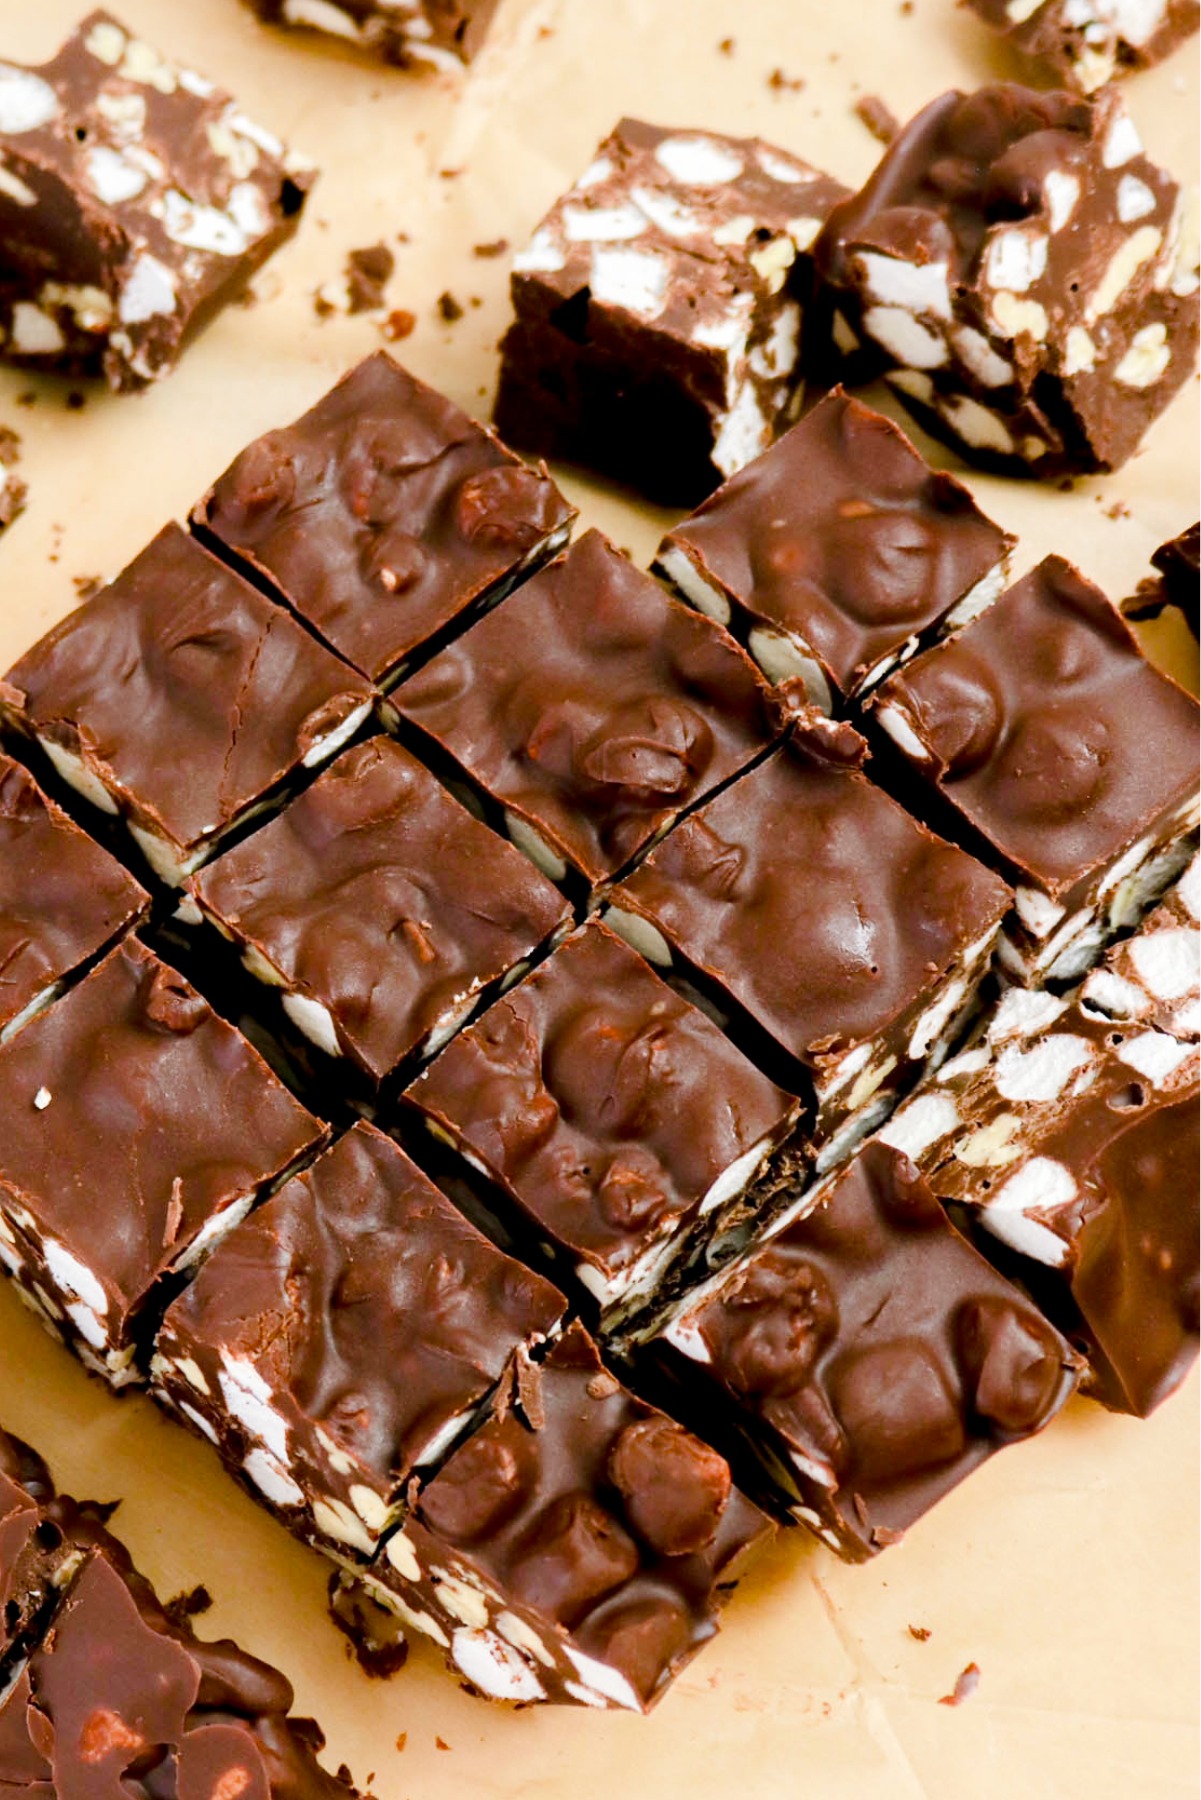
Easy No-Bake Rocky Road Recipe
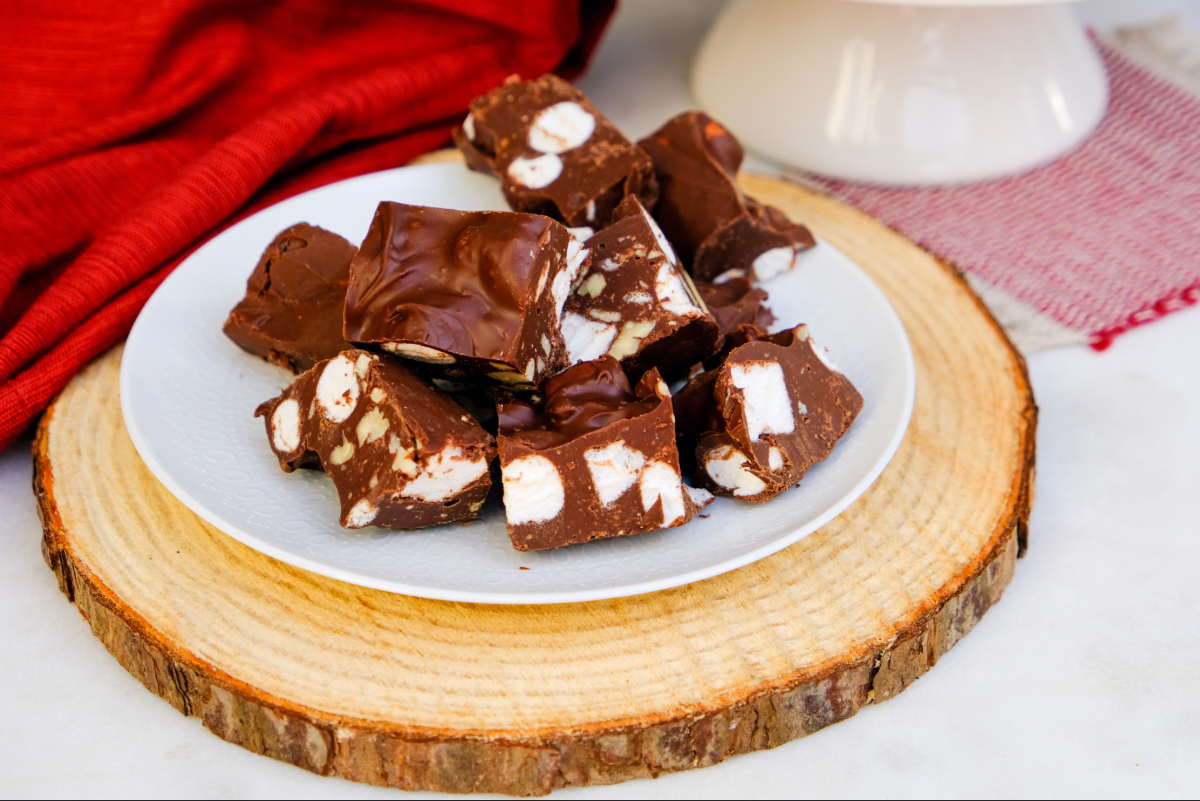
Rocky Road candy is loaded with melty chocolate, fluffy marshmallows, and crunchy nuts, and honestly, it hits every sweet craving at once. It’s the perfect no bake treat for those days when you want dessert without hovering over the oven. Plus, it makes an amazing homemade gift. Just tuck a few pieces into a pretty tin and you’ve got a crowd-pleaser with almost zero fuss.
It’s one of those recipes that feels a little nostalgic, the kind you can throw together while the kids hover around the bowl waiting for a taste. I’ve carried batches to potlucks, wrapped them up for last-minute gifts, and even stashed a few squares in the freezer for those late-night chocolate emergencies. It just never lets me down.
If you love super easy no-bake recipes, then give these coconut clusters, chocolate peanut butter oatmeal cookies, or these copycat samoas a try next time.
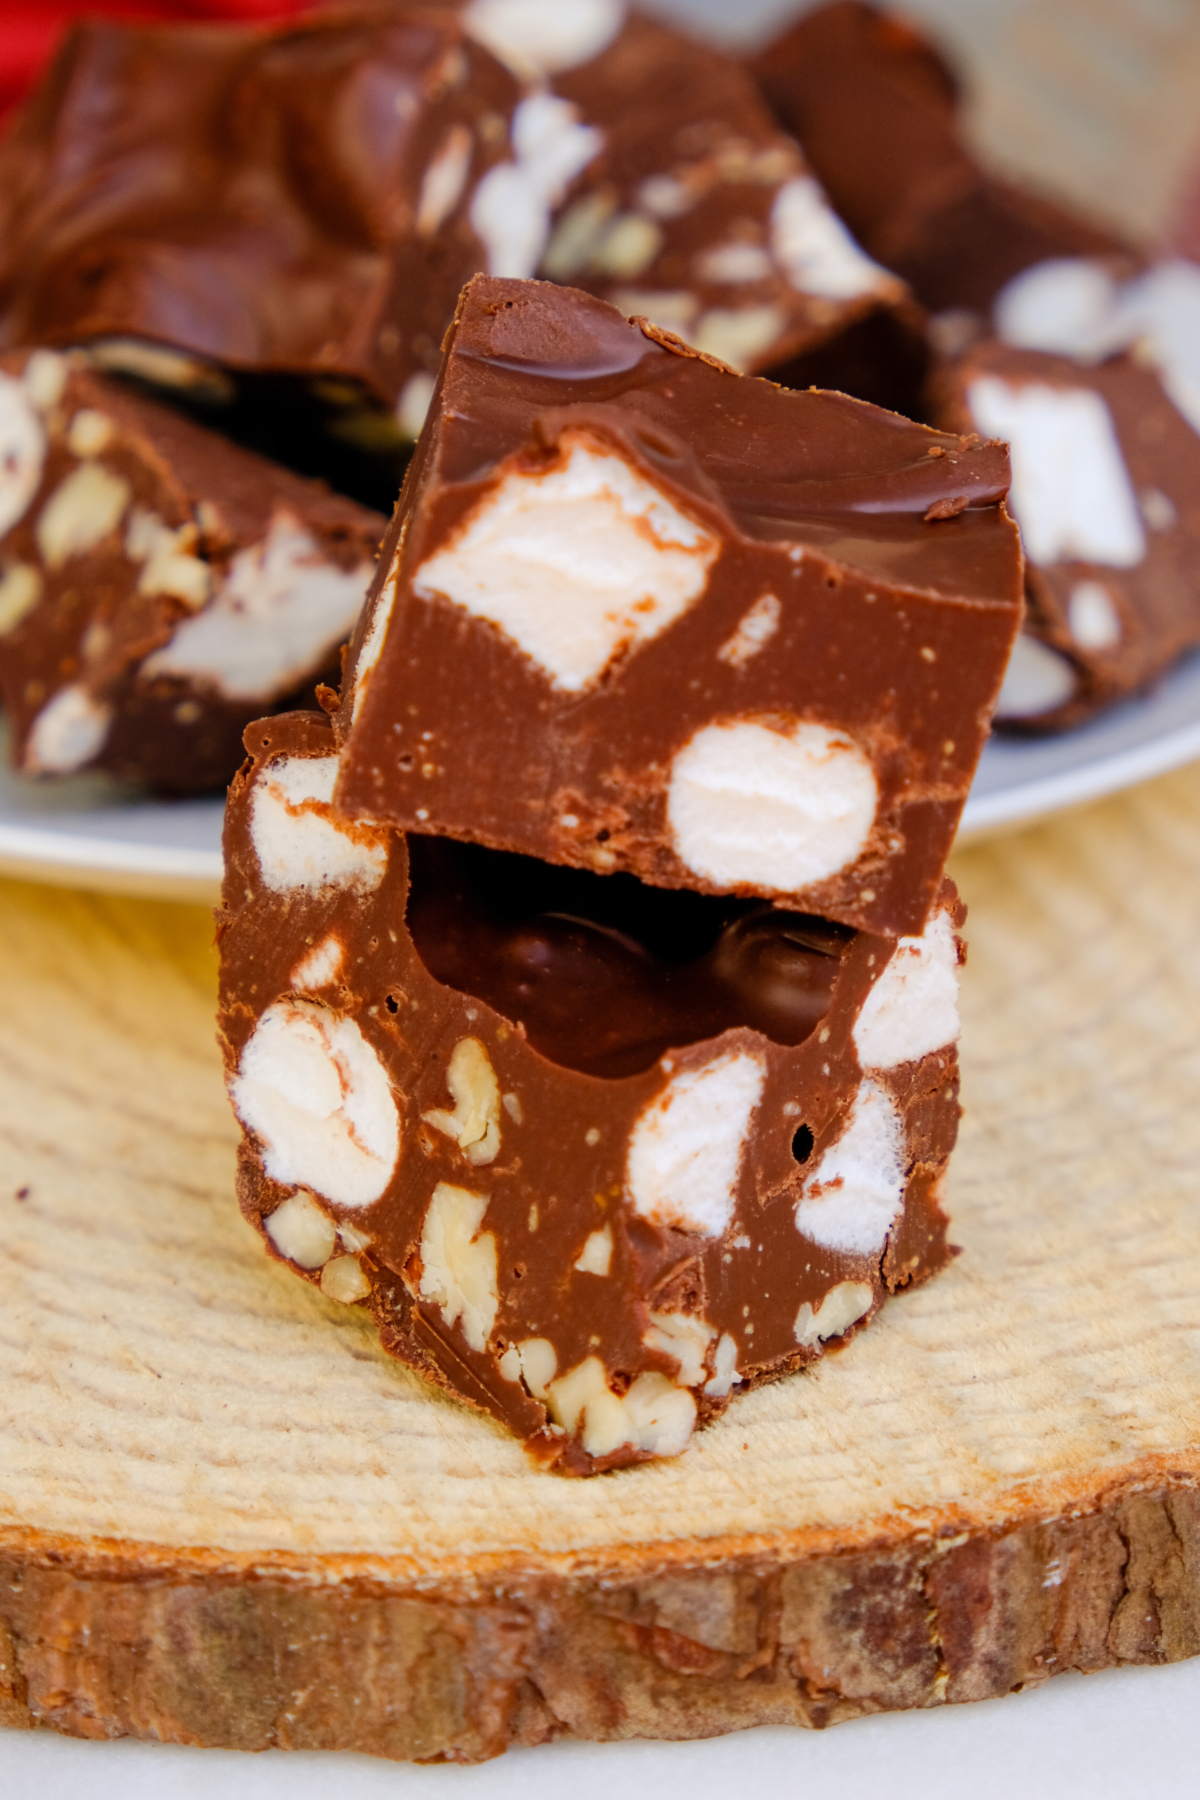
Table of Contents
Why You’ll Love This Recipe
- Budget-friendly: You only need a handful of simple ingredients, nothing fancy or hard to find. So, you don’t have to worry about breaking your grocery budget.
- Only a few dishes: Clean up is easy since everything melts together in one bowl.
- Make-ahead friendly: It stores well, which makes it perfect for planning parties or holiday trays.
- Kid-friendly: Kids can help make it, so it’s a fun kitchen project that doesn’t feel chaotic.
Ingredients
This is a list of the ingredients that you need to make your grocery shopping easier. You can find the full list of the ingredients and amounts needed in the recipe card at the bottom of this post.

- Semisweet chocolate chips: Rich chocolate base that holds everything together.
- Creamy peanut butter: Adds a smooth, nutty flavor. However, this is optional.
- Vanilla extract: Just a splash to bring out all the flavors.
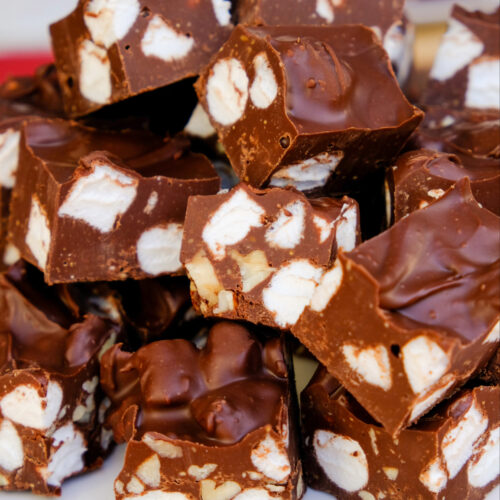
- Mini marshmallows: Sweet, chewy, and classic rocky road flavor.
- Chopped nuts: Walnuts, pecans, or almonds bring crunch and balance out the sweetness.
How to Make Rocky Road Candy
This is a quick overview of the step-by-step instructions for making this recipe. You can find the complete list of instructions in the printable recipe card at the bottom of this post.
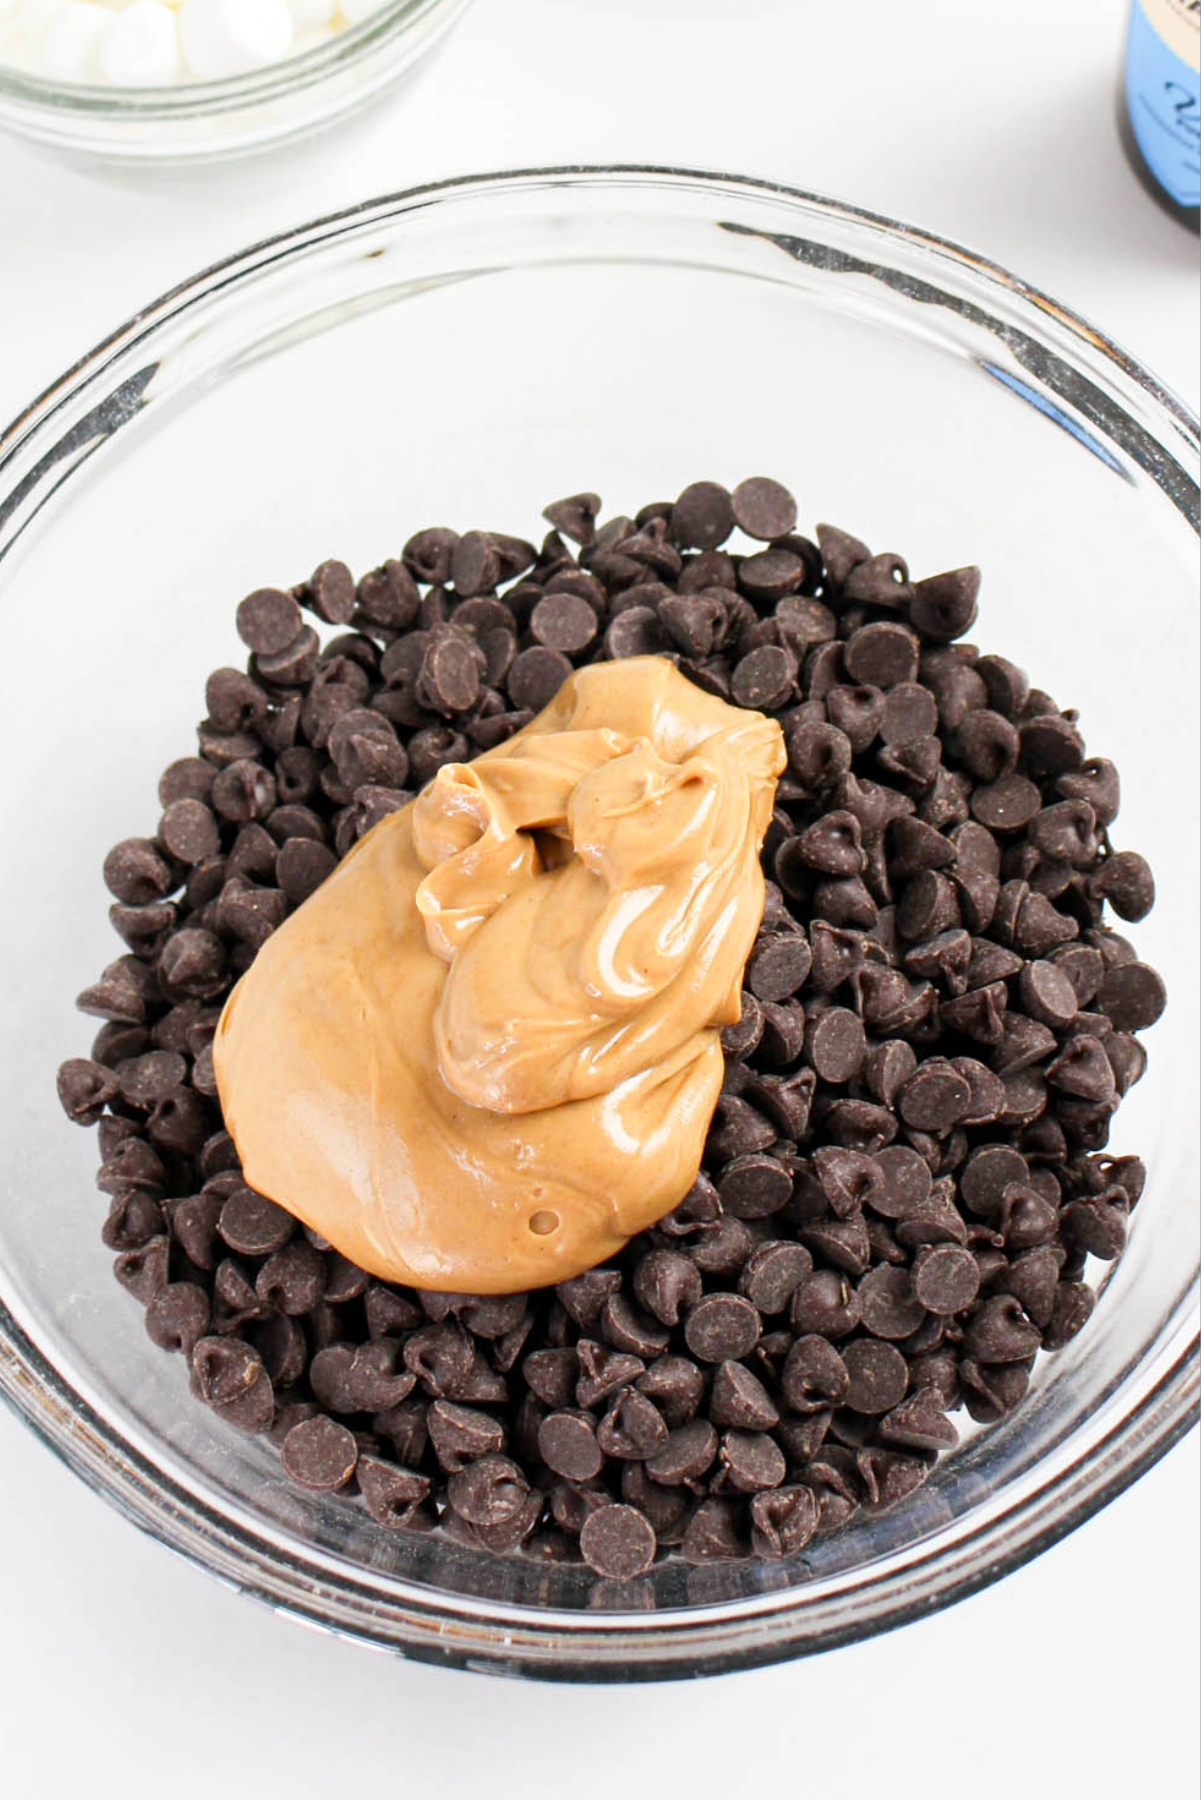
- In a microwave-safe bowl, melt chocolate chips (and peanut butter, if using) in 30-second bursts, stirring in between until smooth.
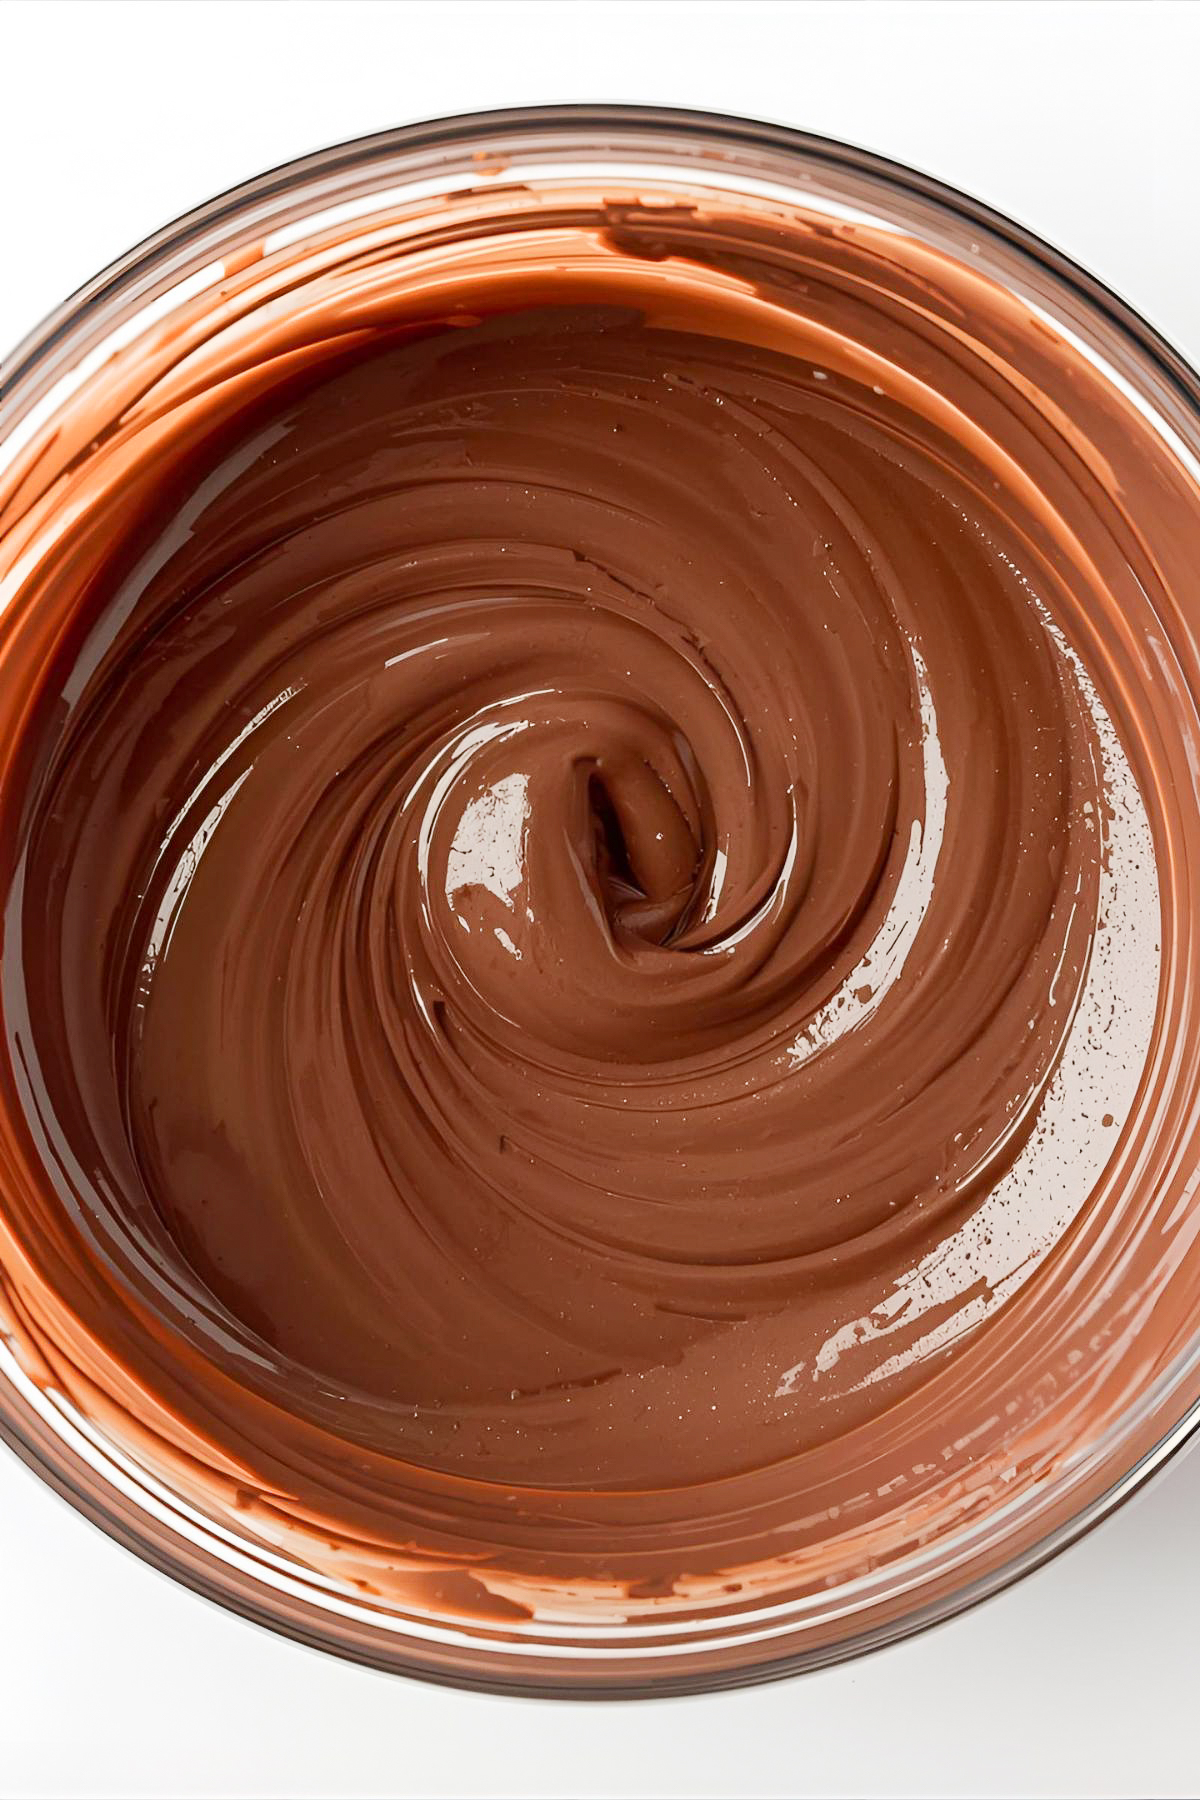
- Stir in vanilla extract. Let the chocolate cool for 2–3 minutes.
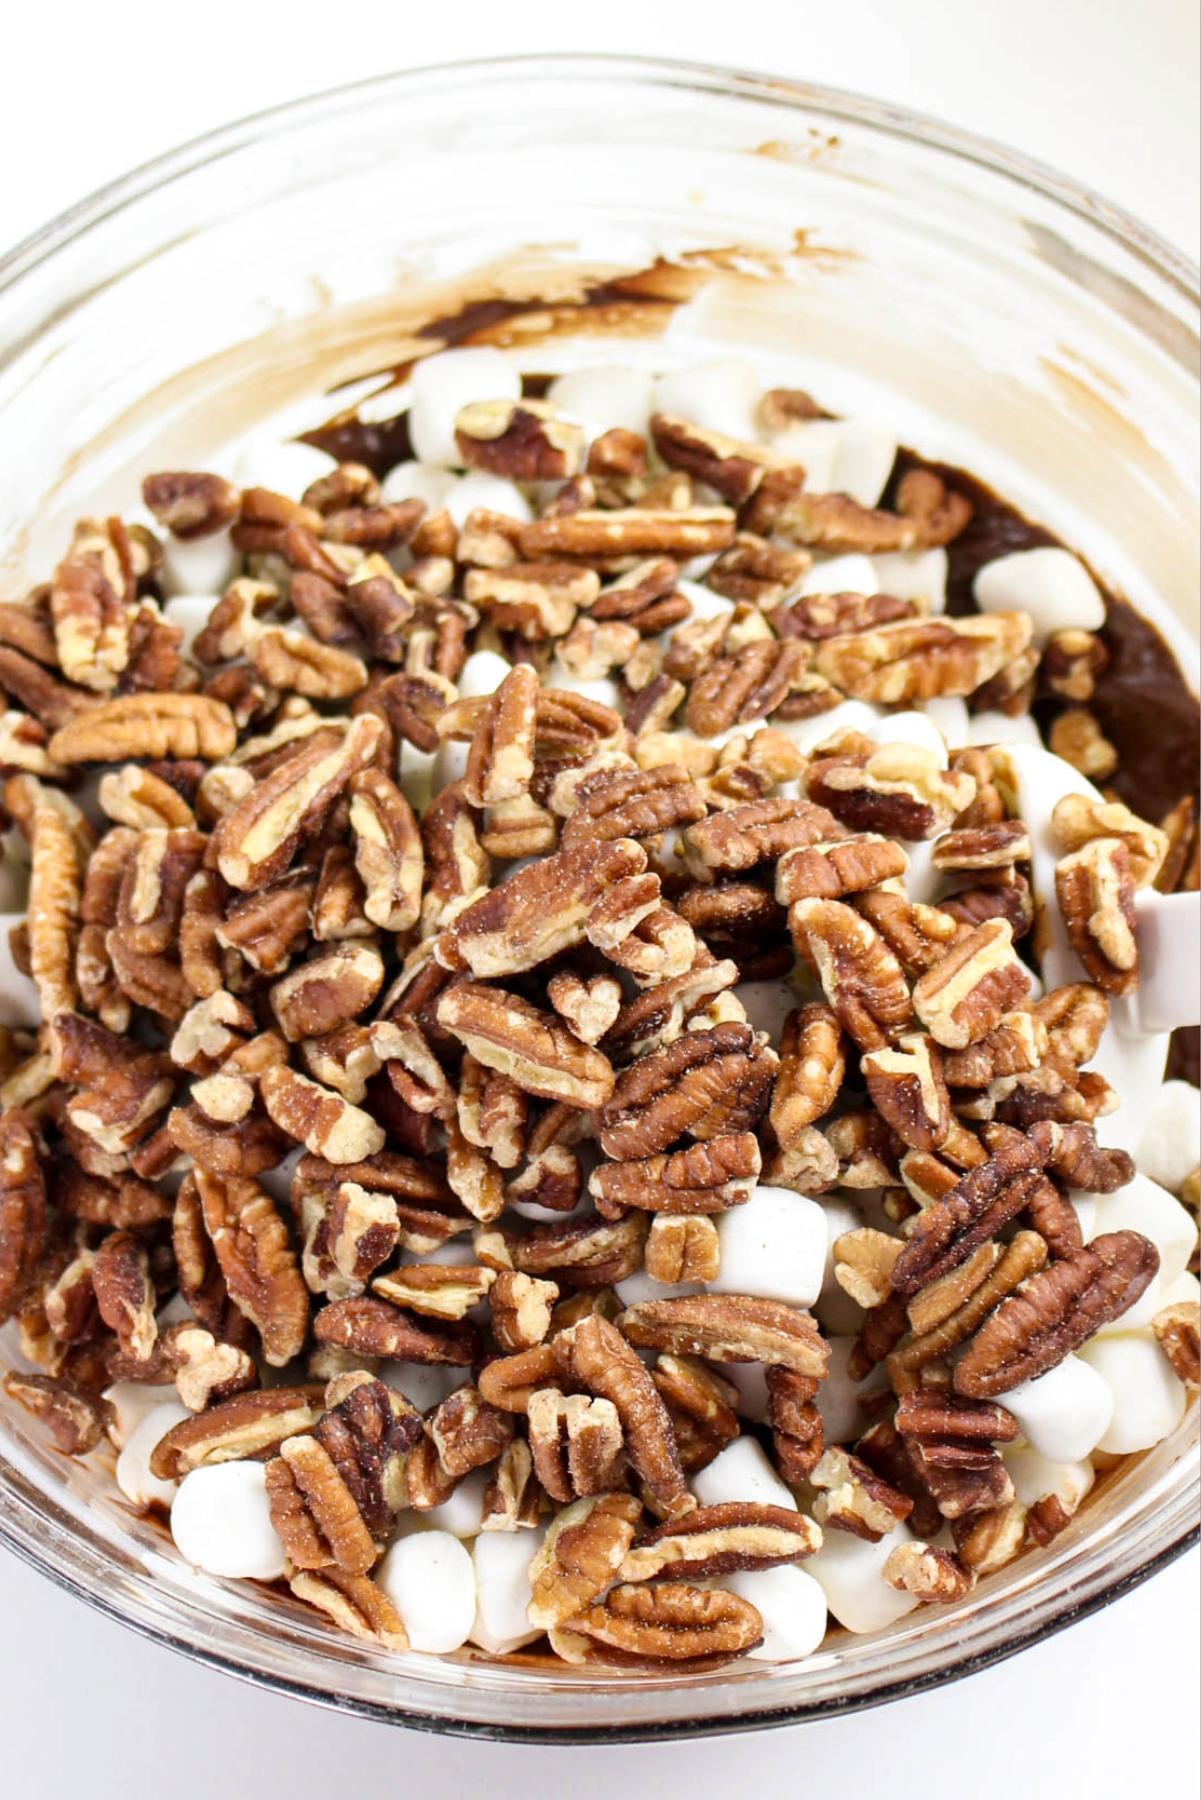
- Gently fold in mini marshmallows and chopped nuts until evenly mixed.
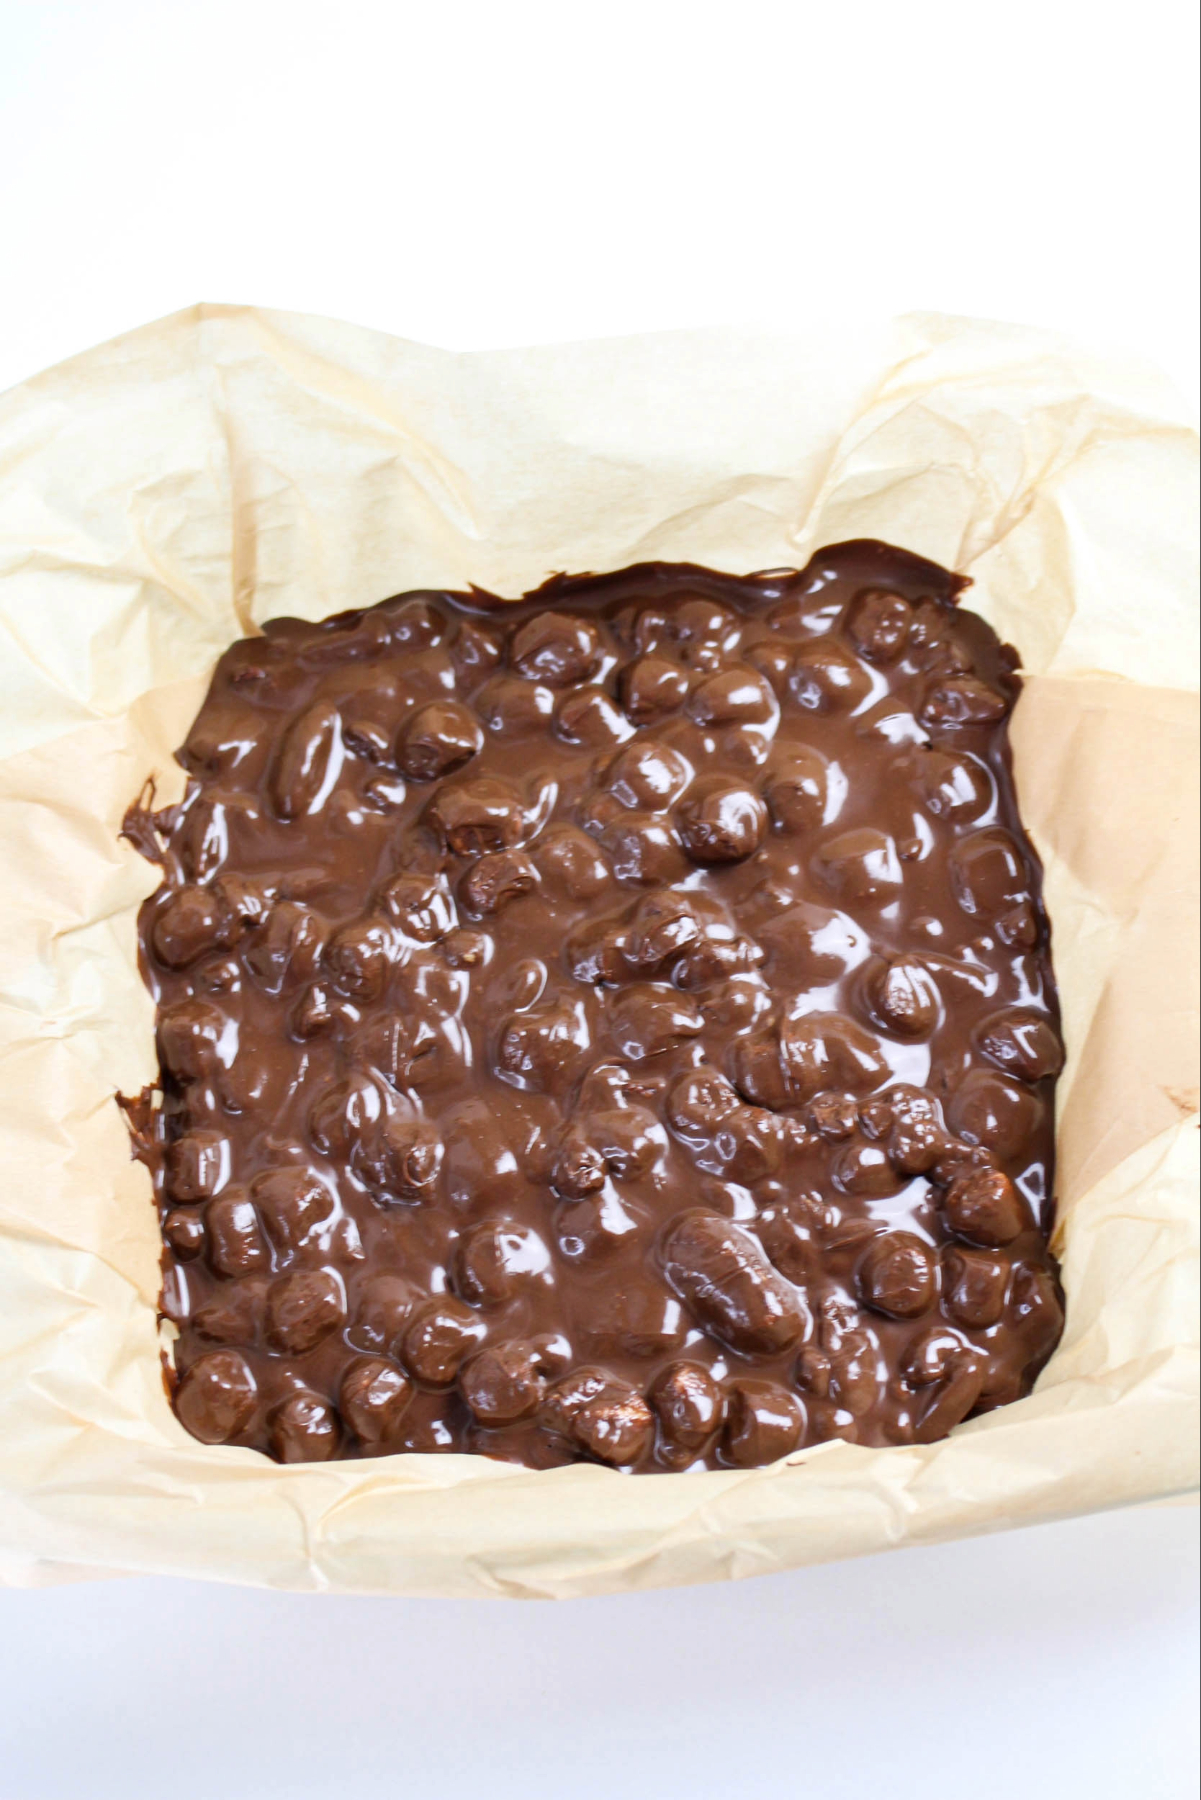
- Pour into the lined pan and spread it out evenly. Chill in the fridge for about 30 minutes until set. Cut into squares and dig in!
What To Serve With This Dish
This no bake holiday treat pairs well with a cup of hot coffee or hot cocoa. And it also pairs well with holiday cookie treats like Gingerbread Man Cookies, Eggnog Cookies, and these Cranberry Coconut Cookies.
Substitutions and Additions
- Chocolate: Change it up and use milk or dark chocolate chips instead.
- Nut butter: Swap out the peanut butter for your favorite nut butter. Almond butter or even sun butter works great in this recipe.
- Low Carb: Use your favorite sugar-free chocolate chips for a lower carb treat.
- Customize: There are so many different ways to personalize your homemade candy. Try adding crushed graham crackers, dried cranberries, or even chopped pretzels for a crunchy texture.
- Variations: If you want to mimic the rocky road candy bar flavor profiles, modify the original bar to the following options;
How To Store
- Storage: Keep in an airtight container in the fridge for up to a week.
- Freezing: Freeze in a single layer, then transfer to a bag or container. Keeps for up to 2 months. If you are stacking it, make sure to put pieces of parchment paper between the layers to prevent the candy from sticking together.
Sandra’s Pro Tips
- Toast the nuts for a deeper flavor. You can toast them in the oven at 350 degrees for 5–7 minutes.
- Don’t overheat the chocolate; you want it to be melted, not scorched.
- Let the melted chocolate cool slightly so it doesn’t melt the marshmallows.
- Dip your knife in hot water and wipe it clean between slices for sharp, clean cuts.
- You can use parchment with overhangs so you can lift the whole slab out to cut evenly.
FAQs
Do you have questions about this no bake rocky road candy recipe? Here are the answers to the most commonly asked questions for this recipe.
You can, just chop them into smaller pieces so they mix in evenly.
About 30 minutes in the fridge, but you can leave it longer if you want it extra firm.
Yes! Just use a 9×13-inch pan instead of an 8×8.
Other Delicious No Bake Holiday Recipes You May Enjoy
Easy No-Bake Rocky Road Recipe
Equipment
- 8×8 – inch pan
- Parchment Paper
- Large Mixing Bowl
Ingredients
- 3 cups semisweet chocolate chips
- 1/2 cup creamy peanut butter optional, adds creaminess
- 1 teaspoon vanilla extract
- 2 cups mini marshmallows
- 1 cup chopped nuts walnuts, pecans, or almonds – optional
Instructions
- Line an 8×8-inch pan with parchment paper.
- In a microwave-safe bowl, melt the chocolate chips (and peanut butter, if using) in 30-second intervals, stirring in between, until smooth.
- Stir in vanilla extract.
- Fold in mini marshmallows and chopped nuts (optional)until well combined.
- Pour the mixture into the prepared pan and spread evenly.
- Refrigerate for about 30 minutes, or until firm.
- Cut into 1-inch squares and serve.
Notes
- Toast the nuts first for extra crunch and flavor—just bake them at 350°F for 5–7 minutes until fragrant.
- Don’t overheat the chocolate—melt it slowly over low heat or in short microwave bursts, stirring often, to keep it smooth and glossy.
- Mix in add-ins carefully so the marshmallows don’t melt from the warm chocolate; let the chocolate cool for 2–3 minutes before folding everything together.
- Line the pan with parchment paper that hangs over the edges—this makes lifting the candy out and cutting much easier.
- How to cut into clean pieces – Dip the knife in hot water and wipe with a paper towel before cutting the rocky road. Repeat for each slice.
- Store in the fridge or freezer for clean, firm bites, but let sit at room temperature for a few minutes before serving so they’re softer to chew.
Nutrition
Disclaimer
Please note that the nutritional information provided are guidelines and may vary based on the brand of products used. For your specific nutritional goals use My Fitness Pal or Verywell Fit recipe calculators. All content within this site is not intended as medical diagnosis or treatment and should not be considered a substitute for professional medical expertise.