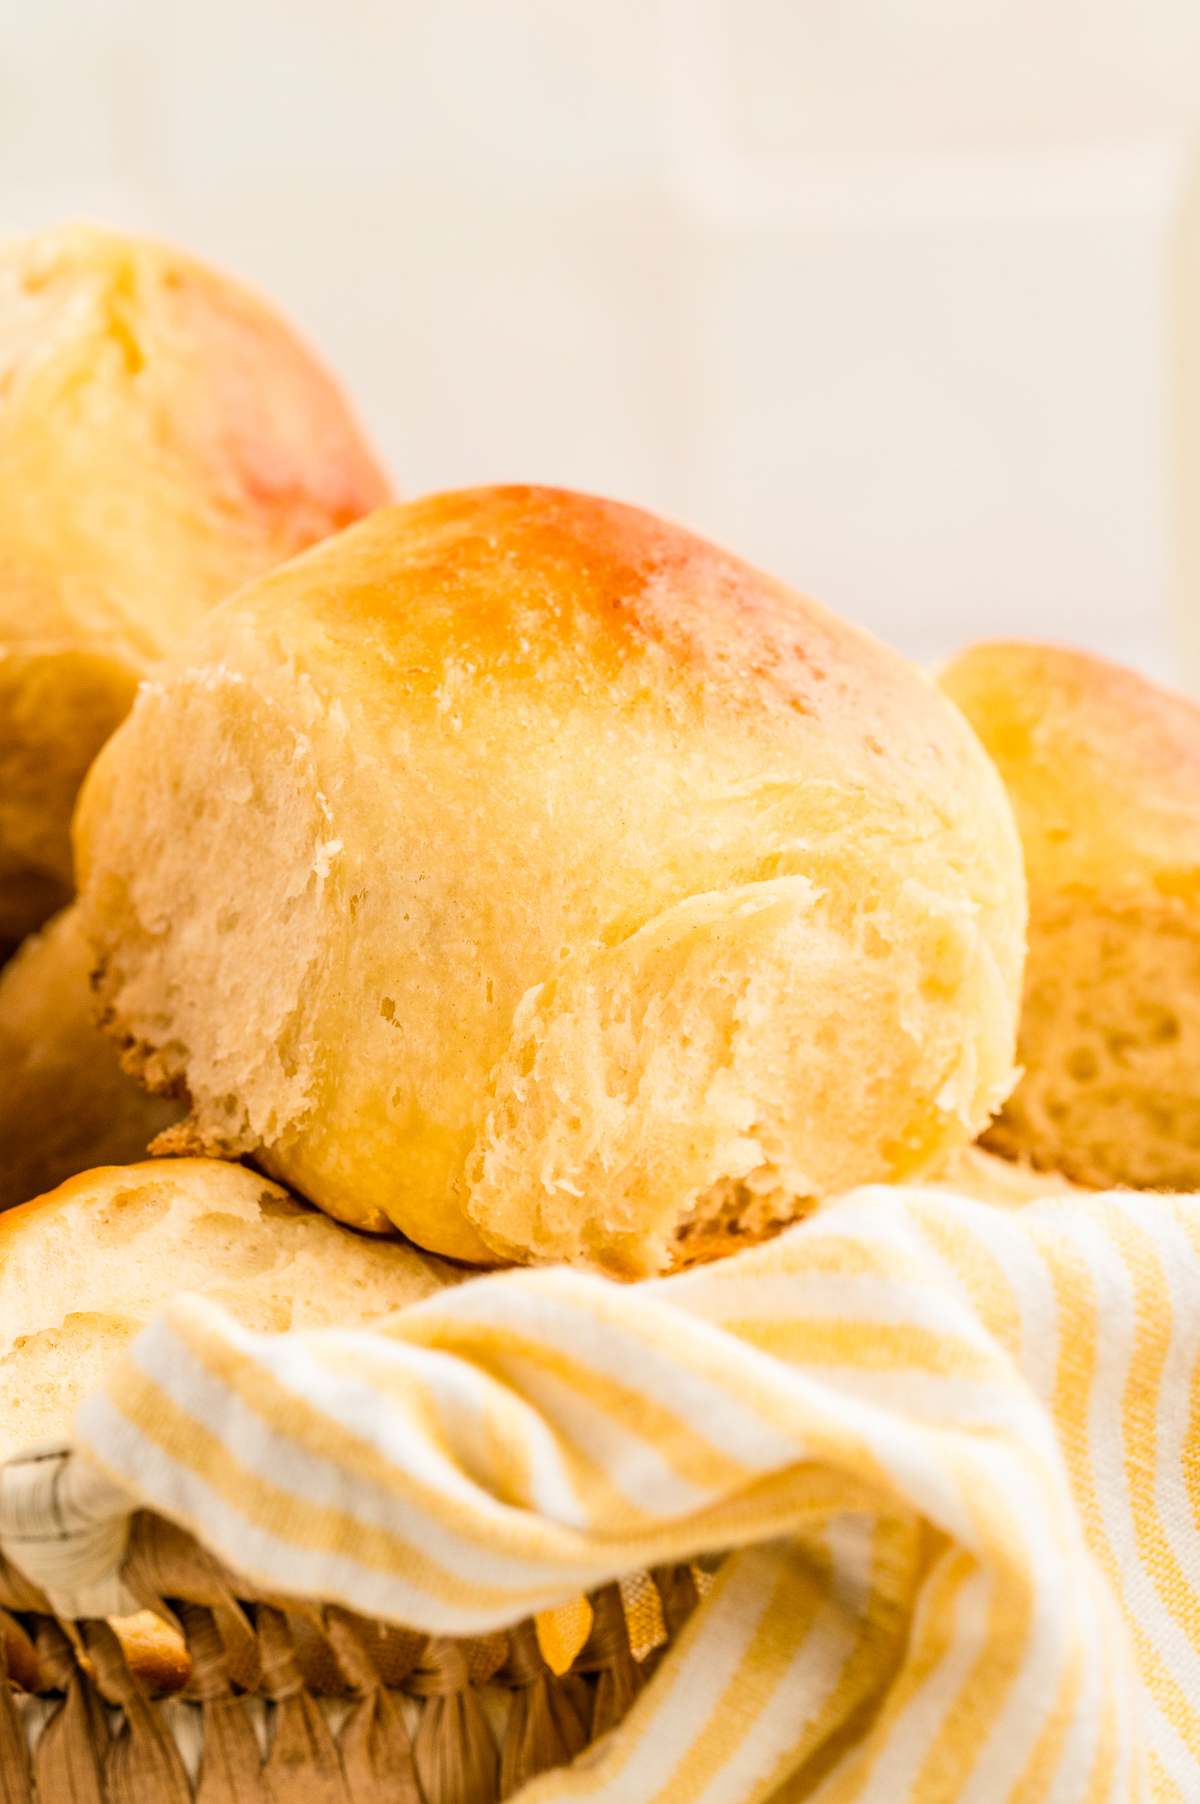
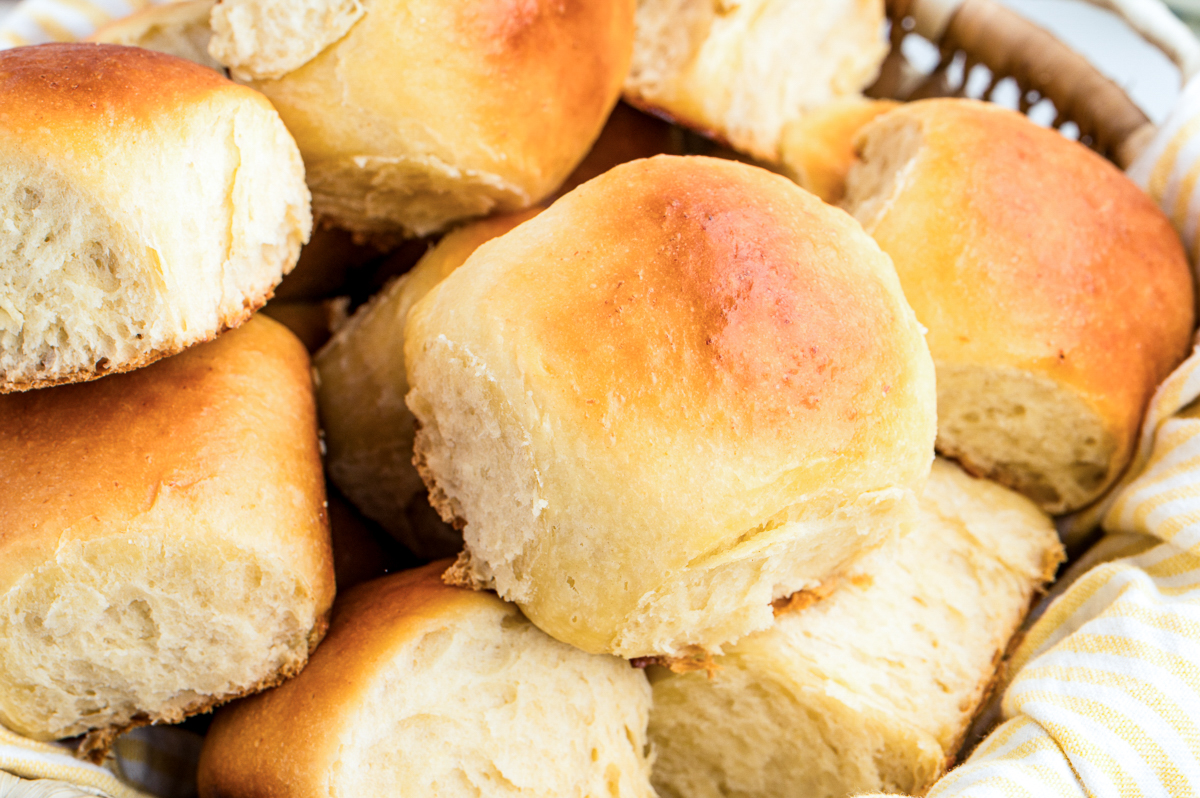
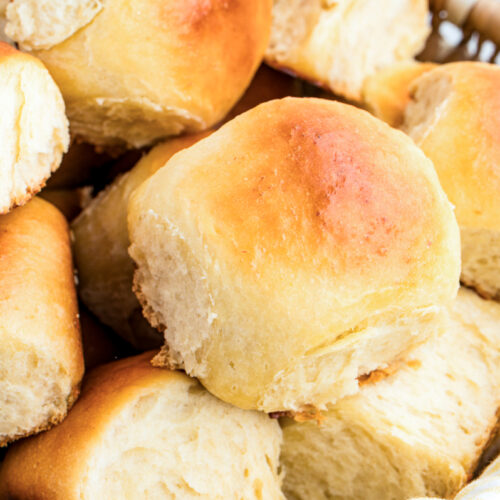
Homemade Hawaiian Dinner Rolls Recipe
This recipe for Hawaiian dinner rolls is perfect for your next family meal. The soft, sweet rolls are a crowd favorite and easy to make. They also make great slider buns for your next appetizer night.
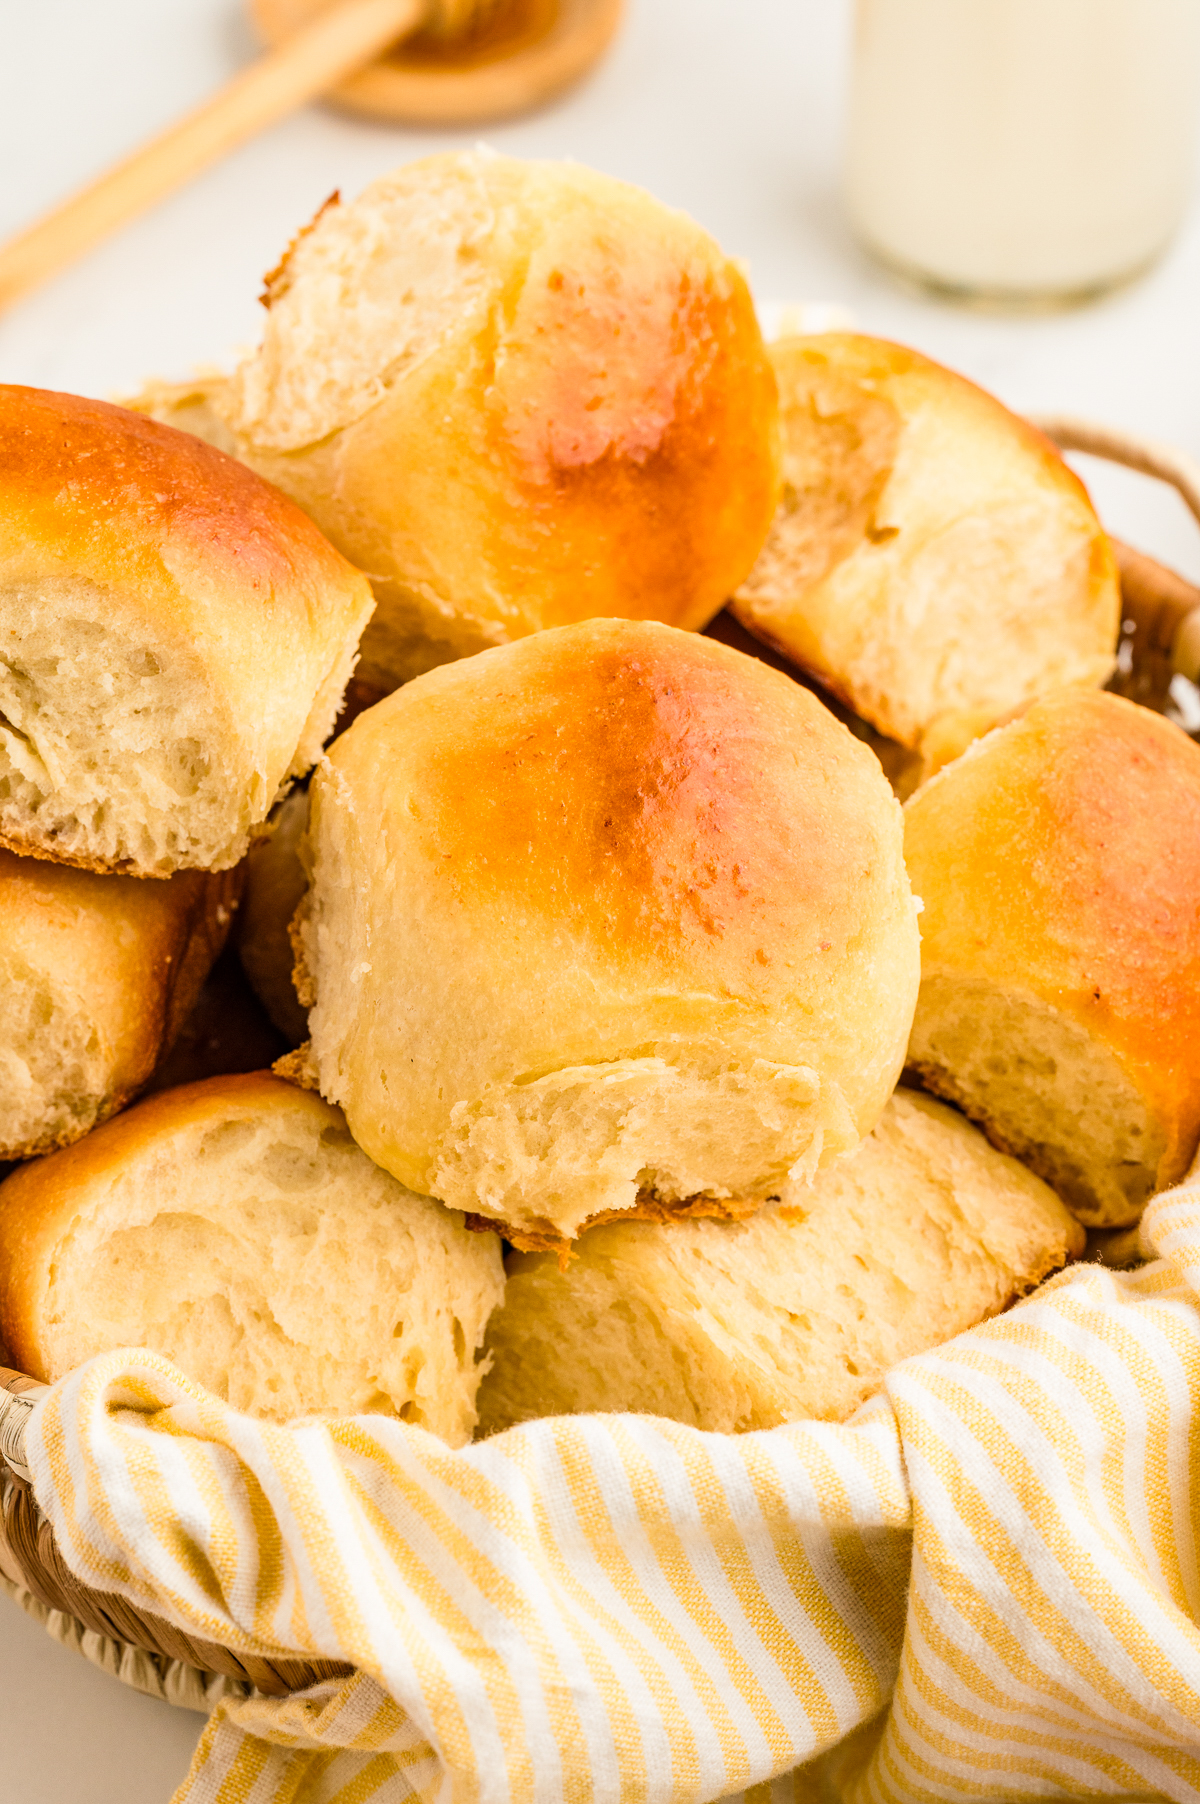
Table of Contents
Why You’ll Love This Recipe
- Irresistibly soft and fluffy, it melts in your mouth with a slight hint of sweetness.
- And it’s an easy-to-follow recipe with simple ingredients you likely already have at home.
- They are versatile enough to be used as dinner rolls, sandwich buns, or even a snack on their own.
Equipment Needed
This is a list of the equipment that you will need to make this recipe for Hawaiian dinner rolls.
- stand mixer or hand mixer with dough hook
- baking dish 9″x13″
- pastry brush
- cooling rack
Ingredients
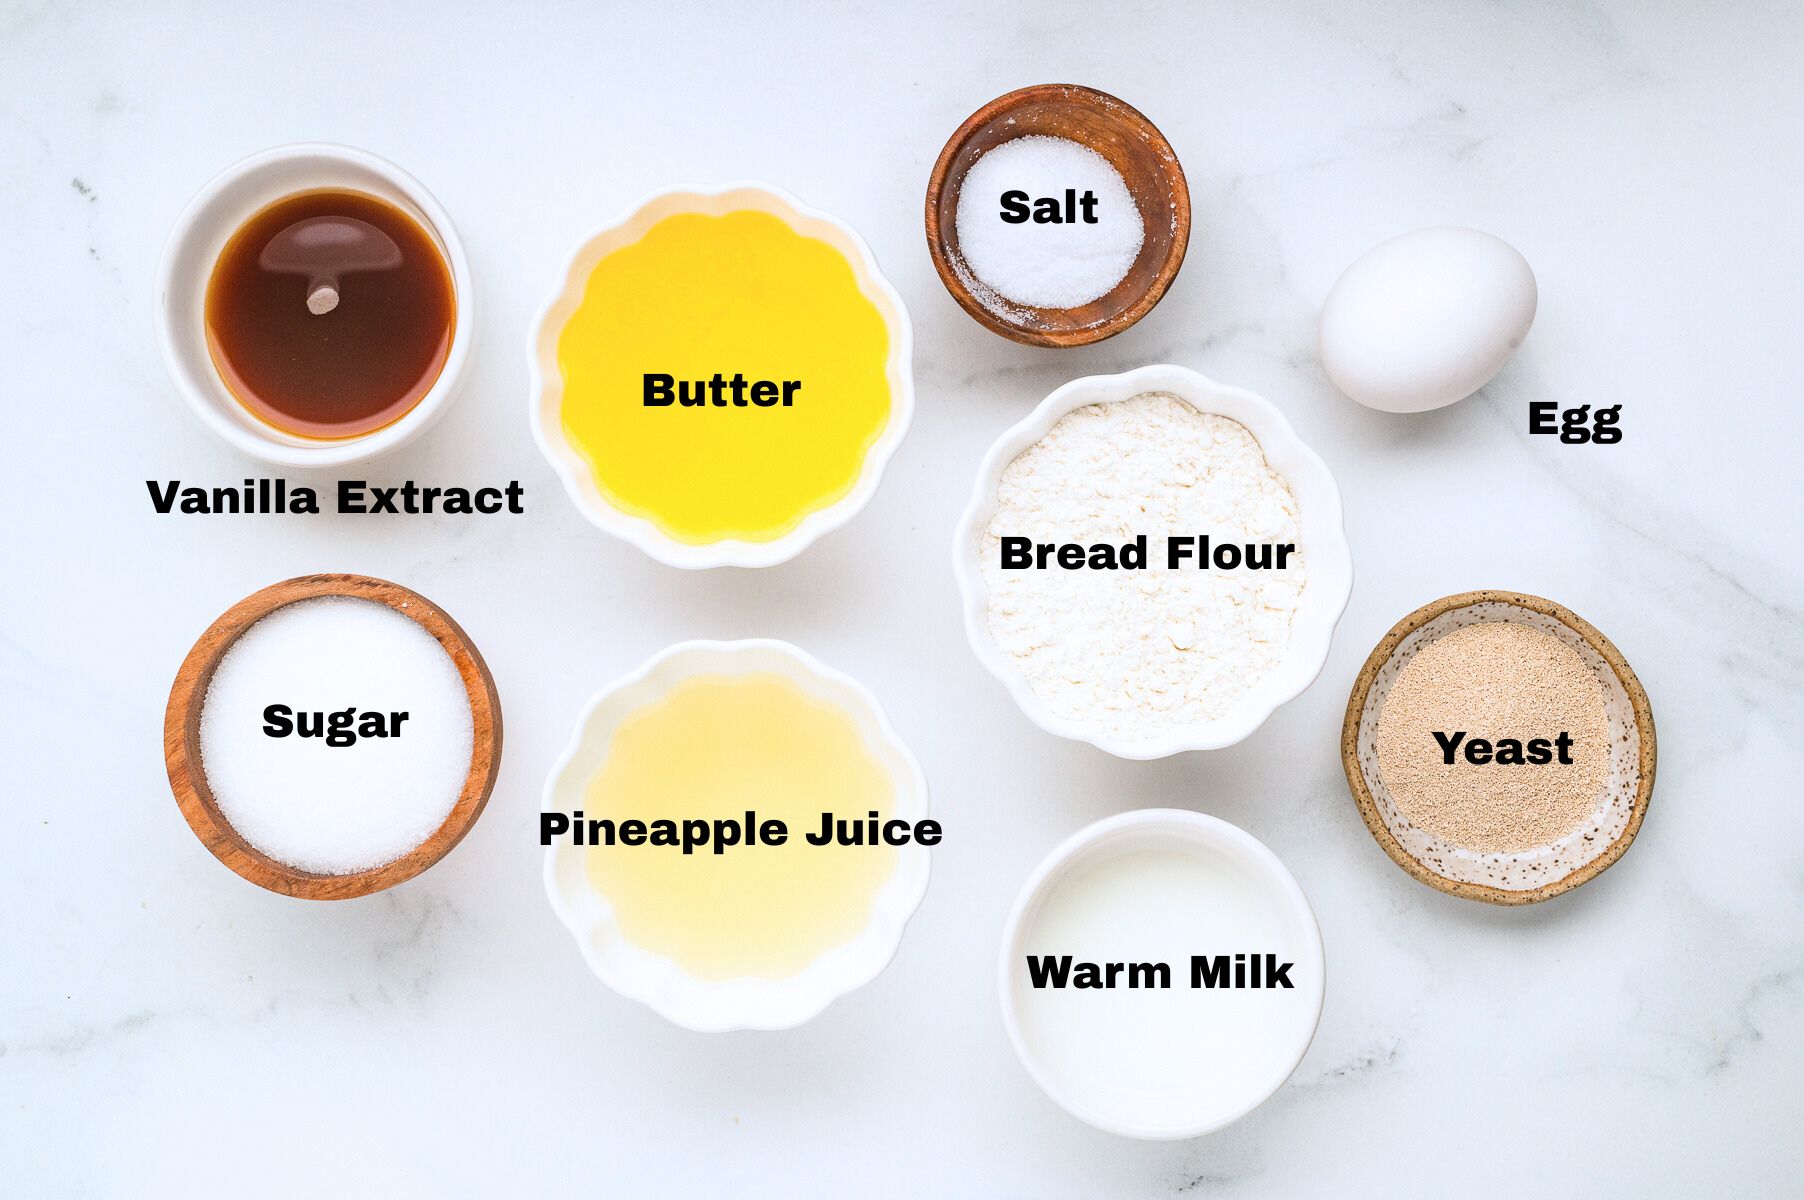
This is a list of the ingredients that you need to make your grocery shopping easier. You can find the full list of the ingredients and amounts needed in the recipe card at the bottom of this post.
- pineapple juice
- warm milk
- butter
- granulated sugar
- large eggs
- vanilla extract
- instant yeast
- bread flour
- salt
How to Make This Recipe For Hawaiian Dinner Rolls
This is a quick overview of the step-by-step instructions for making this recipe. You can find the complete list of instructions in the printable recipe card at the bottom of this post.
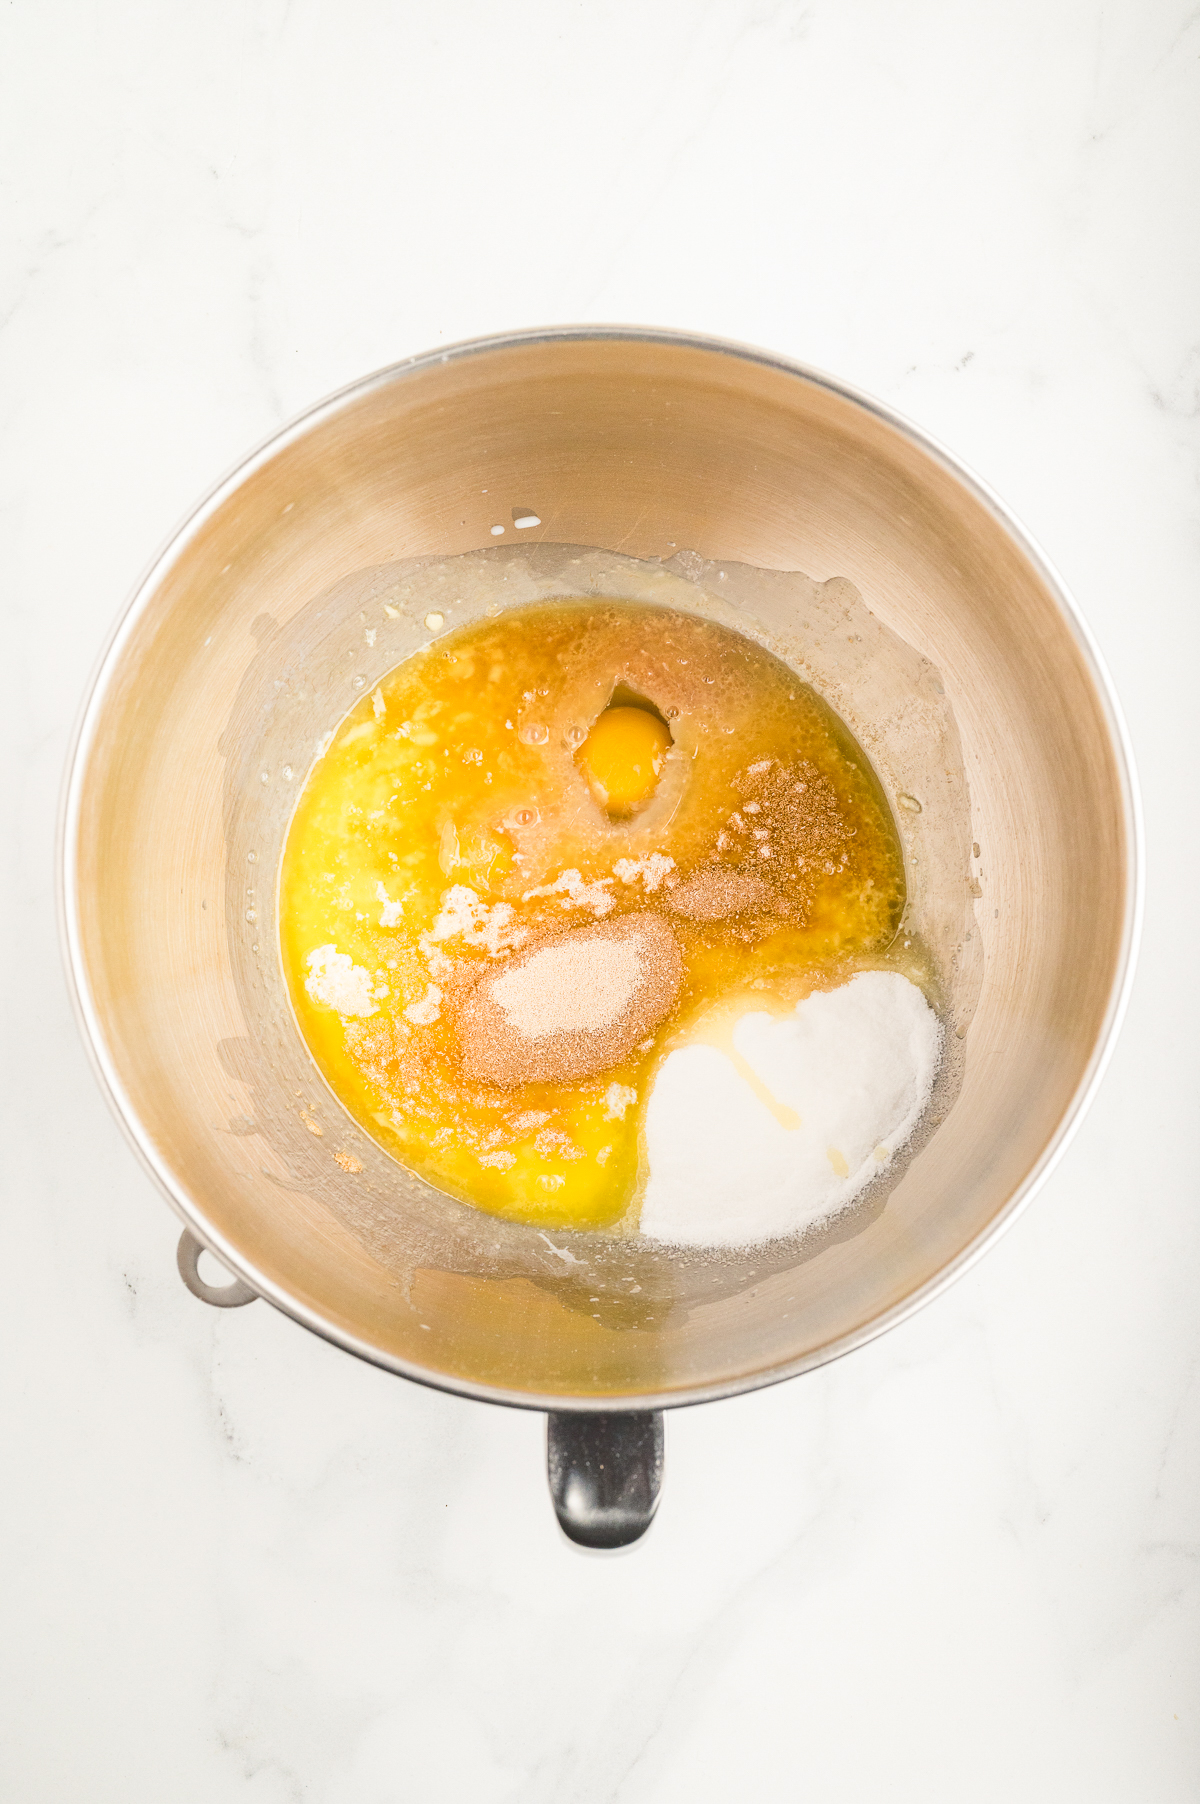
- In the bowl of a stand mixer combine the pineapple juice, milk, butter, sugar, eggs, vanilla, and yeast. Mix together with a fork slightly.
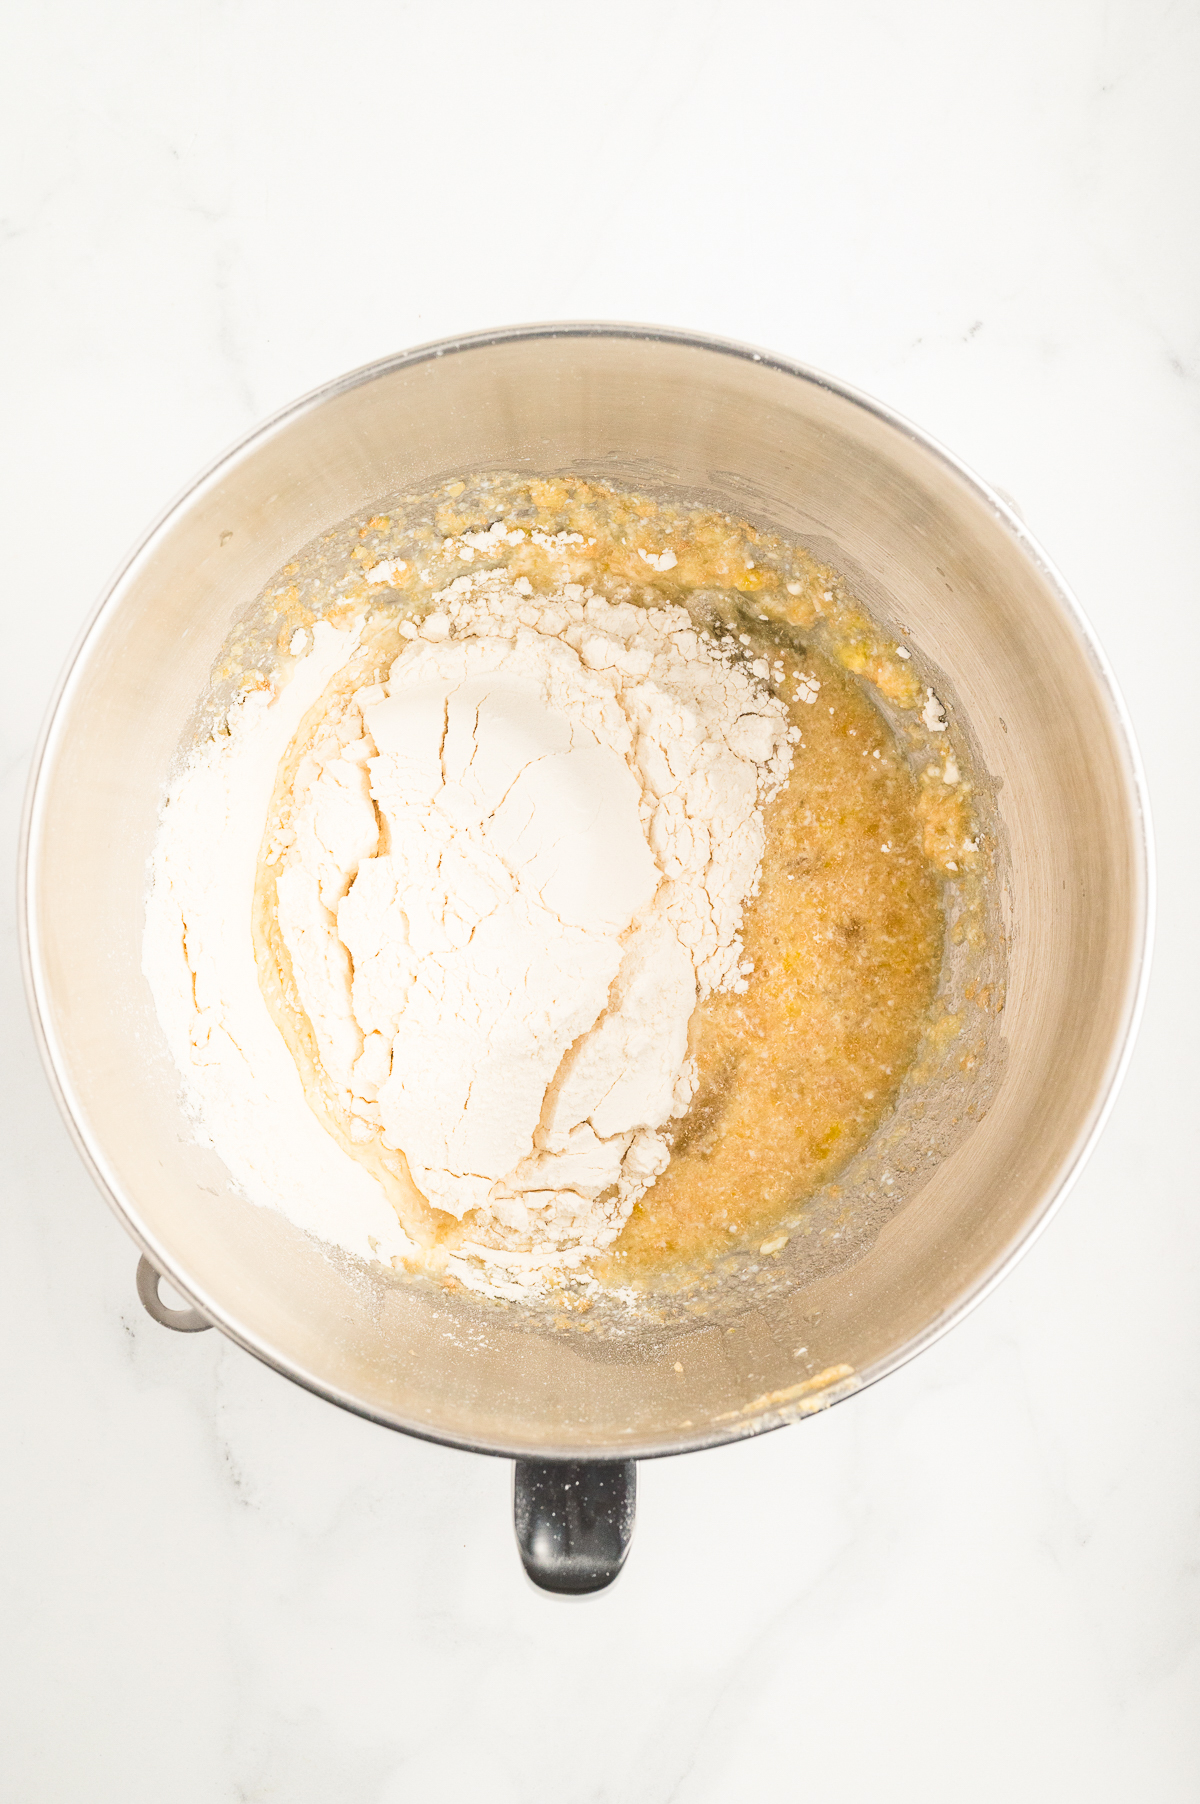
- Use a dough hook and mix in 2 cups of the flour. Then add an additonal 2 cups of flour and mix until combined.
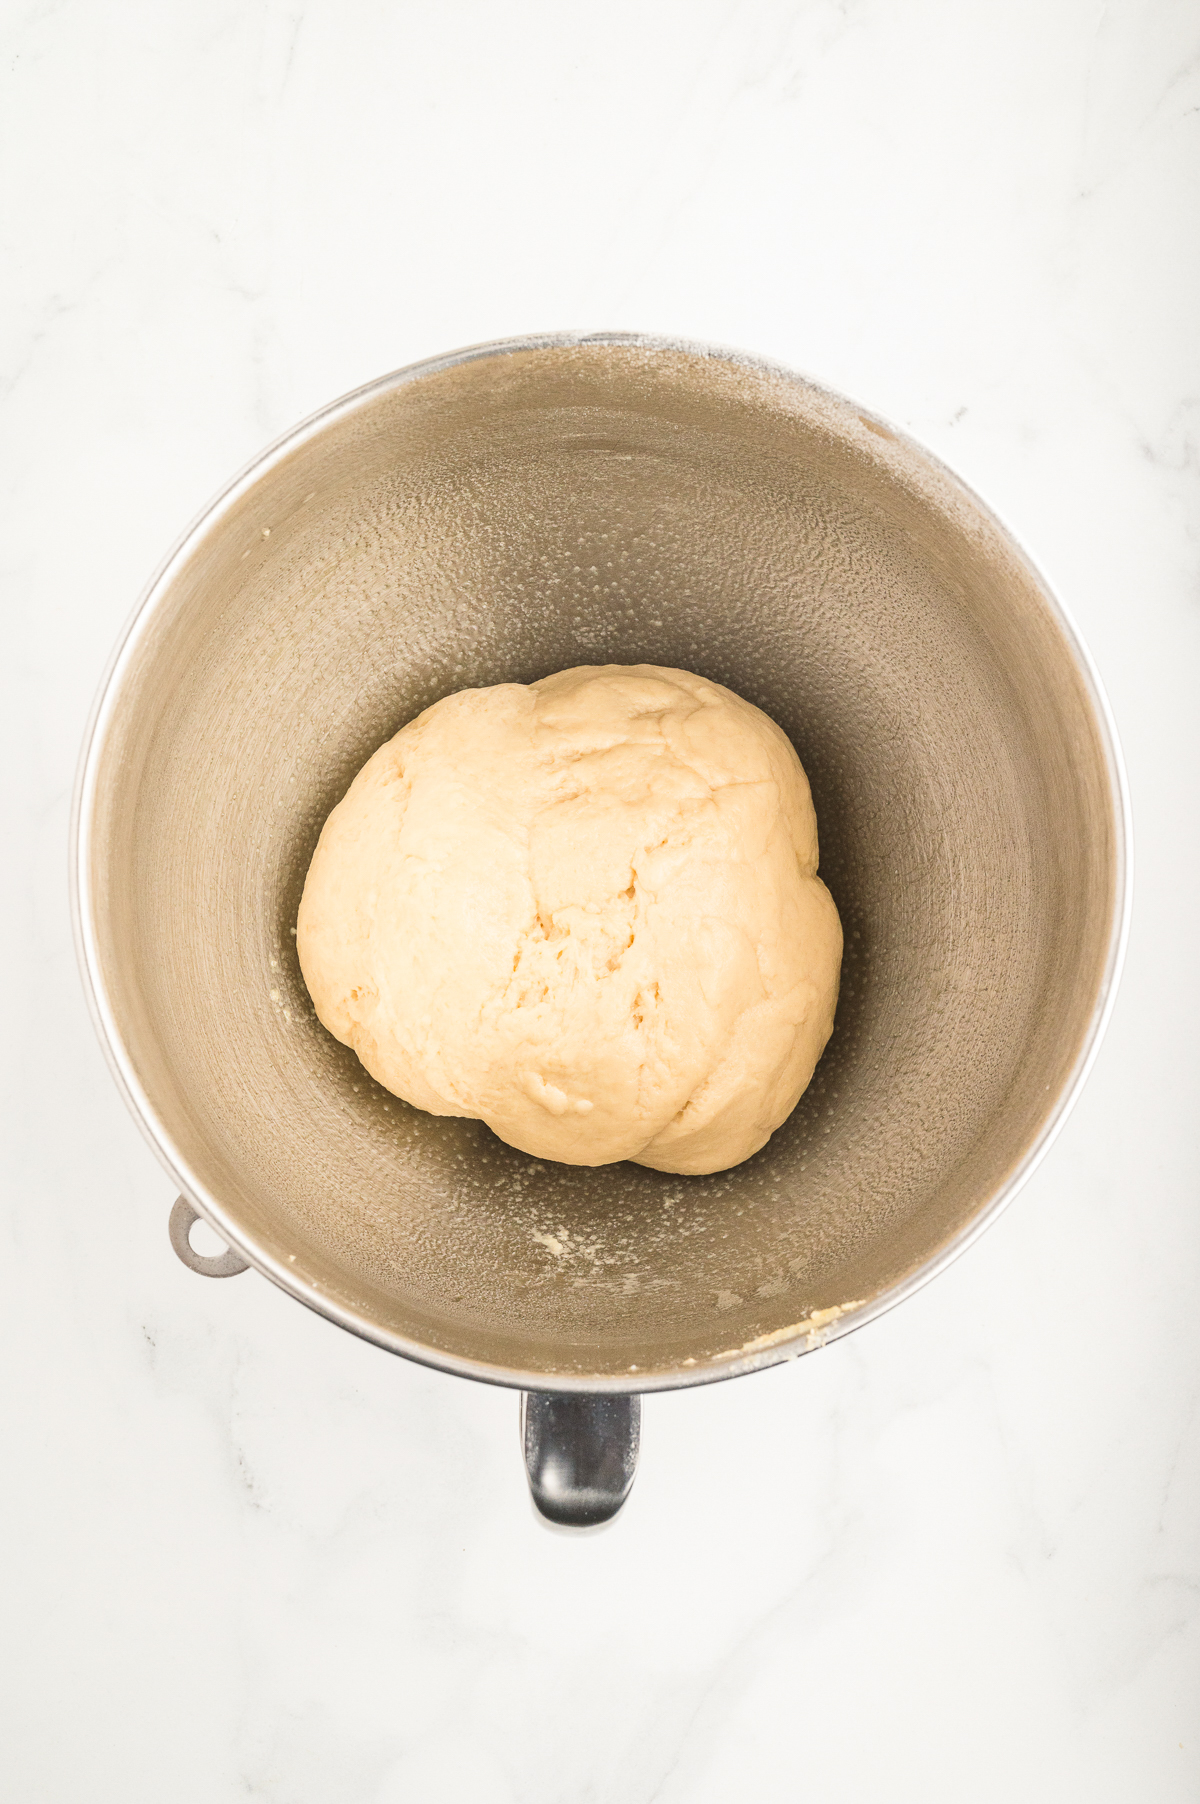
- Add ¼ cup of the remaning flour in at a time until you get a soft but slightly sticky dough. Continue kneading the dough for 5-6 minutes.
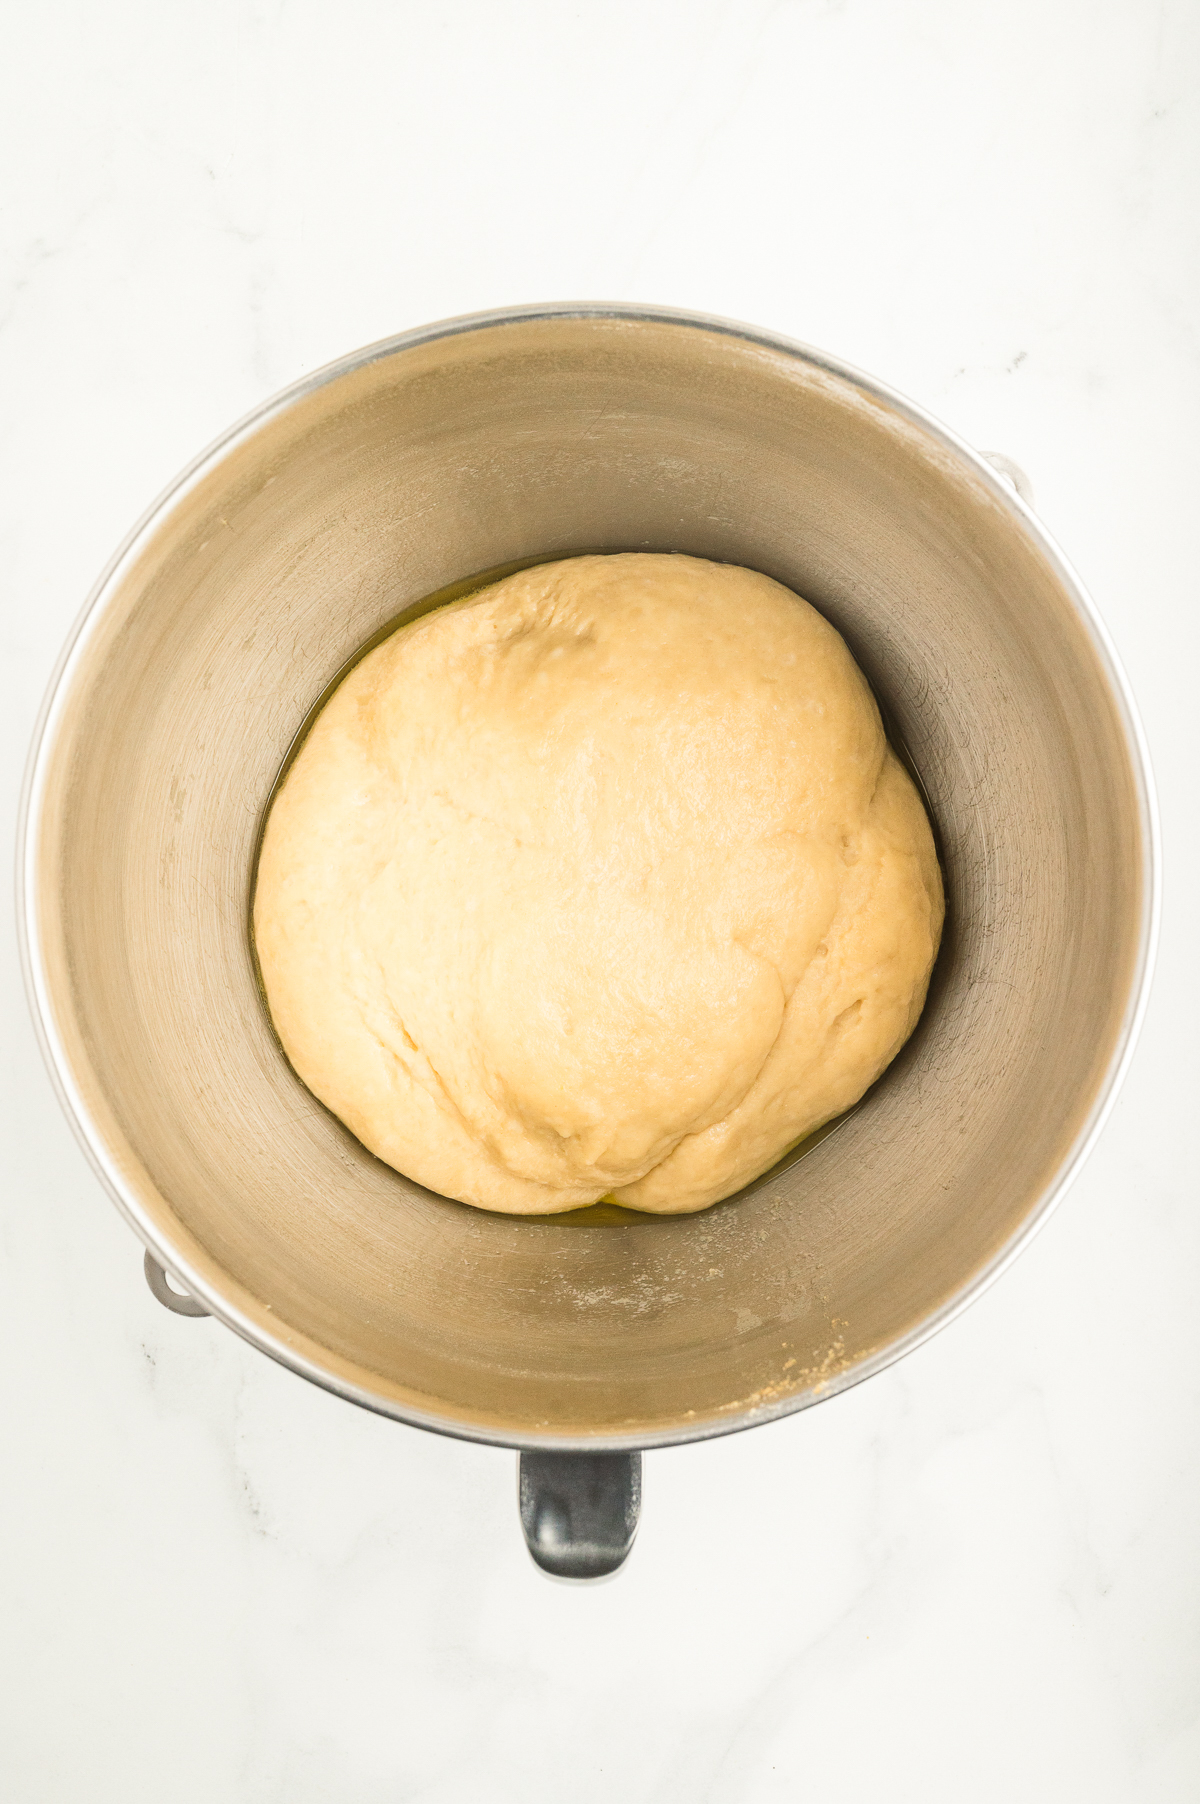
- Remove the dough from the spray, spray the bowl with cooking spray and then return the dough ball to the bowl. Cover and let rise until doubled in size.
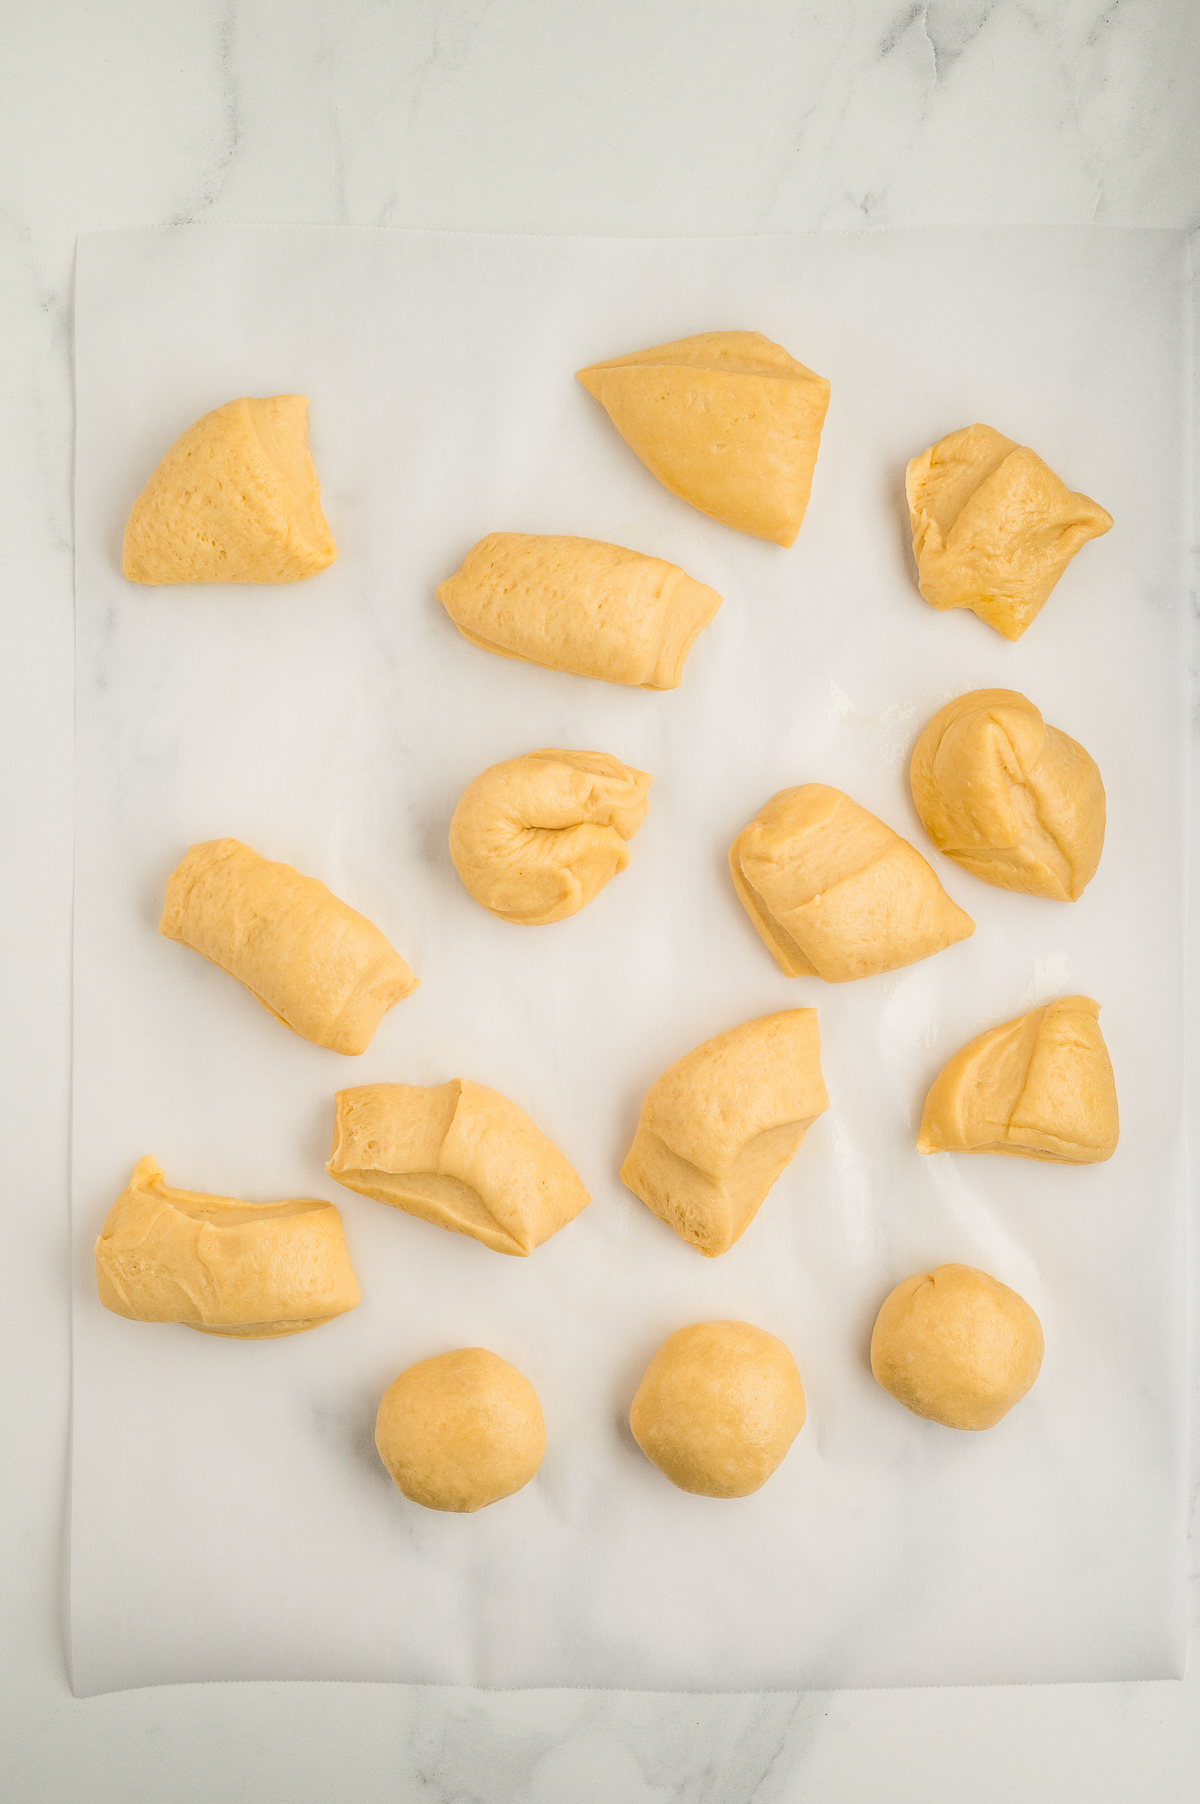
- Punch the dough down, and then use a pastry cutter to cut the dough into 15 pieces. Use your hands to shape them into balls.
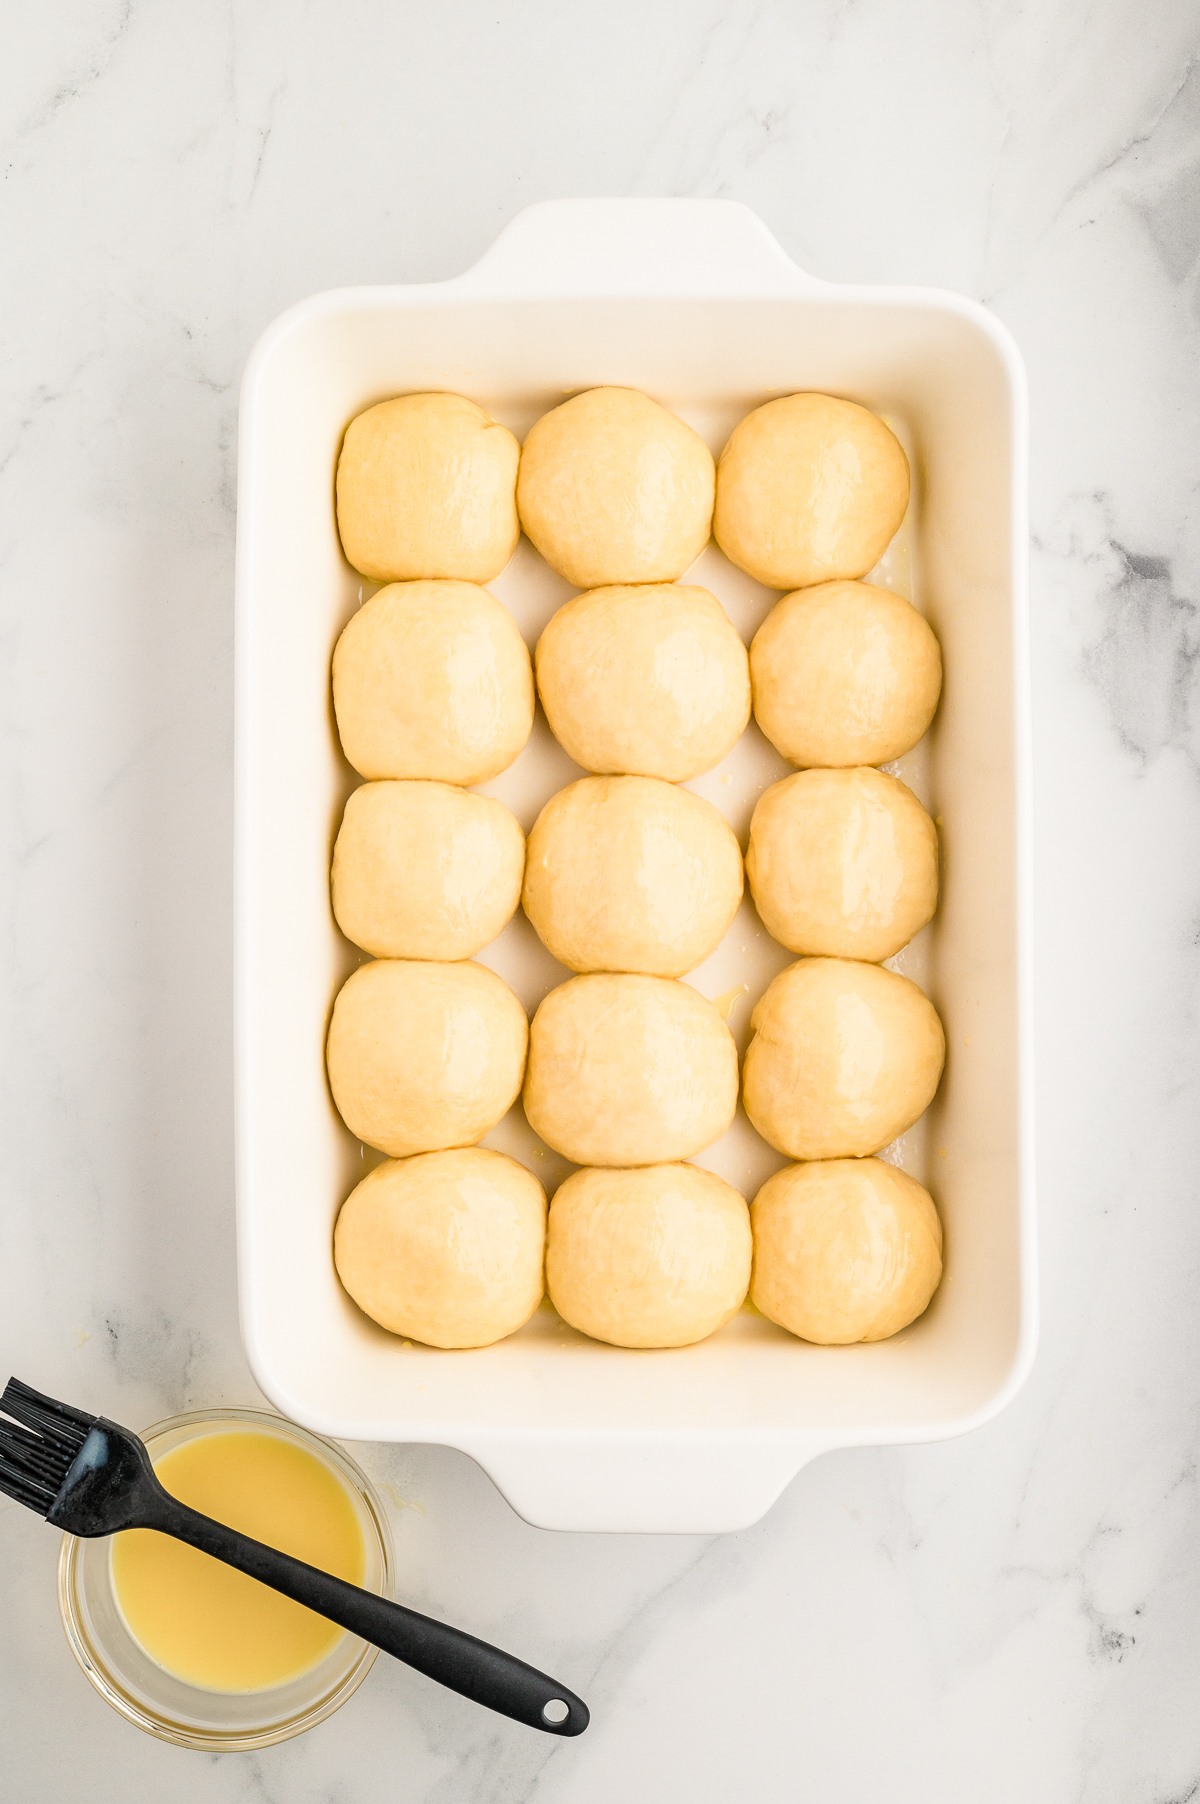
- Place the dough balls in the greased baking dish. Cover and allow the rolls to dough in size. Gently brush the tops with the egg wash.
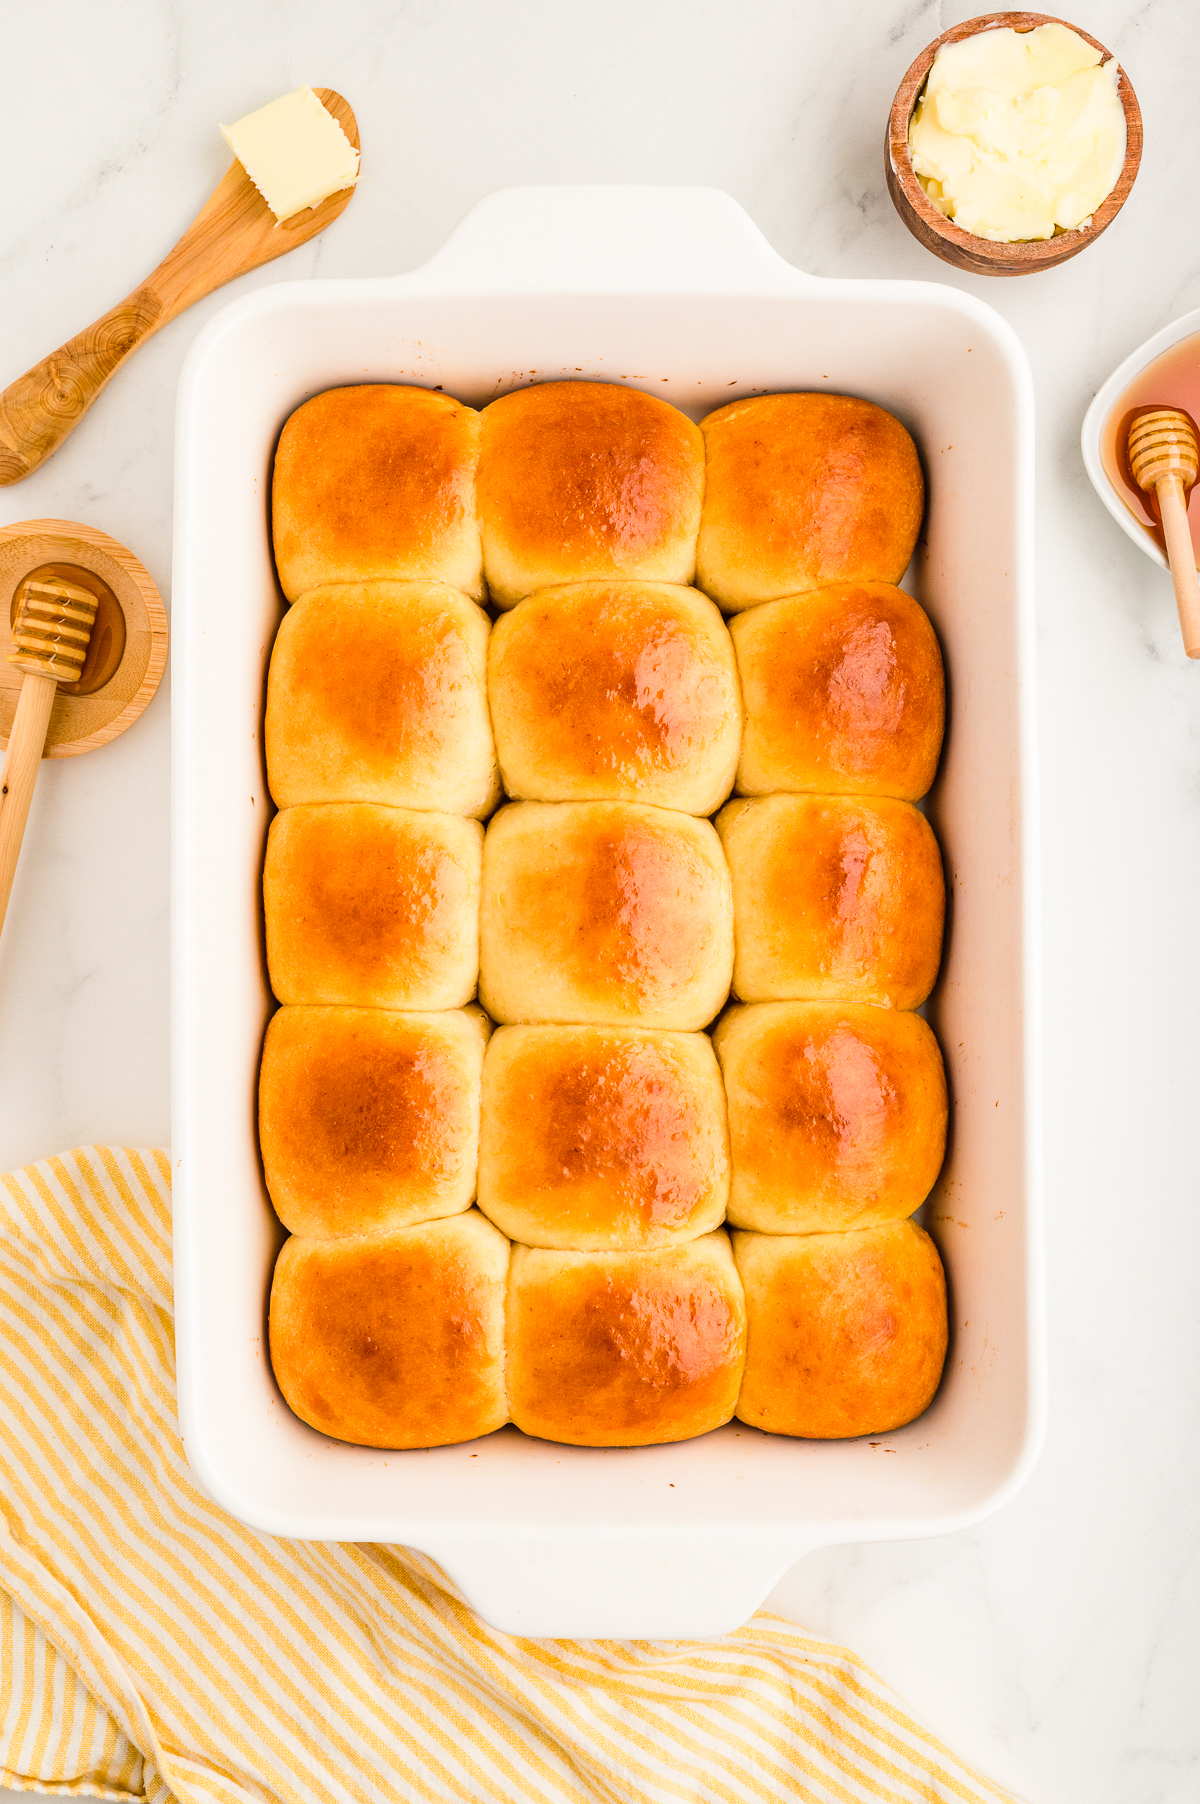
- Bake in the preheated oven for 20-30 minutes.
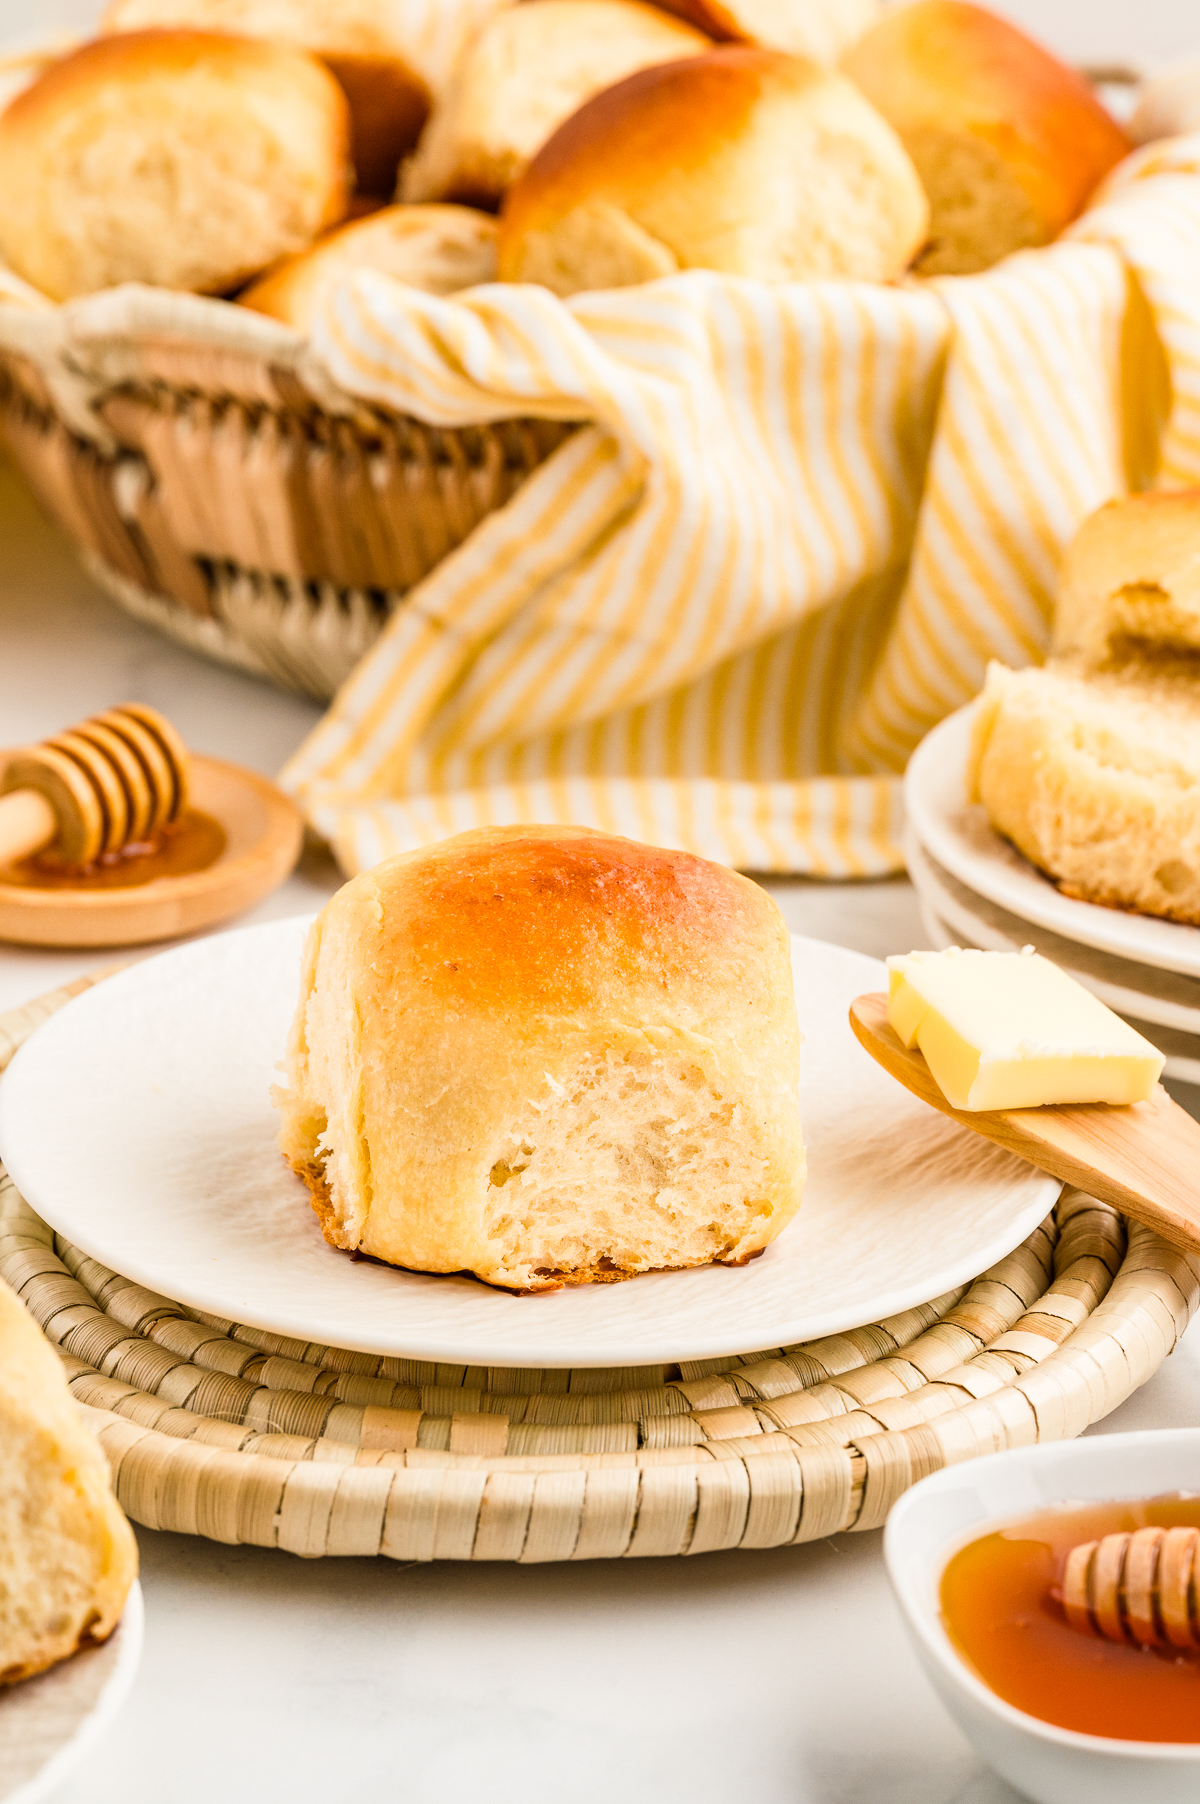
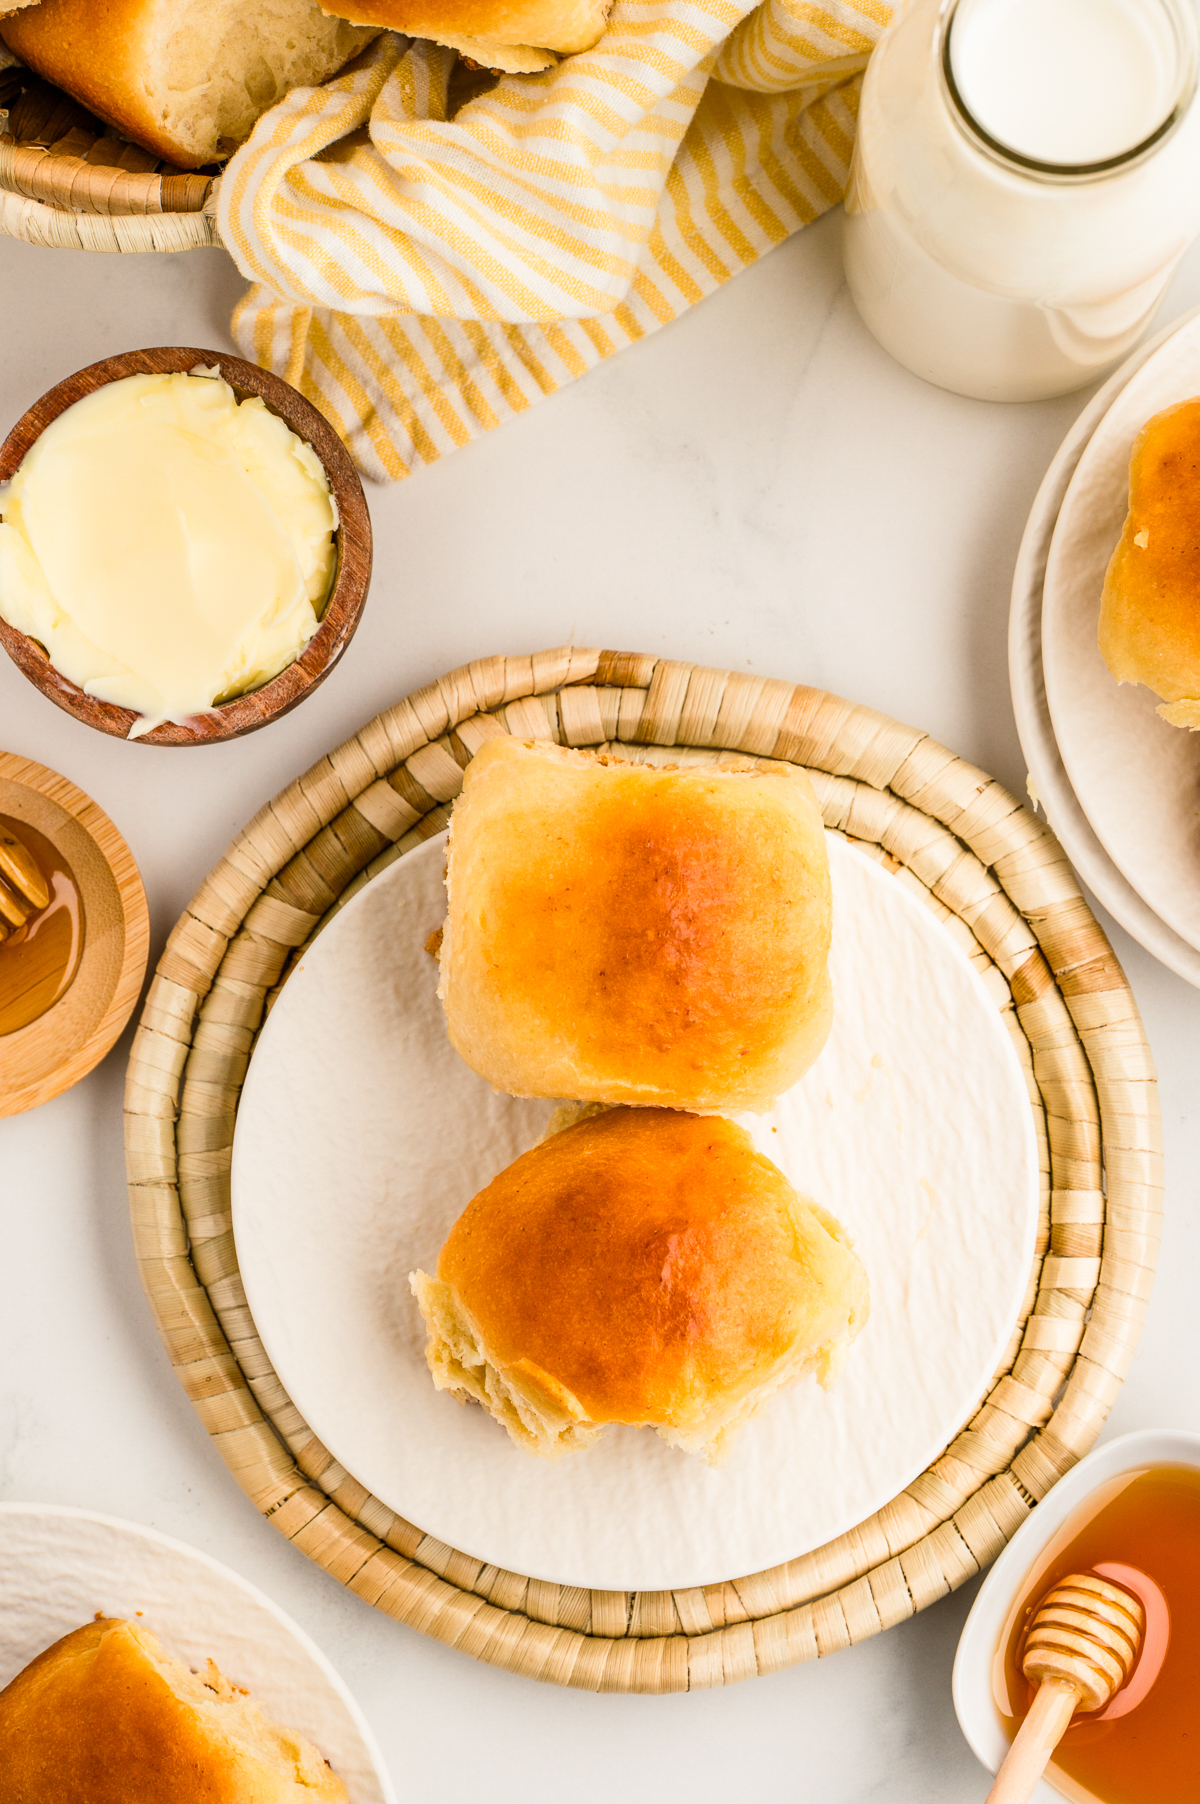
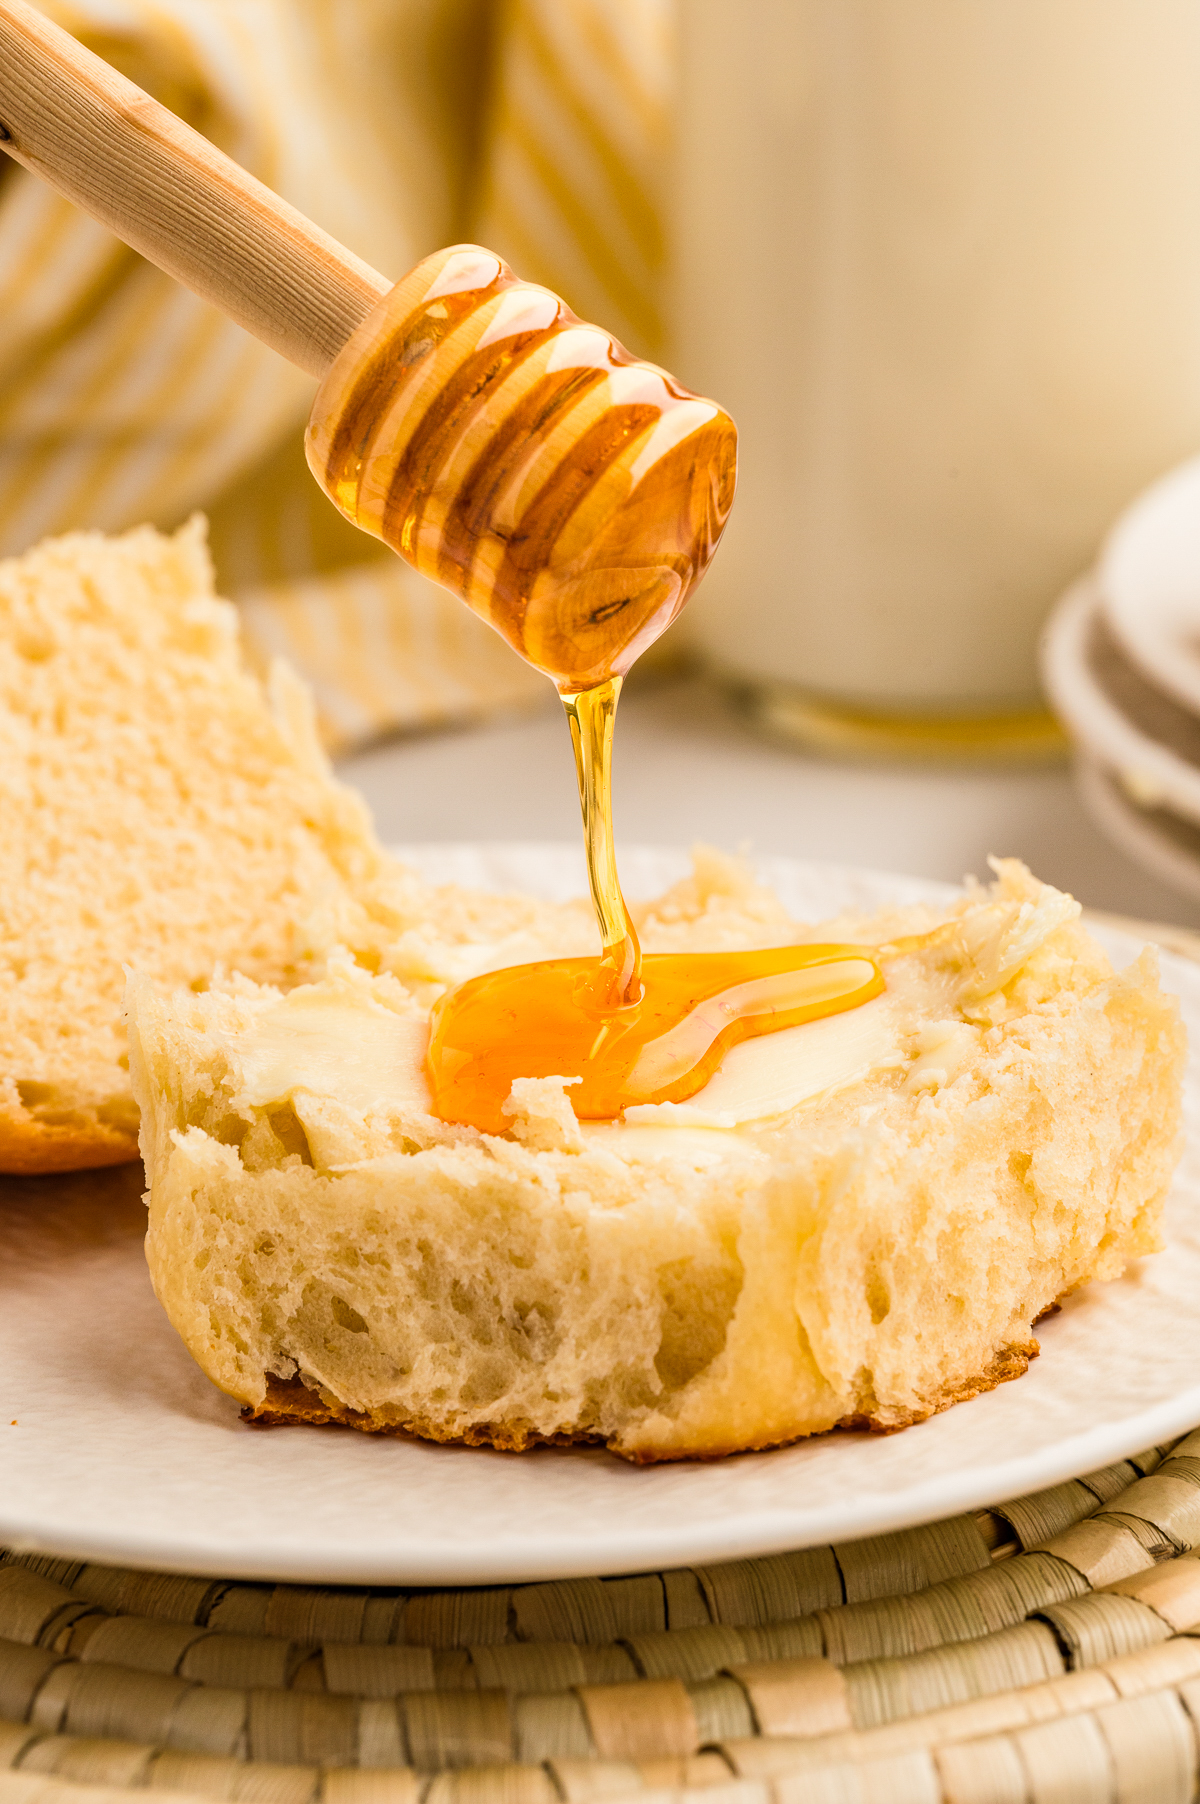
- Remove from the oven and cool slightly. Serve the rolls warm with butter or honey.
What To Serve With This Dish
These rolls pair well with a bowl of your favorite soup, such as this creamy Broccoli Cheese Soup. They also make great slider rolls for these Baked Turkey Sliders or these Ham and Cheese Sliders.
Substitutions and Additions
- Love herbs? Try mixing in some freshly chopped rosemary, thyme, or even garlic powder to the dough for a savory twist.
- For a slightly sweeter roll, consider adding a tablespoon of honey or maple syrup to the mix.
- You can also sprinkle sesame seeds, poppy seeds, or everything bagel seasoning on top before baking to add texture and flavor.
How To Store
Storage – Let the sliders cool completely before storing them in an airtight container in the fridge for up to 3 days.
Freezing – These sliders are also freezer-friendly! Once cooled, wrap them individually in plastic wrap and store them in a resealable bag or container. They can be frozen for up to 2 months.
Reheating – To reheat the sliders, simply pop them in the microwave for 30-60 seconds, or until warmed through. You can also place them on a baking sheet and warm them in the oven at 350°F for about 10 minutes.
Sandra’s Pro Tips
- I used instant yeast for this recipe. You can use active dry yeast. However, you will need to allow it to bloom for 5 minutes or until it becomes frothy before adding the flour.
- You may need to add some additional flour depending on the heat and humidity in your kitchen. So, add the remaining 1/2 cup flour in small batches until the dough pulls away from the sides of the bowl and is slightly sticky to the touch.
- If your house is on the cooler side you can speed up the rising process by placing the dough covered in the oven with the oven light on.
- Covering your dough with plastic wrap? Lightly spray it with nonstick cooking spray to prevent the dough from sticking to the wrap. You can also cover the dough with a damp, lightweight kitchen towel.
FAQs
Do you have questions about this recipe for Hawaiian rolls? Here are the answers to the most commonly asked questions for this recipe.
Hawaiian bread is different because it is slightly sweet and fruity instead of the buttery flavor of traditional rolls.
Yes, traditional Hawaiian rolls typically include pineapple juice as one of the ingredients. The pineapple juice adds a subtle sweetness and a hint of tropical flavor, which contributes to the rolls’ unique taste and soft texture.
No, while they are both soft and slightly sweet, Hawaiian rolls have a distinct flavor that sets them apart from brioche. Brioche is made with butter and milk, while Hawaiian rolls often contain pineapple juice, honey, or sugar to achieve their signature taste.
Other Delicious Recipes You May Enjoy
Homemade Hawaiian Dinner Rolls Recipe
Equipment
- stand mixer or hand mixer with dough hook
- baking dish 9"x13"
- pastry brush
- cooling rack
Ingredients
Dough
- ½ cup pineapple juice at room temperature, not cold
- ½ cup warm milk
- 6 tablespoons butter melted and cooled
- 2/3 cup granulated sugar
- 2 eggs room temperature
- 2 teaspoons vanilla extract
- 2 ¼ teaspoon instant yeast *see note
- 4- 4 ½ cups bread flour *see note
- 1 ½ teaspoons salt
Egg Wash
- 1 egg
- 2 tablespoons milk
Instructions
Activate Yeast
- In the bowl of a stand mixer combine the pineapple juice, milk, butter, sugar, eggs, vanilla, and yeast. Mix together with a fork slightly.
Mix Dough
- Attach a dough hook attachment and add in 2 cups of the flour and the salt. Turn the mixer on the lowest speed and mix until incorporated.
- Add 2 more cups of flour in and let the dough knead until combined again, increasing the speed after incorporated.
Knead Dough
- For the remaining 1/2 cup of flour, add ¼ cup flour in at a time until you get a soft but slightly sticky dough. Continue kneading the dough for 5-6 minutes. The dough should clear the sides of the bowl but may stick slightly to the bottom of the bowl still.
First Rise
- Transfer the dough to your hands or a clean surface for a second while you spray the stand mixer bowl with cooking spray. Return the dough to the bowl, cover with plastic wrap, and let rise in a warm place until doubled in size, about 90 minutes up to 120 minutes.
- Grease a 9"x13" a baking dish with cooking spray and set aside.
Shape Rolls
- Lightly punch down the dough and turn onto a clean counter and divide the dough with a knife or bench scraper into 15 pieces. Roll each dough piece into a nice ball. Place the rolls into the baking dish 3 across and 5 down.
Second Rise
- Cover the dish with plastic wrap and let the rolls nearly double in size again, about 60-90 minutes. They should be touching on all sides.
Bake
- Preheat the oven to 375°F (190 C) during the last 20-30 minutes of proofing time.
- Before placing in the oven make the egg wash by combining the egg and milk with a small whisk or fork. Brush the egg wash over the rolls gently and bake for about 20-25 minutes or until the tops are golden brown.
Cool
- Remove from the oven and let the rolls cool in the pan on top of a wire cooling rack for 10-15 minutes before serving. If you want the rolls to be shiny on top, spread a bit of butter on top of the rolls when they’re still hot.
Notes
- If you use dry active yeast instead of instant, let the yeast proof in the milk for 5-10 minutes before starting the recipe. Your dough will take longer to rise as well.
- The amount of flour used in yeast breads depends a lot on the temperature and humidity of your kitchen. For the remaining 1/2 cup of bread flour, start with ¼ cup at a time until you reach a soft and only slightly sticky dough.
- If you want to speed up the rising time, turn your oven on to the lowest temperature and let it preheat for 10 minutes. Turn off the oven and place the dough in the oven leaving the door open a crack for 10 minutes then closing the door to let the remaining heat stay inside while the dough proofs.
- This is an enriched dough, meaning it has more ingredients than normal bread with just water flour, and yeast. Enriched doughs take longer to rise than un-enriched doughs.
- If you don’t let the dough double in size in the first rise the rolls will be dense.
Nutrition
Disclaimer
Please note that the nutritional information provided are guidelines and may vary based on the brand of products used. For your specific nutritional goals use My Fitness Pal or Verywell Fit recipe calculators. All content within this site is not intended as medical diagnosis or treatment and should not be considered a substitute for professional medical expertise.