Drying Figs (Easy Dehydrator Recipe)
Do you have a lot of fresh figs on hand this fig season and you find yourself wondering how to preserve them? Have no fear, with these simple instructions you will be drying figs in no time at all. With this drying figs recipe, you can enjoy delicious seasonal figs all year long!
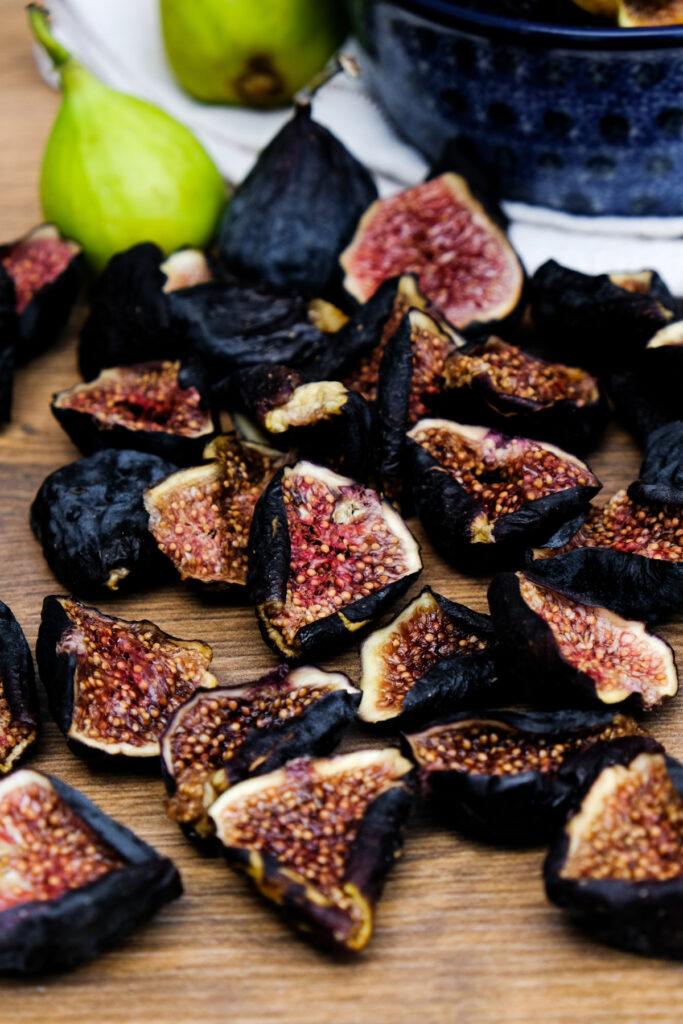
Table of Contents
Why You’ll Love This Recipe
- Dehydrating is a great way to preserve fresh fruit when they are at the peak of ripeness.
- Dried fruit makes a great snack that you can enjoy any time of year.
- There is no extra sugar added or preservatives in this naturally sweet fruit.
- Drying figs is one of the best ways to extend the shelf life of this delicious fruit.
- Figs are an excellent source of vitamins and minerals (WebMD.com).
Equipment Needed
You only need a couple of kitchen tools to help you make this recipe. So, gather these items before you get started:
- food dehydrator
- knife and cutting board
- large bowl – if you need to clean them
- paper towels or kitchen towel
Ingredients
All you need for this recipe is one simple ingredient. You can purchase your figs at the grocery stores near you. Or, I like to purchase mine from local farms for the freshest figs.
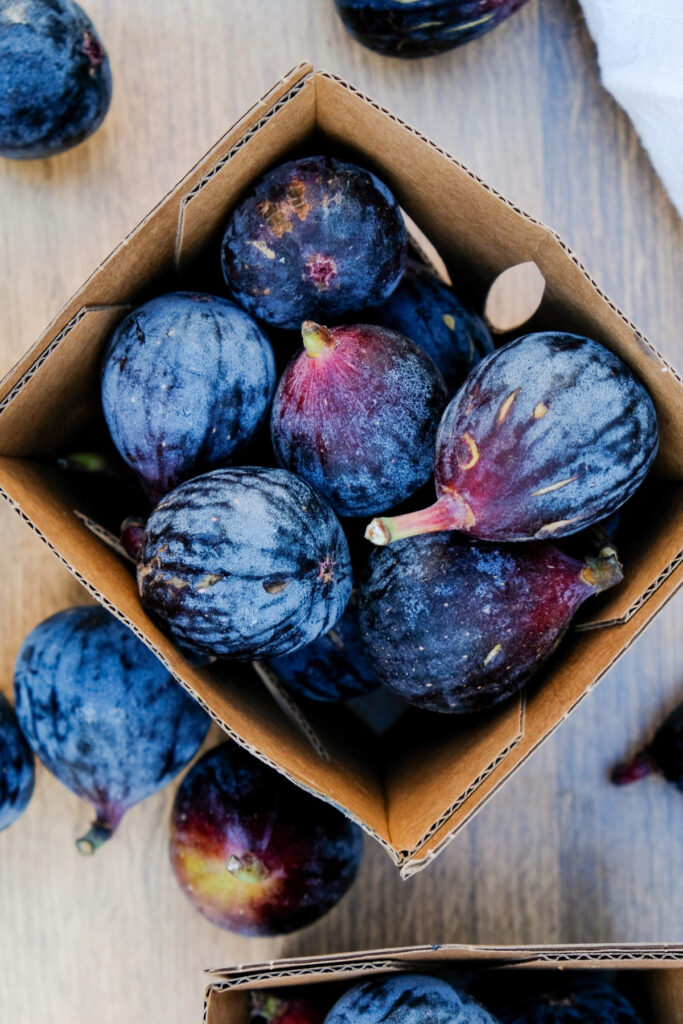
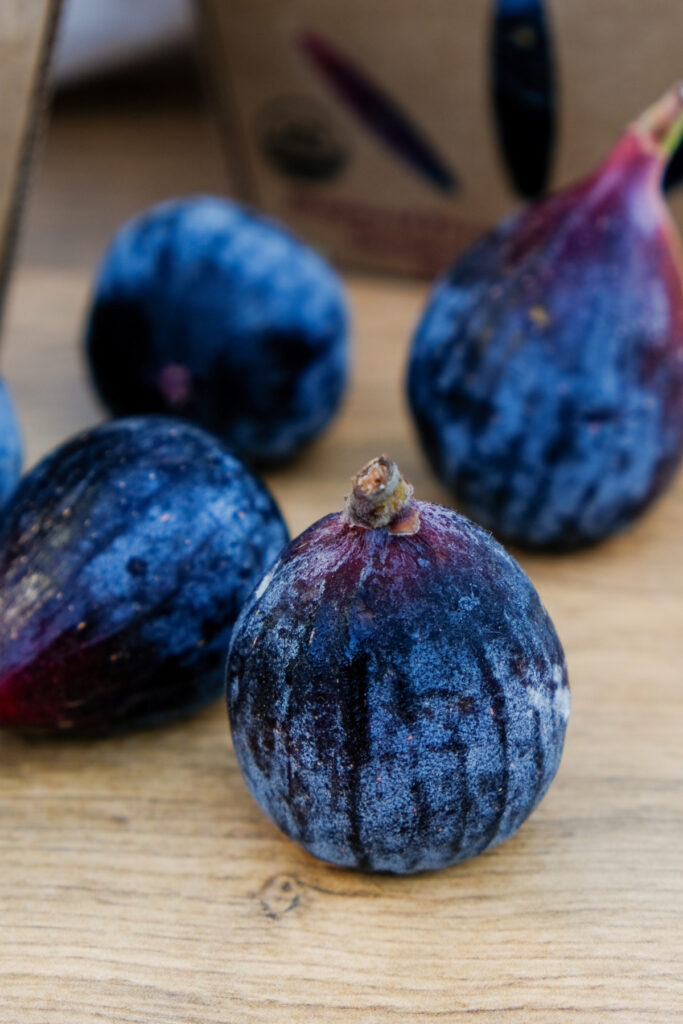
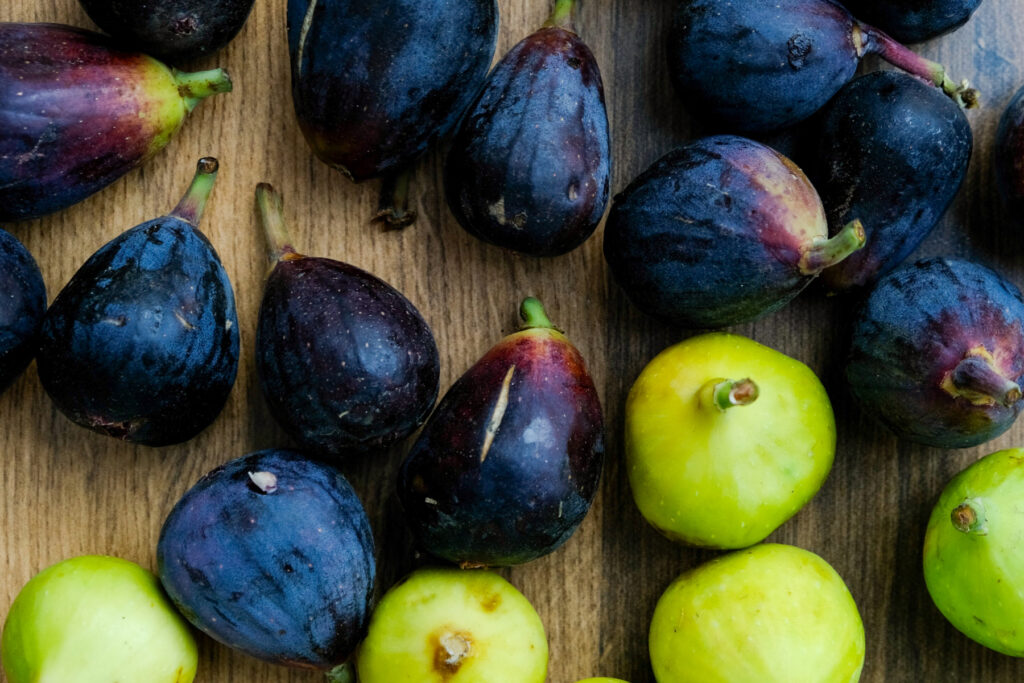
- Fresh figs – There are thousands of varieties of figs in the world, so depending on where you live you may find different figs than what I have. The figs that are commonly found in California are Black Mission Figs, Sierra (green figs), and Tiger Figs.
How to Dry Figs In The Dehydrator
There are only a few steps to follow to make this dry fruit. Follow the steps below or in the recipe card at the bottom of the post and you will dried figs to enjoy as healthy snacks in no time at all.
Step 1: Choose ripe figs
Choose your favorite ripe figs that are soft, but not mushy.
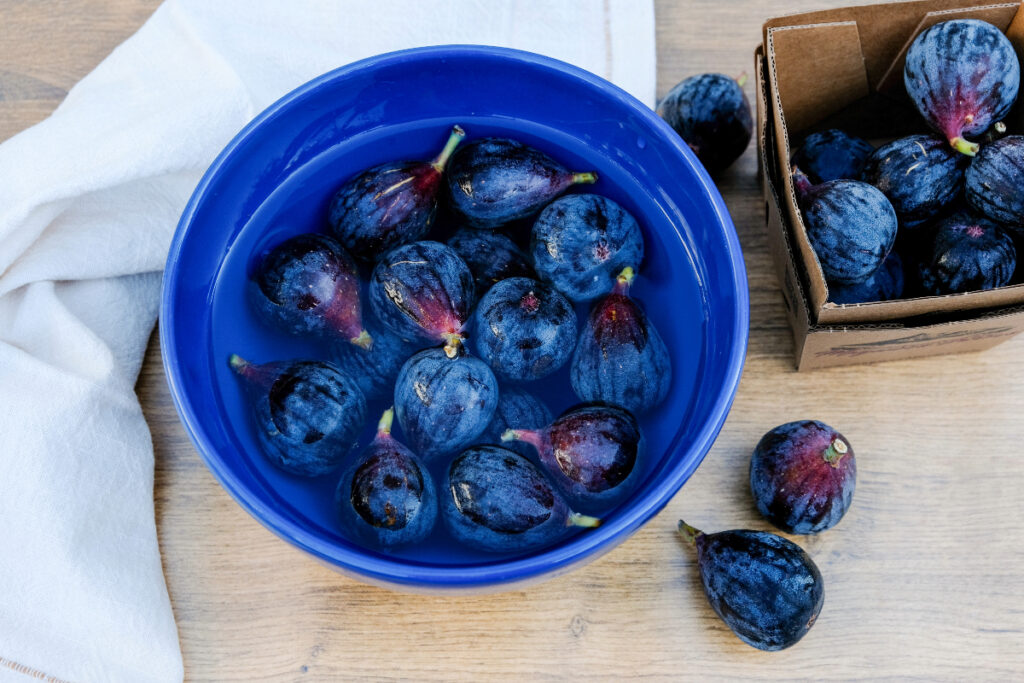
Step 2: Clean the figs
Wash the figs to remove any dirt or debris. If they are extra dirty, soak in a bowl of water for about 5 minutes.
Step 3: Dry the figs
Drain the figs in a colander and gently dry the figs with a clean kitchen towel or paper towel.
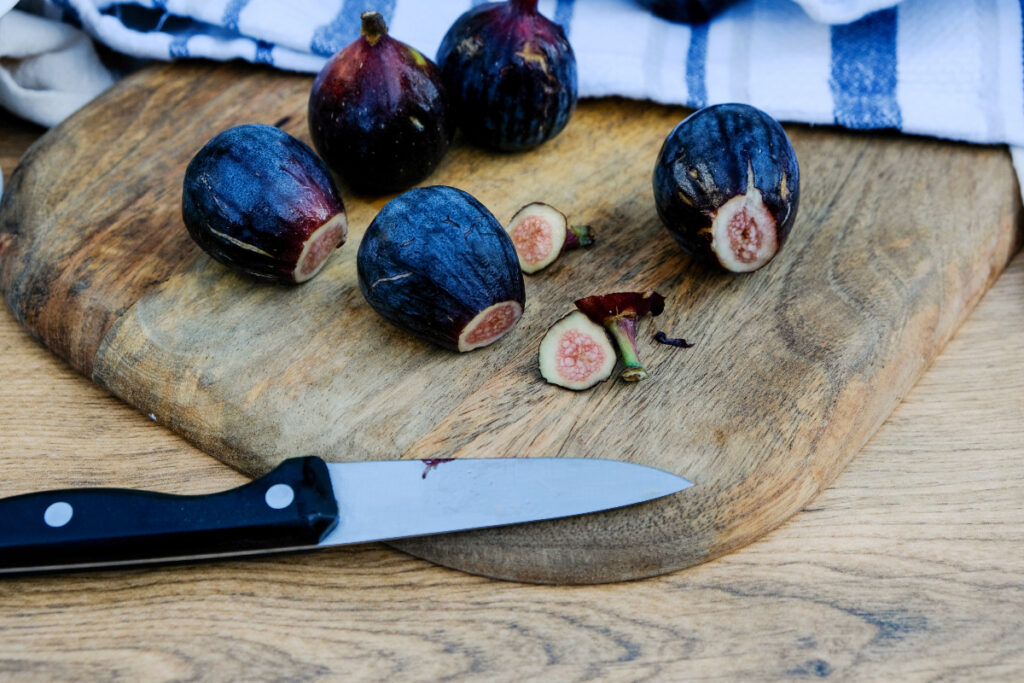
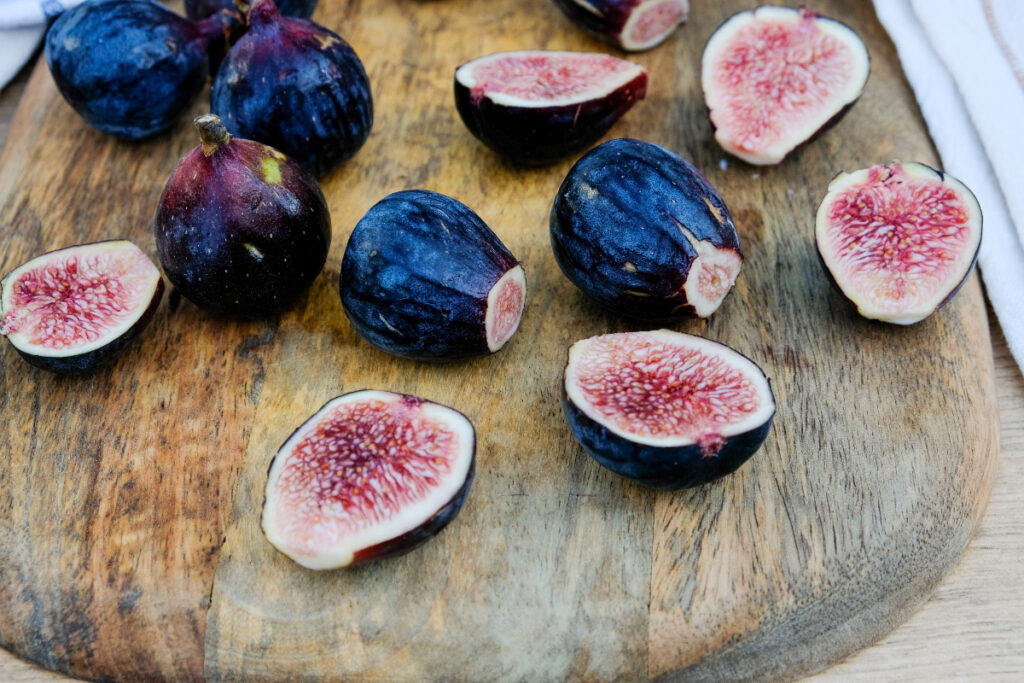
Step 4: Slice the figs
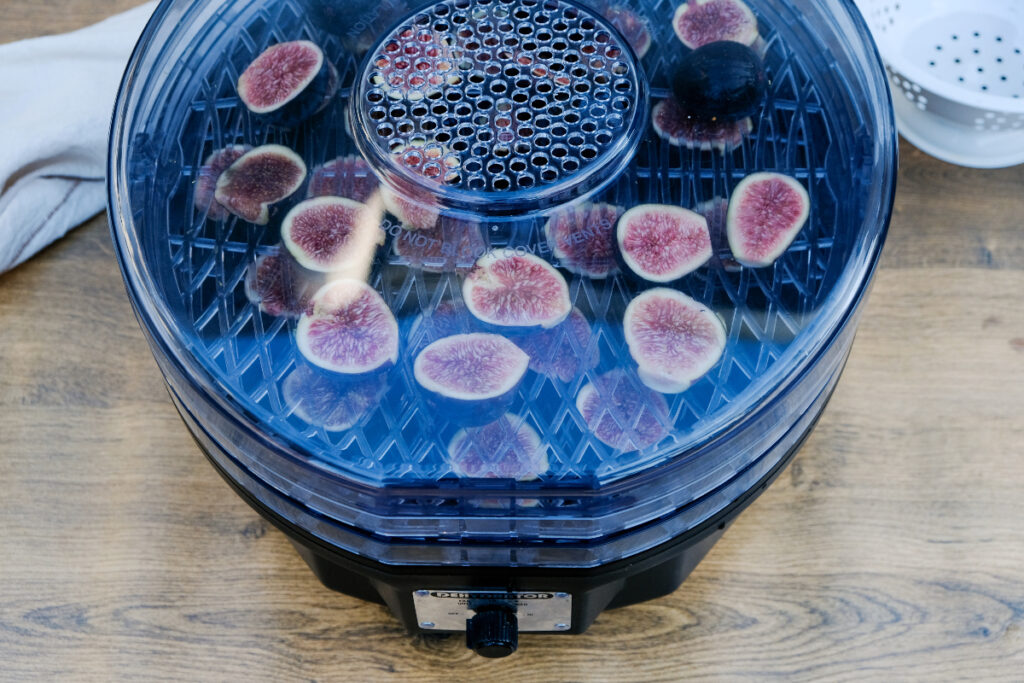
Remove the stems with a sharp knife, and slice the figs in half, quarters, rings, or leave them whole.
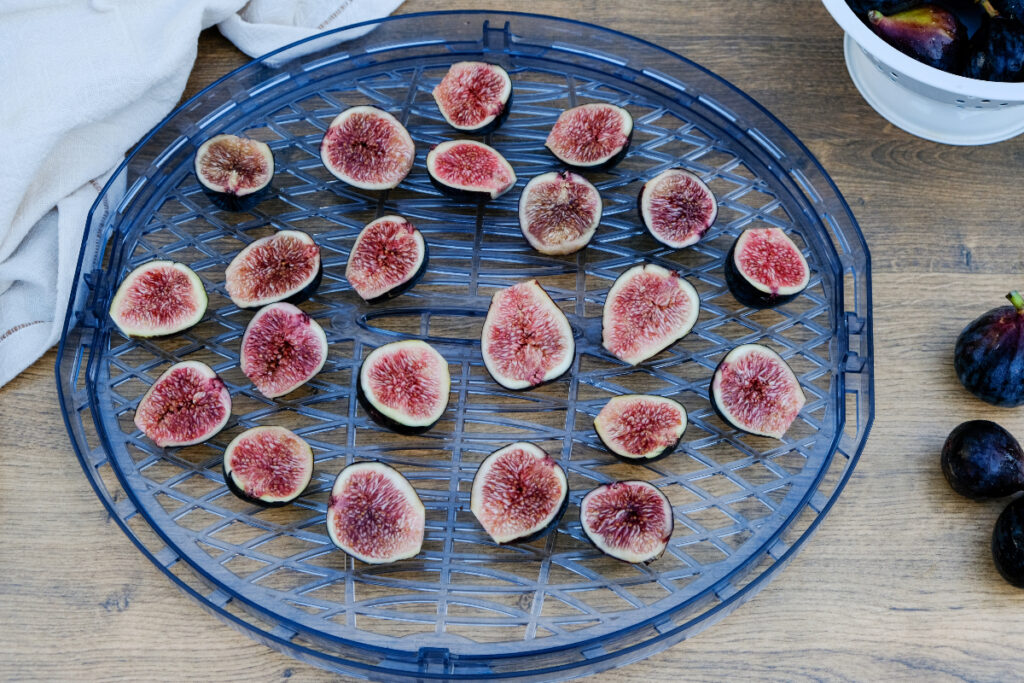
Step 5: Dry the figs
Place the figs skin side down on the dehydrator drying rack in a single layer without the figs touching each other. Place the lid on top and turn the dehydrator on 135°F. The drying time will vary on the thickness and size of the figs. Check the times listed below to find the time that you need.
Step 6: Cool before serving
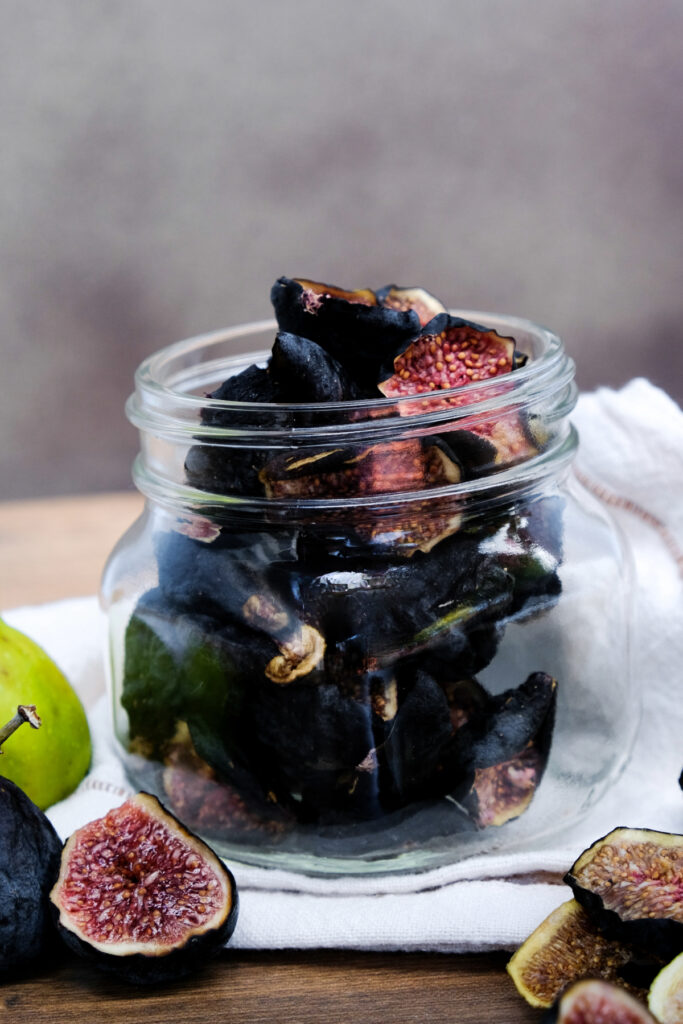
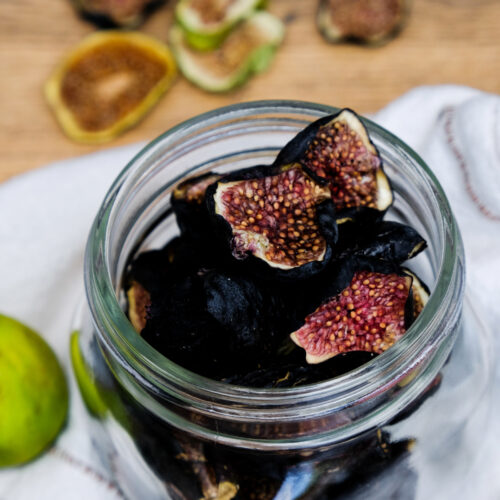
Cool on the dehydrator trays before placing them in a glass jar or airtight container.
How to Dehydrate Figs in the Oven
If you don’t have a dehydrator, you can still dry figs in the oven. Here’s what you’ll need; baking sheets, parchment paper, or silicone baking mats for easy clean-up.
- Follow steps 1-4 above.
- Line your baking sheets with parchment paper or silicone baking mats.
- Place the cleanly sliced figs in a single layer on the prepared baking sheets. Ensure that they are not touching to allow for even drying.
- Preheat your oven (10-15 minutes) to the lowest temperature possible, which is usually around 140°F.
- Place the baking sheet(s)in the oven. Keep the oven door slightly ajar so that the moisture will escape as well as the heat if your oven’s lowest temperature is over 140°F.
- Check for doneness every 2-4 hours for up to 24 hours, and rotate the baking trays to ensure the figs dry evenly.
- Cool before placing in a glass jar or airtight container.
Ways to Use Dry Figs
There are so many different things that you can make with dried figs. Here are a few of my favorites.
- Make Christmas Figgy Pudding using dry figs.
- Use them as a sweet addition to your favorite salads.
- Add to oatmeal for a tasty breakfast treat.
- Make your own homemade fig jam using dried figs. Have you tried my Fig Chutney Recipe?
- Create a delicious spread with sliced cheese, cream cheese, goat cheese, or a mix of them all.
- Puree the figs and use them as a fat replacer in recipes.

Fig Drying Times
Here is a list of the drying times for these figs. These times aren’t hard and fast rules so make sure that you check your figs before you remove them from the dehydrator.
- Sliced 8-10 hours
- Quartered 10-12 hours
- Half 12-14 hours
- Whole 14-24 hours

How To Store
Dried figs will last up to 3 weeks on the counter in a cool dry place or up to 6 months in an airtight container in the refrigerator.
You can also freeze-dried figs in a freezer-safe container for up to 18 months. Just make sure that you protect them from freezer burn. Glass jars work great or you can vacuum seal them if you have a vacuum sealer.
Sandra’s Pro Tips
Here are a few tips that you can use to ensure that these turn out perfectly for you.
- Your dried figs should be dry to the touch and pliable when they are done drying.
- Whole figs can take up to a whole 24 hours in the dehydrator to fully dry them out.
- Dehydrating fruit is a simple process, the only key point is to make sure that you completely dry your figs before you remove them.
- Some recipes call for a lemon soak. This technique is usually used to prevent fruit from browning. This step isn’t necessary for drying figs. However, if you like the added tart flavor, then lightly coat the figs with fresh lemon juice before slicing and placing them on the dehydrator trays.
- I used black mission figs which are commonly referred to as “California figs”. However, you can use different varieties of figs to find the ones that you like best.

FAQs
Do you have questions about drying figs? Here are the answers to the most commonly asked questions for this recipe.
There are different methods for drying fruit, however, using a dehydrator is the best way to get even results every time.
Dried figs have a much longer shelf life than fresh figs, but they also lack some of the nutrients that are found in fresh figs. Additionally, you will need some special equipment to make them which can be costly.
It depends on how you slice them. The times can vary from 8 – 24 hours.
Yes. The whole fig is edible, except for the stem.
Other Delicious Recipes You May Enjoy
Drying Figs (Easy Dehydrator Recipe)
Equipment
- Sharp knife
- Cutting Board
- dehydrator
Ingredients
- Fresh Figs
Instructions
Dehydrator Figs
- Choose your favorite ripe figs that are soft, but not mushy.
- Wash the figs to remove any dirt or debris. If they are extra dirty, soak in a bowl of water for about 5 minutes.
- Drain the figs in a colander and gently dry the figs with a clean kitchen towel or paper towels.
- Remove the stems with a sharp knife, and slice the figs in half, quarters, rings or leave them whole.
- Place the figs skin side down on the dehydrator drying rack in a single layer without the figs touching each other. Place the lid on top and turn the dehydrator on 135°F. The drying time will vary on the thickness of the figs. Your dried figs should be dry to the touch and pliable. Whole figs can take up to 24 hours or longer to dry.
- Cool before placing in a glass jar or airtight container.
Oven Dried Figs
- Follow steps 1-4 above. You will need a baking sheet(s), parchment paper, or a silicone mat.
- Line your baking sheets with parchment paper for easy clean-up.
- Place the cleanly sliced figs in a single layer on the prepared baking sheets. Ensure that they are not touching to allow for even drying.
- Preheat your oven (10-15 minutes) to the lowest temperature possible, which is usually around 140°F.
- Place the baking sheet(s)in the oven. Keep the oven door slightly ajar so that the moisture will escape as well as the heat if your oven’s lowest temperature is over 140°F.
- Check for doneness every 2-4 hours for up to 24 hours, and rotate the baking trays to ensure the figs dry evenly.
- Cool before placing in a glass jar or airtight container.
Notes
- Your dried figs should be dry to the touch and pliable when they are done drying.
- Whole figs can take up to a whole 24 hours in the dehydrator to fully dry them out.
- Dehydrating fruit is a simple process, the only key point is to make sure that you completely dry your figs before you remove them.
- Some recipes call for a lemon soak. This technique is usually used to prevent fruit from browning. This step isn’t necessary for drying figs. However, if you like the added tart flavor, then lightly coat the figs with fresh lemon juice before slicing and placing them on the dehydrator trays.
Nutrition
Disclaimer
Please note that the nutritional information provided are guidelines and may vary based on the brand of products used. For your specific nutritional goals use My Fitness Pal or Verywell Fit recipe calculators. All content within this site is not intended as medical diagnosis or treatment and should not be considered a substitute for professional medical expertise.
Nutrition: serving is one whole fig. Values from Verywell Fit.


Really nice recipe and tips and post, totally enjoyed reading it. I have a dehydrator machine (love it!) and can make this recipe to preserve figs.
Awesome! You will love having tasty figs for snacking on!